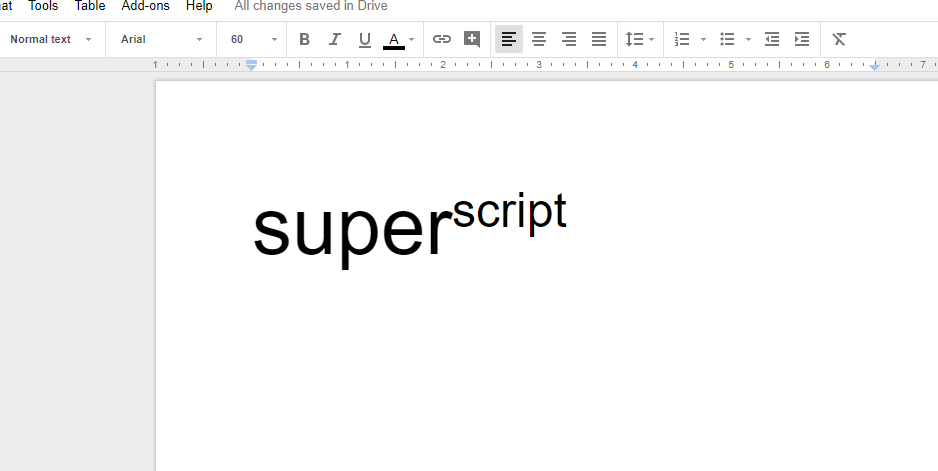
How To Fix Google Docs Superscript Not Working | Easy Solutions [Updated 2023]
If you depend on Google Docs for your documentation or daily data input needs, having the Google Docs superscript not working issue can become a massive source of frustration. For most people, the superscript feature is not a problem and works reliably. However, some users may also discover that the same feature does not work on their end for some reason.
In this guide, we’ll help you fix Google Docs superscript issues that you may be encountering at the moment.
Reasons for Superscript not working in Google Docs
There can be many different causes for superscript not working issue in Google Docs. These causes range from simple bugs, incorrect Google Docs shortcuts, corrupted browser data, problematic extension, or an unknown glitch with the browser itself.
How to fix Google Docs superscript not working issue?
If the superscript feature in Google Docs is not working, these are the fixes that you can do:
Fix #1: Refresh the page.
Refreshing the page you’re working on is a basic potential solution that you must try if you encounter any issue with Google Docs. The program may have encountered a minor bug during its operation. A quick refresh may help in getting rid of it.

You can either click on the refresh button in your web browser, or you can press the F5 shortcut key on the keyboard to refresh the page.
Fix #2: Clear the web browser cookies and cache.
Corrupted cache data is one common reason for Google Docs issues. In order to fix superscript issues with Google Docs, you may need to refresh the cache and data in your browser.
The exact steps to clear the cache and cookies depends on the browser you’re using. Google Docs is optimized for Google Chrome browser so we assume that you’re using Google Chrome browser in your PC. However, if you have another browser aside from Chrome, check out the steps below to do this solution.
How to clear the cookies and cache in Google Chrome
Corrupted browser data can occur anytime and it can hamper the operation of your Chrome browser.
- With your Google Chrome running, click the More icon at the upper right (three dots).
- Select More tools.
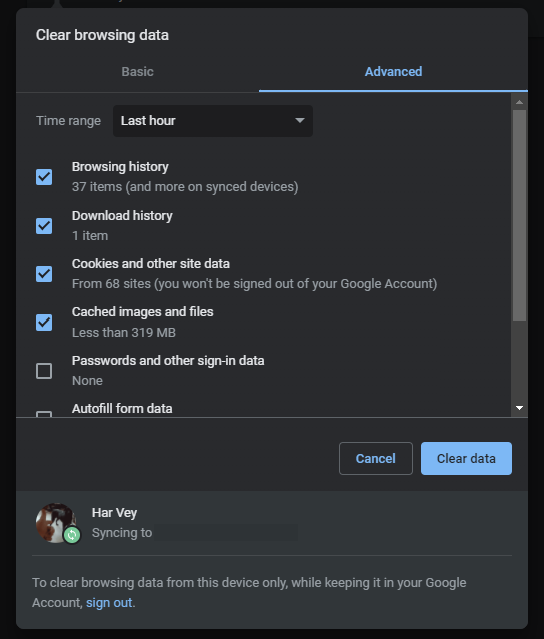
- Click on Clear browsing data.
- Choose a time range.
- Check the boxes beside Cookies and other site data and Cached images and files.
- Click Clear data.
How to clear the cookies and cache in Mozilla Firefox
To delete only cookies while keeping other data, do the following:
- Click your browser menu button.
- Click History and then click Clear Recent History….
- Set the Time range.
- Select Cookies and make sure that other items you want to keep are not selected.
- Click OK to clear all cookies and close the Clear All History window.
How to clear the cookies and cache in Safari
- Open Safari.
- Select Preferences from the dropdown Safari menu.
- Click on Privacy, then on Manage Website Data.
- Click on Remove all from the dropdown menu.
How to clear the cookies and cache in Microsoft Edge
- Launch Microsoft Edge.
- Go to Settings and more.
- Click Settings.
- Navigate to Privacy, search, and services.
- Under Clear browsing data, select Choose what to clear.
- Under Time range, choose a time range.
- Select Cookies and other site data, and then select Clear now.
Fix #3: Check for conflicting browser extensions.
Some browser extensions may not work as intended and cause problems with the operation of a browser. Problematic extensions can sometimes be difficult to pin down and you may end up having to simply disable everything. However, if you’re only using one or a few, you may be able to identify the problematic extension by the process of elimination.
If you’re using one or more extensions such as Adblock extension or any other types of extensions, try to disable them one by one to see which of them is causing the problem. You can also disable all your browser extensions if you have lots of them.
You can easily manage extensions in Chrome with these steps:
- Launch Google Chrome.
- Click the three dots at the upper right.
- Select Settings.
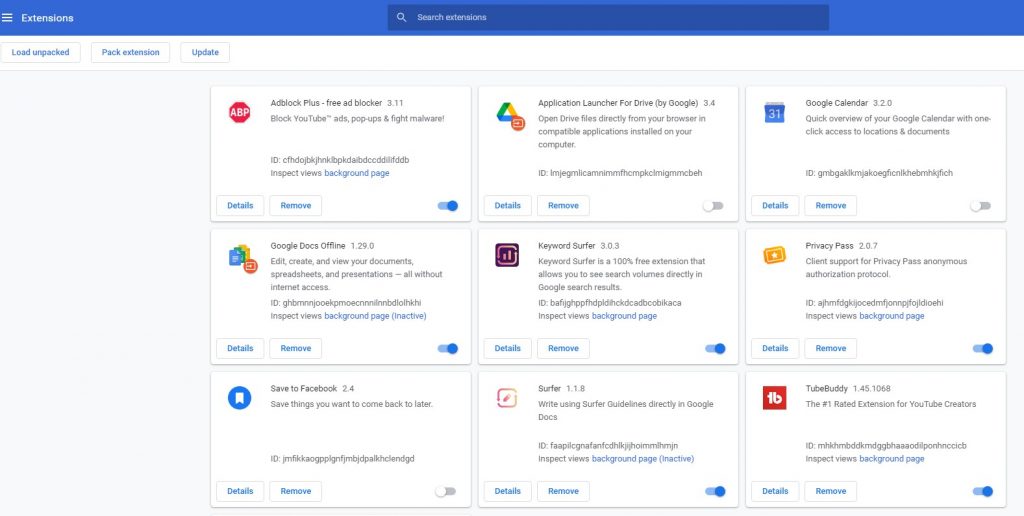
- Open the Chrome Extensions tab from the left panel.
- To turn off any Chrome extension, simply click on the toggle button for the said extension.
- Restart Google Chrome and check for the problem.
Once you’ve disabled all the extensions, go to your Google Docs again to see if the superscript shortcut is now working.
Fix #4: Do not use an Ad-blockers with Google Docs.
Another common reason for Google Docs superscript is not working issue can be an adblock extension. Make sure that you don’t enable any adblock extension on Google Docs.
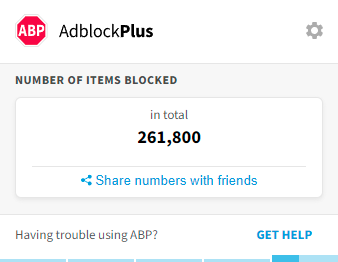
Adblock extensions typically have an option to allow a user to create an exemption for a particular website so try to go into your adblock extension settings to exempt Google Docs.
Fix #5: Reset your web browser to factory defaults.
If superscript is still not working in Google Docs at this point, you should consider resetting your particular web browser to its factory defaults. Just like in clearing the cache and data, the exact steps on how to do it for every browser varies. Try to Google the steps if you’re not using Google Chrome.
If you’re a Chrome user, here’s what you need to do:
- Open Chrome.
- Go to Chrome Settings by clicking on the three dots at the upper right and clicking on Settings.
- Click on Advanced in the left panel.
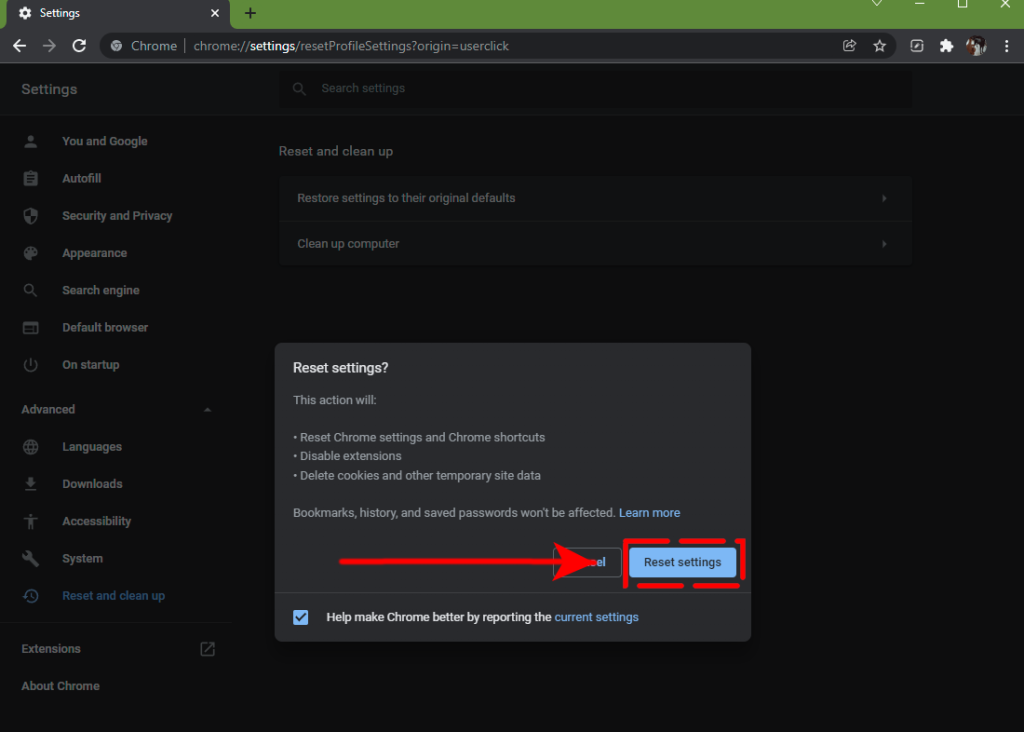
- Click on Reset and clean up.
- Select Restore settings to their original defaults.
- Click the Reset settings button.
- After the reset, start Chrome again and check if the problem you’re experiencing has been fixed. If needed, open Chrome again and restore settings that you’ve previously set.
OTHER INTERESTING ARTICLES YOU MAY LIKE:
- How To Fix Minecraft Internal Exception Java.IO.IOException Error
- How To Watch Twitch On Nintendo Switch | Updated Steps [2022]
- How To Fix Steam Says Game Is Running Error [2022]
- How To Stream Twitch On Chromecast | Updated Steps [2022]
Visit our TheDroidGuy Youtube Channel for more troubleshooting videos and tutorials.