How to Create Out of Office Auto-Reply in Gmail Note 20 | Gmail Vacation Responder
This post will help you set up and create out of office auto-reply message in Gmail Note 20. Read on if you need help setting up an automatic reply message in your Gmail account while you’re out there somewhere to spend a quality vacation using your new Samsung Galaxy Note phablet.
Gmail App Vacation Responder
Google’s very own email platform integrates an auto-reply feature that can be activated when you’re planning to take some time away from work, go on a holiday break or travel to a place where you won’t have access to the Internet. This feature is called the out of office auto-reply or vacation responder.
Gmail’s vacation responder works by sending an automatic reply to anyone who emails you, letting them know that you’re out of the office and that you are unable to check or respond to emails.
In case you’re wondering how to set up an out of office message on your Galaxy Note 20 Gmail app, I’ve laid out a simple video walkthrough for your reference.
Easy Steps to Create Out of office Auto-reply Message in Gmail Note 20
Setting up an out of office reply feature in Gmail mobile is fairly easy. And here’s how it’s done on the Note 20.
1. Swipe up from the Home screen to launch the Apps viewer. While on the Apps viewer, tap the Google Folder or G Suite.
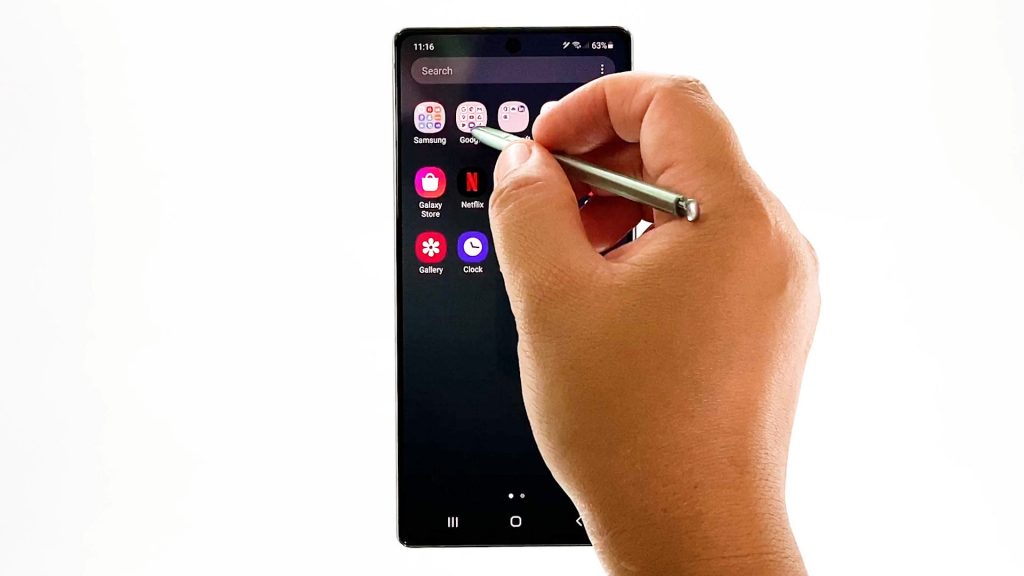
Doing so will let you access Google-related apps and services.
2. Tap on the Gmail app icon to proceed.
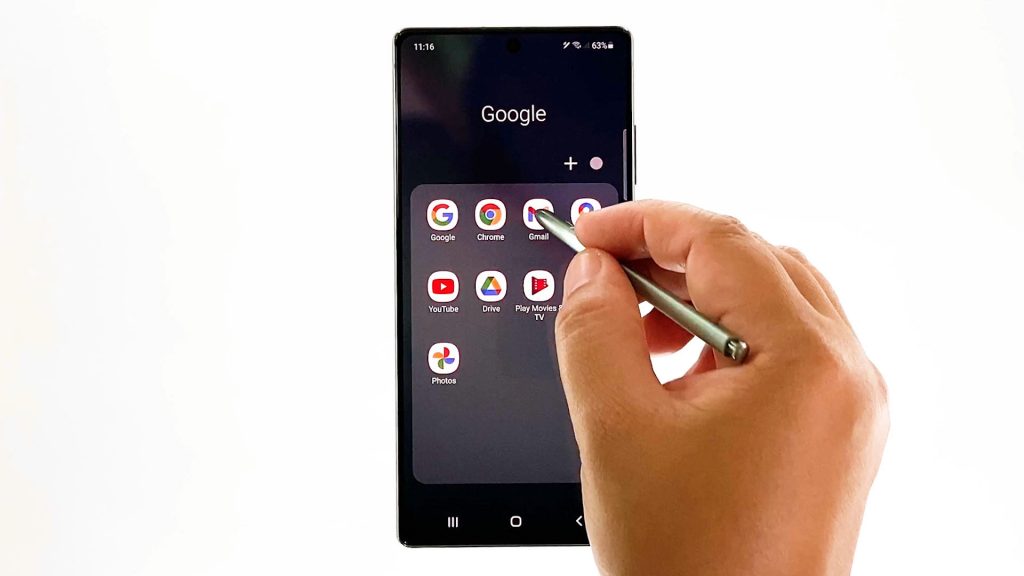
The Gmail app opens with your inbox.
3. On the upper-leftmost corner of the search field, tap the quick menu icon represented by three short horizontal lines.
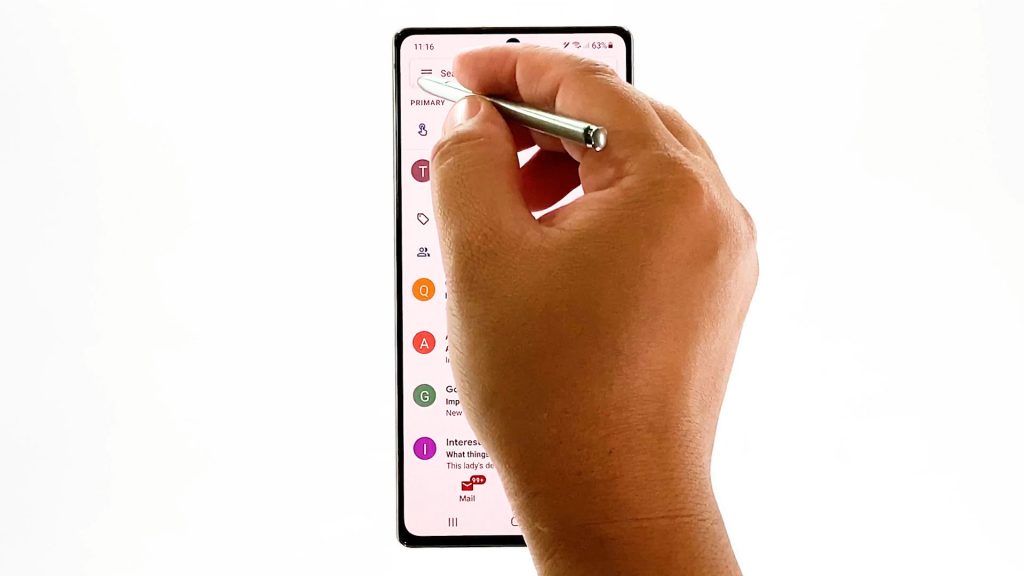
A side menu opens, highlighting relevant settings and email features.
4. Scroll down and then tap Settings.
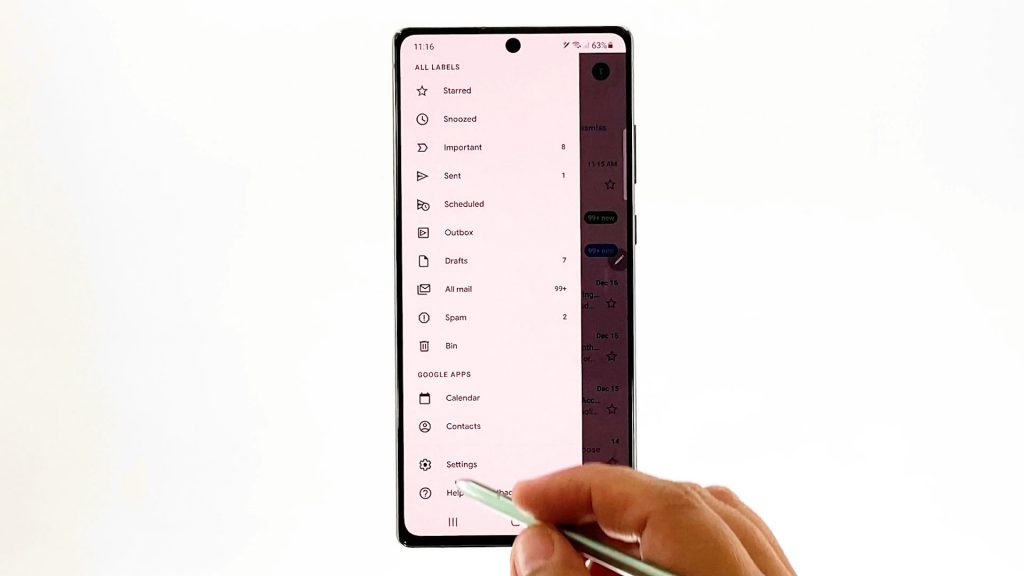
Your Gmail account’s settings menu will launch.
5. Tap on your email address to continue.
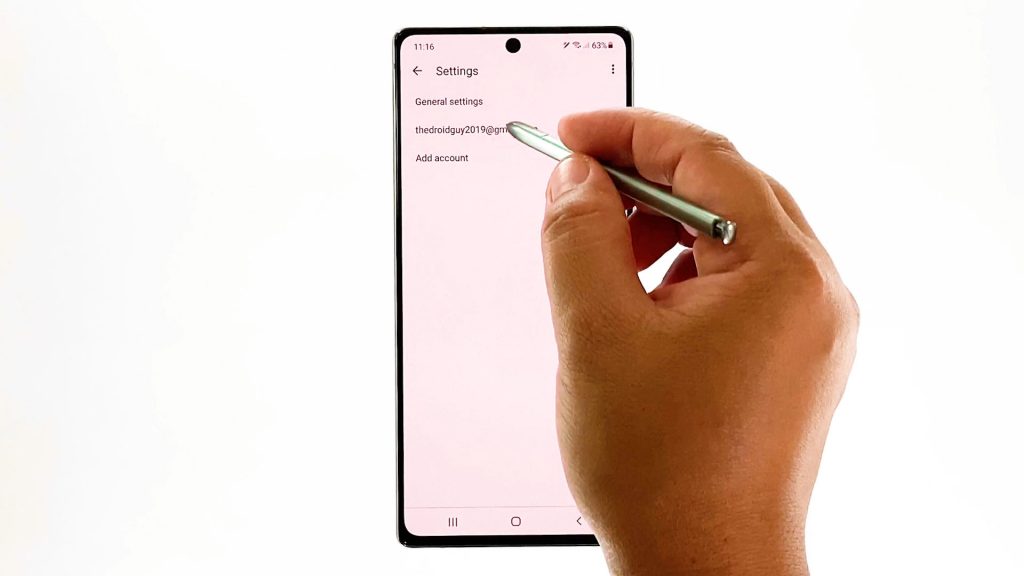
Your Gmail account, inbox, notifications and other relevant information will load up on the next display.
6. Scroll down to view more items. Then, select Out of office autoreply.
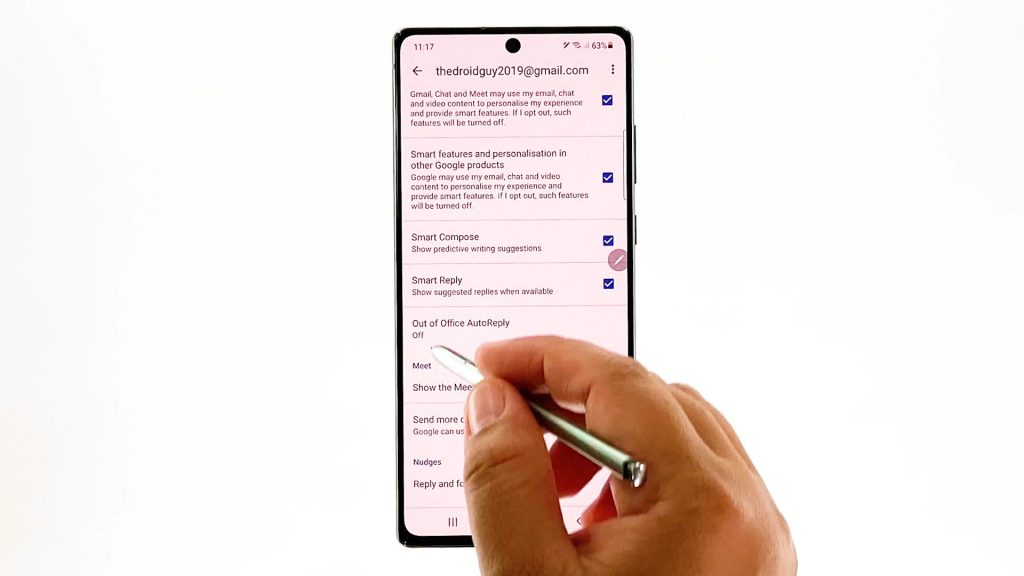
The auto-reply menu will launch.
7. To activate the feature, toggle to turn on the switch next to Out of Office AutoReply.
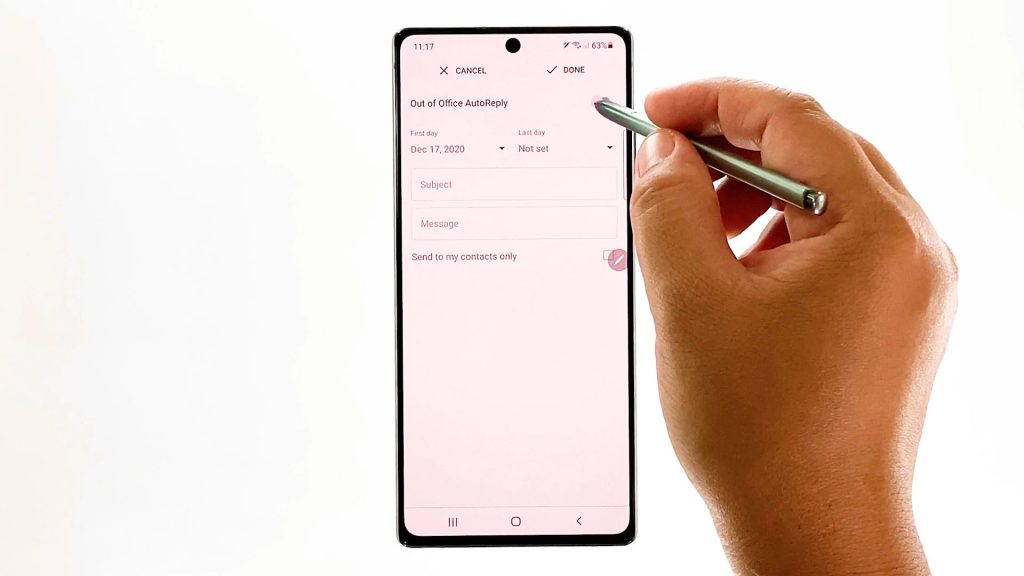
Doing so enables the subject and message fields beneath.
8. Specify the days you would like the out of office autoreply message to take effect.
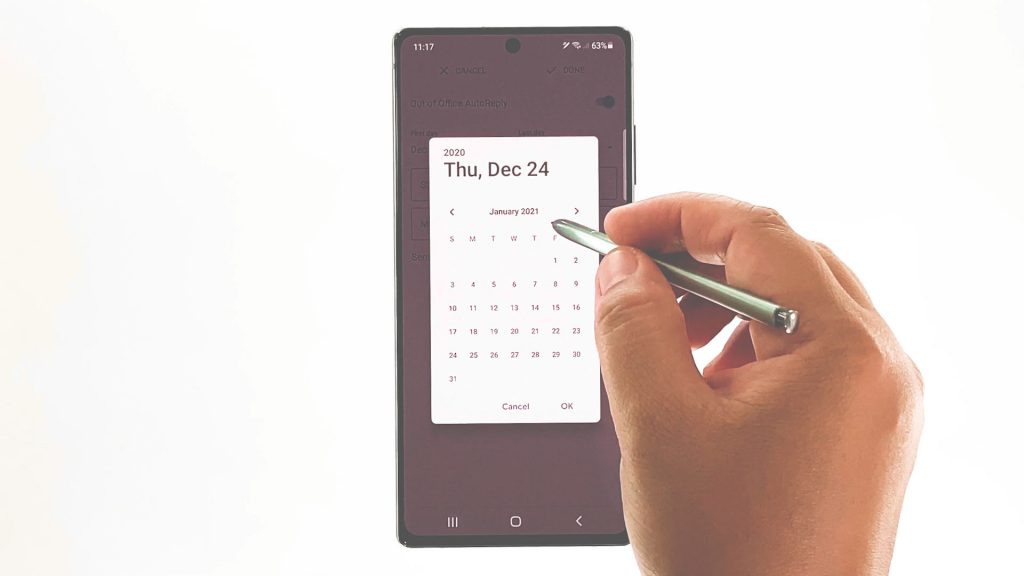
Just use the built-in date selector accordingly.
9. To add a subject, tap on the Subject text field and then type in your preferred automatic message header.
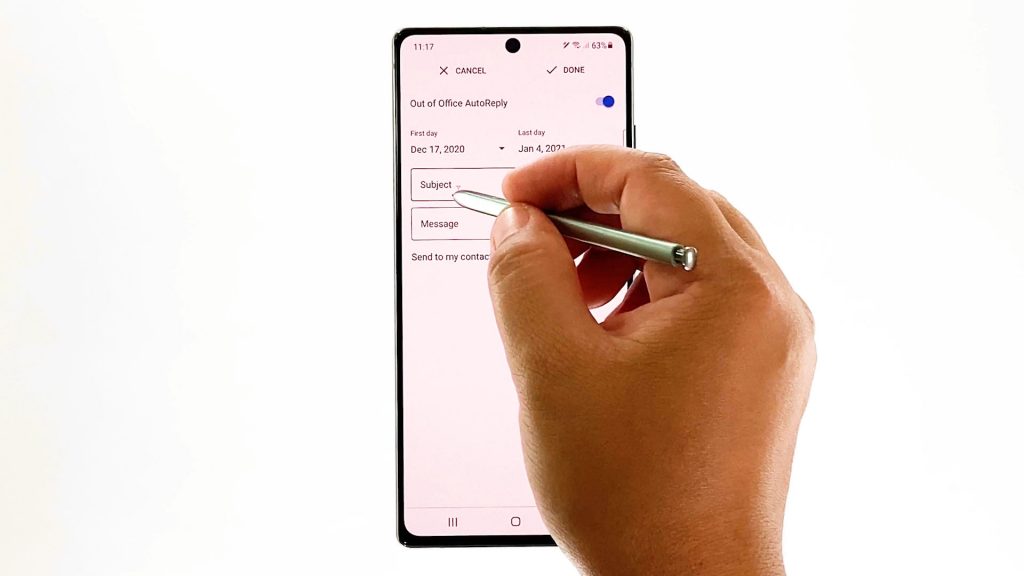
10. After typing the subject, tap on the Message text field then enter your out of office auto-reply message.
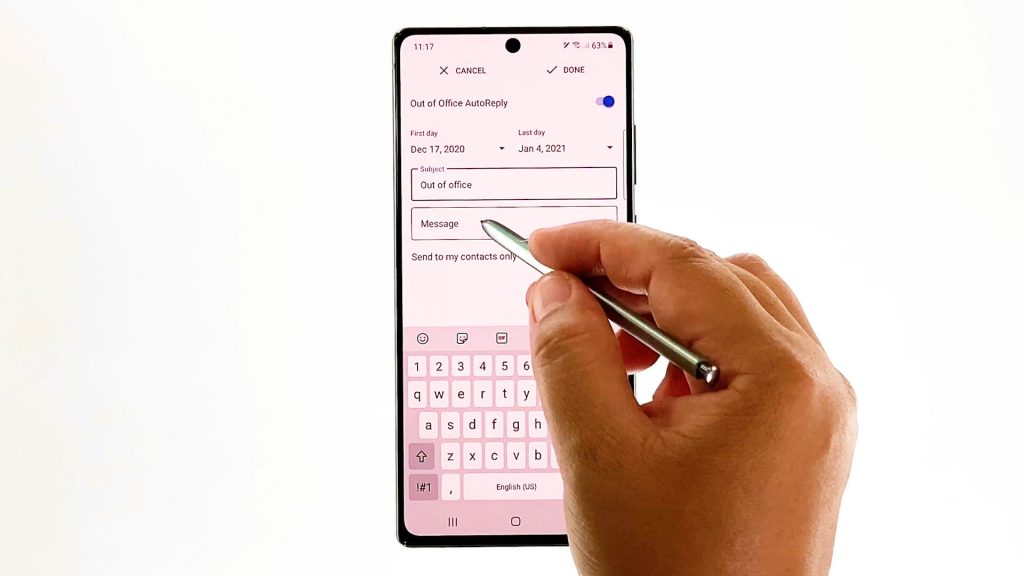
You may opt to send the auto-reply only to your contacts. To do so, simply mark the check box next to Send to my contacts only. Otherwise, leave the box unchecked.
11. Once you’re done creating your message, tap Done.
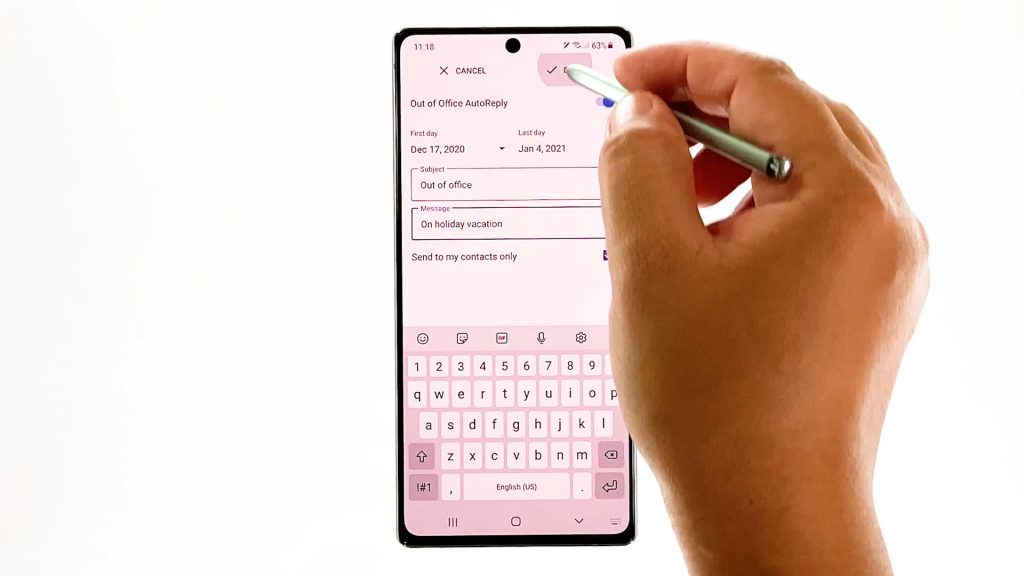
Doing so saves your Out of Office AutoReply message in Gmail.
If you wish to make necessary changes, just head back to the out of office autoreply menu.
Don’t forget to tap Done when you’re finished altering the details to update the out of office auto-reply message for your Gmail account.
How Out of Office AutoReply Works
Oftentimes, out of office autoreply is only sent to people the first time that they email you. However, there are some instances when someone may see your out of office auto-reply more than once. This is usually the case if the same person emails you again four days from the start date and autoreply is still enabled on your Gmail account.
Your out of office status can also be shown to others by sharing your calendar and creating an out of office event.
And that’s all about creating an out of office auto-reply message on your Galaxy Note 20 Gmail account.
Other Gmail Auto-Reply
Aside from out of office auto-reply, you can also configure the Gmail app to automatically reply to email messages using the built-in advanced template. This requires the need for you to enable Templates in the Gmail app.
After enabling Templates, you can start creating a message template by composing a new message as you normally do.
Once you’re finished typing the message, tap the triple dots or More options icon located at the bottom section before the Trash icon and then tap the Save as new template option. Assign a name for the new template and then tap Save.
The message will then be saved as a new template. By then you can select that template and use it as your autoreply message based on the specified criteria.
More Video Tutorials
To view more comprehensive tutorials and troubleshooting clips on different mobile phones and tablets, feel free to visit The Droid Guy channel on YouTube anytime.
You might also want to read: