How To Fix Windows 11 Checking For Updates Error | Won’t Update
Updating your Windows Operating System is a basic step to minimizing bugs and fixing known issues. And while the Windows update process is almost always glitch free for most users, some may encounter problems with it, like what we’re dealing with here today.
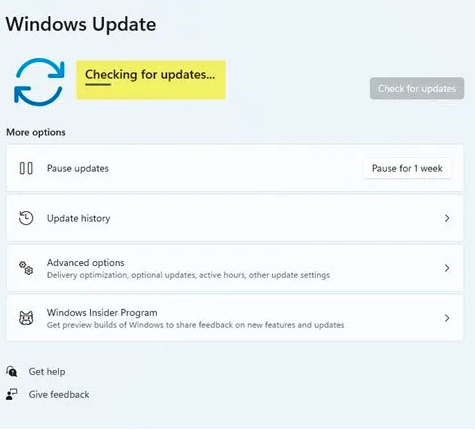
In this guide, we’ll show you the solutions that you can try if your Windows 11 computer seems unable to download or install updates and is stuck in the Checking for updates error screen.
How to fix Windows 11 checking for updates error
If you’re getting any Windows update errors, or if your computer seems to be stuck in the Checking for update screen after waiting for the update to finish for a long time, these are the solutions that you need to try:
Solution #1: Reboot your PC.
A quick reboot of your PC might be a simple fix for this problem. Sometimes, all it takes to deal with a particular bug is to restart the computer. If you do that, your computer will cease searching for updates, which might fix the problem you’re having.
Solution #2: Use the Windows Update troubleshooter.
The Windows Update Troubleshooter is a tool that was developed expressly for the purpose of fixing Windows updating problems. If you seem to be having issues or if you’re getting an error with Windows updates, running the Windows update troubleshooter is the go-to tool.
This troubleshooter won’t necessarily repair every update error, but it can resolve quite a few update issues regardless. It is always worthwhile to give Windows Update Troubleshooting a shot because it is an easy solution for resolving issues. This is how the troubleshooter can be started in Windows 11:
- Right click the Start button and select the Settings app.
- Go to the System tab.
- In the System tab, select Troubleshoot.
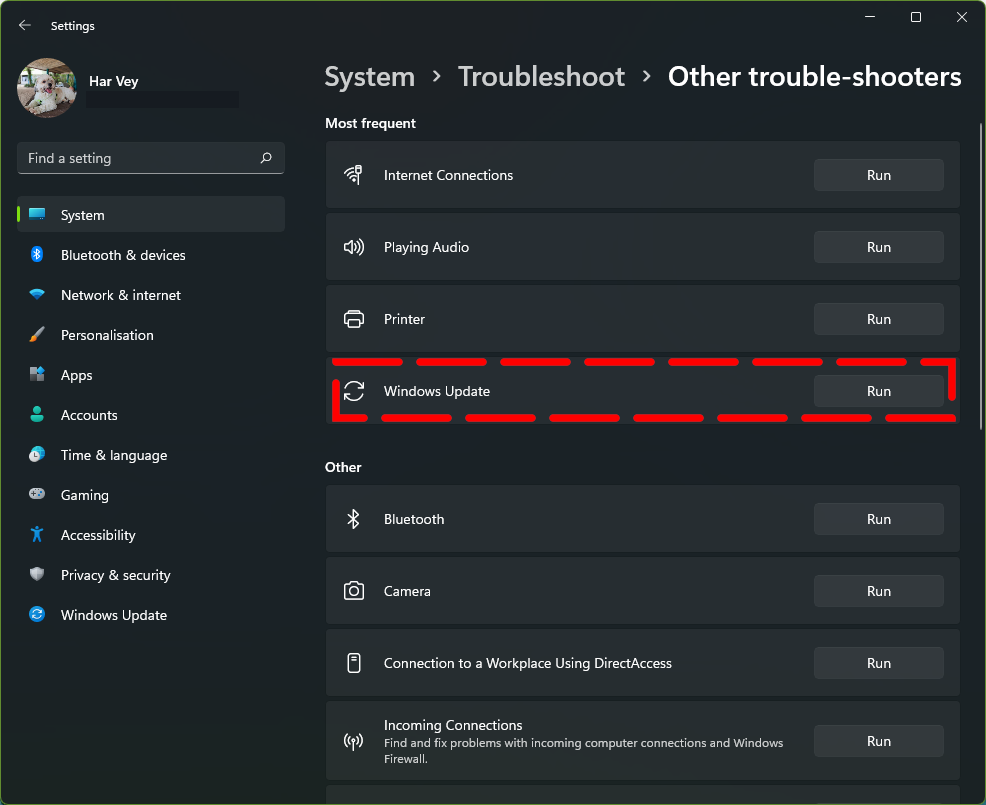
- Select Other-troubleshooters.
- Click the Run option for the Windows Update troubleshooter.
Once you run the Update Troubleshooter, the system will scan everything and check if there’s something to fix. Please be patient while the problem solver works its magic. It will inform you that it has discovered problems with your system and performed some adjustments if any solutions are applied.
Once the Windows update troubleshooter has finished doing it’s job, restart your computer again before checking if it will now install the latest Windows updates.
Fix #3: Restart Windows update service.
Some users were able to fix Windows update issues and errors in the past by making sure that the Windows Update service is running. All you have to do is to access the Services window and restart the Windows update service from there. Here’s how to do that:

- On your keyboard, press the Windows key + R.
- In the Run dialog box that opens, type in services.msc.
- Once the Services window appears, find Windows update and right click on it.
- Select Stop.
- Wait for a few moments then hit Start.
Once the Windows update service has been restarted, try to see if your computer can start installing Windows updates again.
Fix #4: Use the System File Scanner.
One of the common reasons for Windows update errors is corrupted system files. Unfortunately, there’s no clear indicators if your computer is dealing with such a situation until it’s too late. The good thing is, it’s relatively easy to fix corrupted system files. All you have to do is to confirm if that is indeed the case, and then run the System File Scan tool to fix any damaged files.
Here are the steps that you need to do:
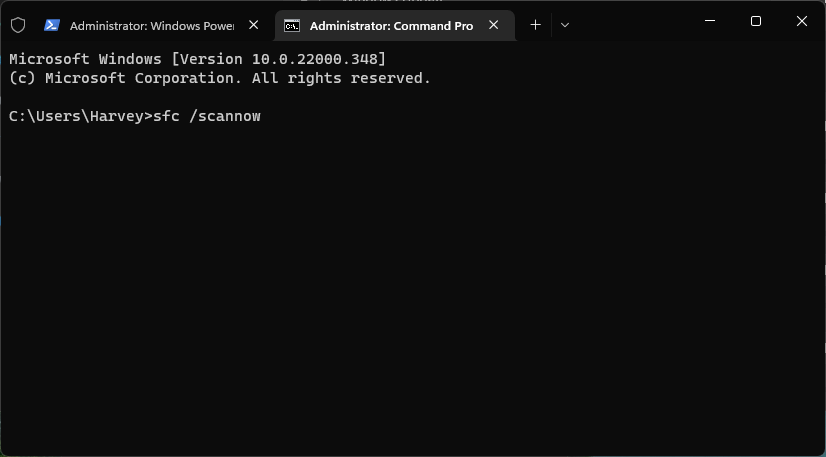
- Right click the Start button and select Windows Terminal (Admin).
- Click on the drop down arrow on top and select Command Prompt.
- In the Command Prompt window, type in: DISM.exe /Online /Cleanup-image /Restorehealth and press Enter.
- To start the System File Scan, type in the following command: sfc /scannow.
It will take some time to scan the system so just wait for the process to finish.
Afterwards, try to check if you can now install Windows updates again.
The step of doing a scan with Deployment Image Servicing (DISM) is completely voluntary. It is strongly suggested that you do that scan in case an image needs to be repaired. If such a repair is required, doing a scan of the Deployment Image Servicing first will be necessary in order for the system file scan to have any effect at all.
Fix #5: Ensure that your PC has the correct date and time.
Having the correct system date and time on your computer is necessary in order to download and install the latest Windows updates. Microsoft servers that rolls out updates will prevent your machine from downloading the updates if they detect that your computer has the incorrect timezone and date and time versus your current location and true date and time.

Fortunately, making sure that you have the correct date and time is easy. Here’s what you need to do:
- Right click on your taskbar where the date and time are located.
- Select Adjust date and time from the menu.
- In the window that opens, make sure that the switch for Set the time automatically is enabled. Alternatively, you can also click on the Sync now button under Additional settings to sync the current date and time from the servers.
If the option to Set time automatically is already activated, you will need to deactivate it before you can enable it again.
Fix #6: Use a different network to download Windows update.
Some Windows PC users may encounter update problems because of their network. For example, some organizations may block Windows updates in their network to avoid incurring data charges or to limit bandwidth usage. For example, if your Windows 11 PC is stuck at the Checking for updates screen when you’re using your school or library wifi, it’s possible that the network is to blame.
Try connecting to another wifi network, or use mobile data to see if that’s the case. Make sure that you restart your PC before checking for the problem.
Fix #7: Check for malware by running the antivirus software.
Sometimes, Windows system files may become corrupted, damaged, or gone missing because of malware. Depending on the affected files, Windows may or may not suffer from update issues. To check if the reason for your problem is a virus or malicious software, we recommend that you run a scan of the system using an antivirus.
If you don’t have a third party antivirus software, try using the default Windows Defender or Windows Security suite that comes with the Operating System.
Fix #8: Install updates for the antivirus software.
And speaking of antivirus, you want to make sure that whatever software you have, that it’s running its latest version. So, be sure that your antivirus software is fully updated at this time.
Fix #9: Disable third party antivirus software.
In some rare cases, the cause of the problem is not malware but rather a computer’s antivirus software. If you’ve already tried scanning the system with your updated antivirus and nothing has improved, consider turning it off. This is for the fact that some Windows systems may encounter conflicts with their antivirus software blocking downloads and updates.
This is especially recommended if you have a third party antivirus on your system. That said, make sure to turn back on the antivirus after turning it off temporarily during your troubleshooting.
Fix #10: Turn off updates for other Microsoft products.
If tinkering with your antivirus did not help at all, your next move is to see whether or not the problem is being caused by an on-going update of other Microsoft software.
Any on-going updates for other Microsoft products may compete for bandwidth in the system, or become the priority during the download phase, which may result to your computer getting stuck in the Checking for updates screen.
To ensure that no other Microsoft updates are being updated right now, follow these steps:
- Press the Windows key + I to open the Settings app.
- Select Update & Security.
- Click on Advanced options.
- Turn off Receive updates for other Microsoft products when you update Windows.
- Restart your computer and check for the problem.
Fix #11: Check storage space before installing Windows updates.
Even though there is room set aside for Windows updates on your hard drive, you may still experience problems if there is not enough free space on the drive. In light of this, check to see that the C: disk, or primary partition, of your computer has at least a few gigabytes of free space so that updates can be installed. To see how much space is still available on it, open File Explorer and click on “This PC.” From there, you can examine the storage icon for the drive just below.
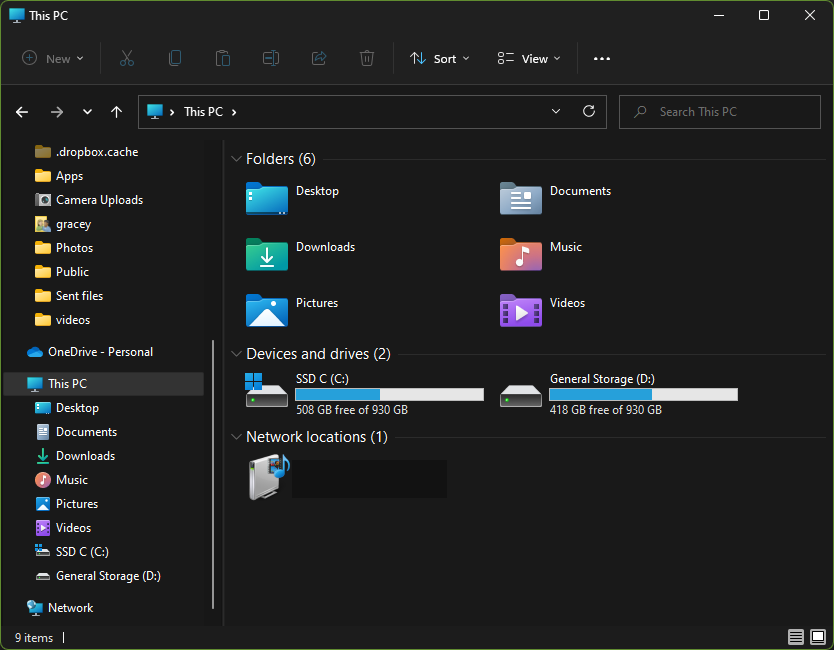
If that icon indicates that your storage disk is more than 90 percent full, you need to clear up some space on it so that you may continue using it. Uninstalling larger software applications that you do not use is the most effective technique to free up storage space on your hard disk drive or solid state drive (SSD). In addition to this, you should conduct a disk cleanup scan to remove unnecessary files.
Fix #12: Run Windows in Clean Boot.
By running your Windows 11 OS on clean boot, you will remove any risk of startup applications or services causing a conflict with the installation process. You can configure Windows to perform a clean boot by turning off any third-party programs and services that start up automatically. In order to accomplish this, you will need to modify some of the MSConfig settings as shown below:
- Right click on the Start button and select Run.
- In the Run dialog box, type in msconfig and hit OK.+
- In the General tab, select Selective startup and remove the checkmark for Load startup option. Make sure to leave Load system services and Use original boot configuration options selected.
- Select the Services tab and select the box next to Hide all Microsoft services on the Services tab.
- Click Disable all to remove all listed third-party services from the startup.
- Press the Apply button, and click OK.
- Select Restart on the dialog box prompt.
- Try updating Windows 11 after the restart.
Fix #13: Reset Windows Update components.
If running Windows on Clean Boot did not fix Windows update errors, your next solution to try is to ensure that you reset the Windows update components. Here’s how to do that:
- Right click the Start button and select Windows Terminal (Admin).
- Click on the drop down arrow on top and select Command Prompt.
- In the Command Prompt window, type in these commands and make sure to press Enter after each one. These are separate commands so be sure to enter then one by one:
- net stop bits
- net stop wuauserv
- net stop appidsvc
- net stop cryptsvc
- Rename the SoftwareDistribution folder with this command and press Enter: Ren %systemroot%\SoftwareDistribution SoftwareDistribution.old
- Then, input this command for renaming catroot2 and press Enter: Ren %systemroot%\System32\catroot2 catroot2.old
- In the Command Prompt window, type in these commands and make sure to press Enter after each one. These are separate commands so be sure to enter then one by one:
- net start bits
- net start wuauserv
- net start appidsvc
- net start cryptsvc
When you rename these directories in the manner described above, Windows will create brand new SoftwareDistribution and catroot2 folders in preparation for installing Windows Update. The net stop and net start commands are used to restart the platform services that are required for the update. After you have applied this potential remedy, restart Windows 11 and make another attempt to install updates.
Fix #14: Reset Windows 11.
The final step that you can do is to reset your Windows 11 OS. Resetting Windows 11 is the final option for resolving update difficulties, and doing so will likely resolve OS issues that other potential resolutions do not. Before resorting to resetting the platform, you should first investigate and attempt to resolve the update error using any other viable options.
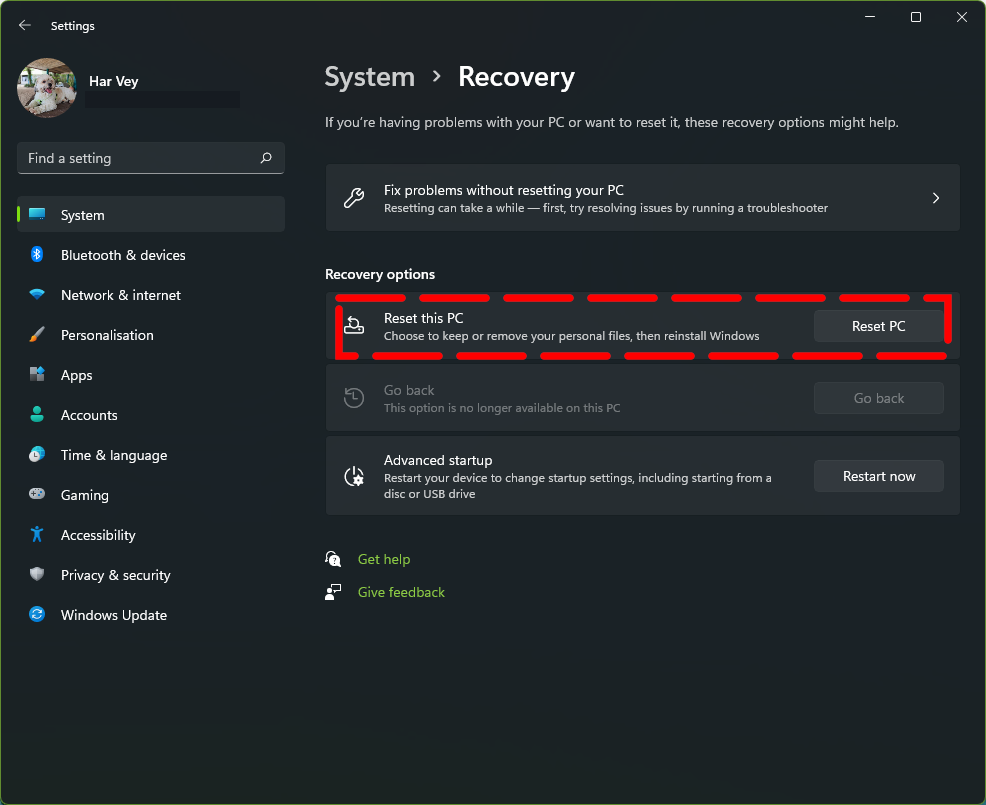
To reset Windows 11:
- Open Settings.
- Click on System.
- Click the Recovery page on the right side.
- Under the Recovery options section, click the Reset PC button for the “Reset this PC” feature.
- Click the Keep my files option.
- Select the option to reset Windows 11: Cloud Download or Local Reinstall.
- Review the apps to reinstall after the reset to factory settings.
- Click the Next button.
- Click the Reset button.
FAQs
OTHER INTERESTING ARTICLES YOU MAY LIKE: