Samsung Galaxy A10 mobile data not working? Here’s the fix!
Aside from being an alternative way to connect to the Internet, the mobile data is necessary to send and receive MMS or picture messages. It is important that it should work properly when you need it, especially if you’re always on the go. For users who are subscribed to a plan, their phones should be able to connect to the Internet using this method. But it seems like some owners of the Samsung Galaxy A10 have recently started to encounter mobile data issues. According to some, the service doesn’t work anymore while others said their connection intermittently keeps dropping. 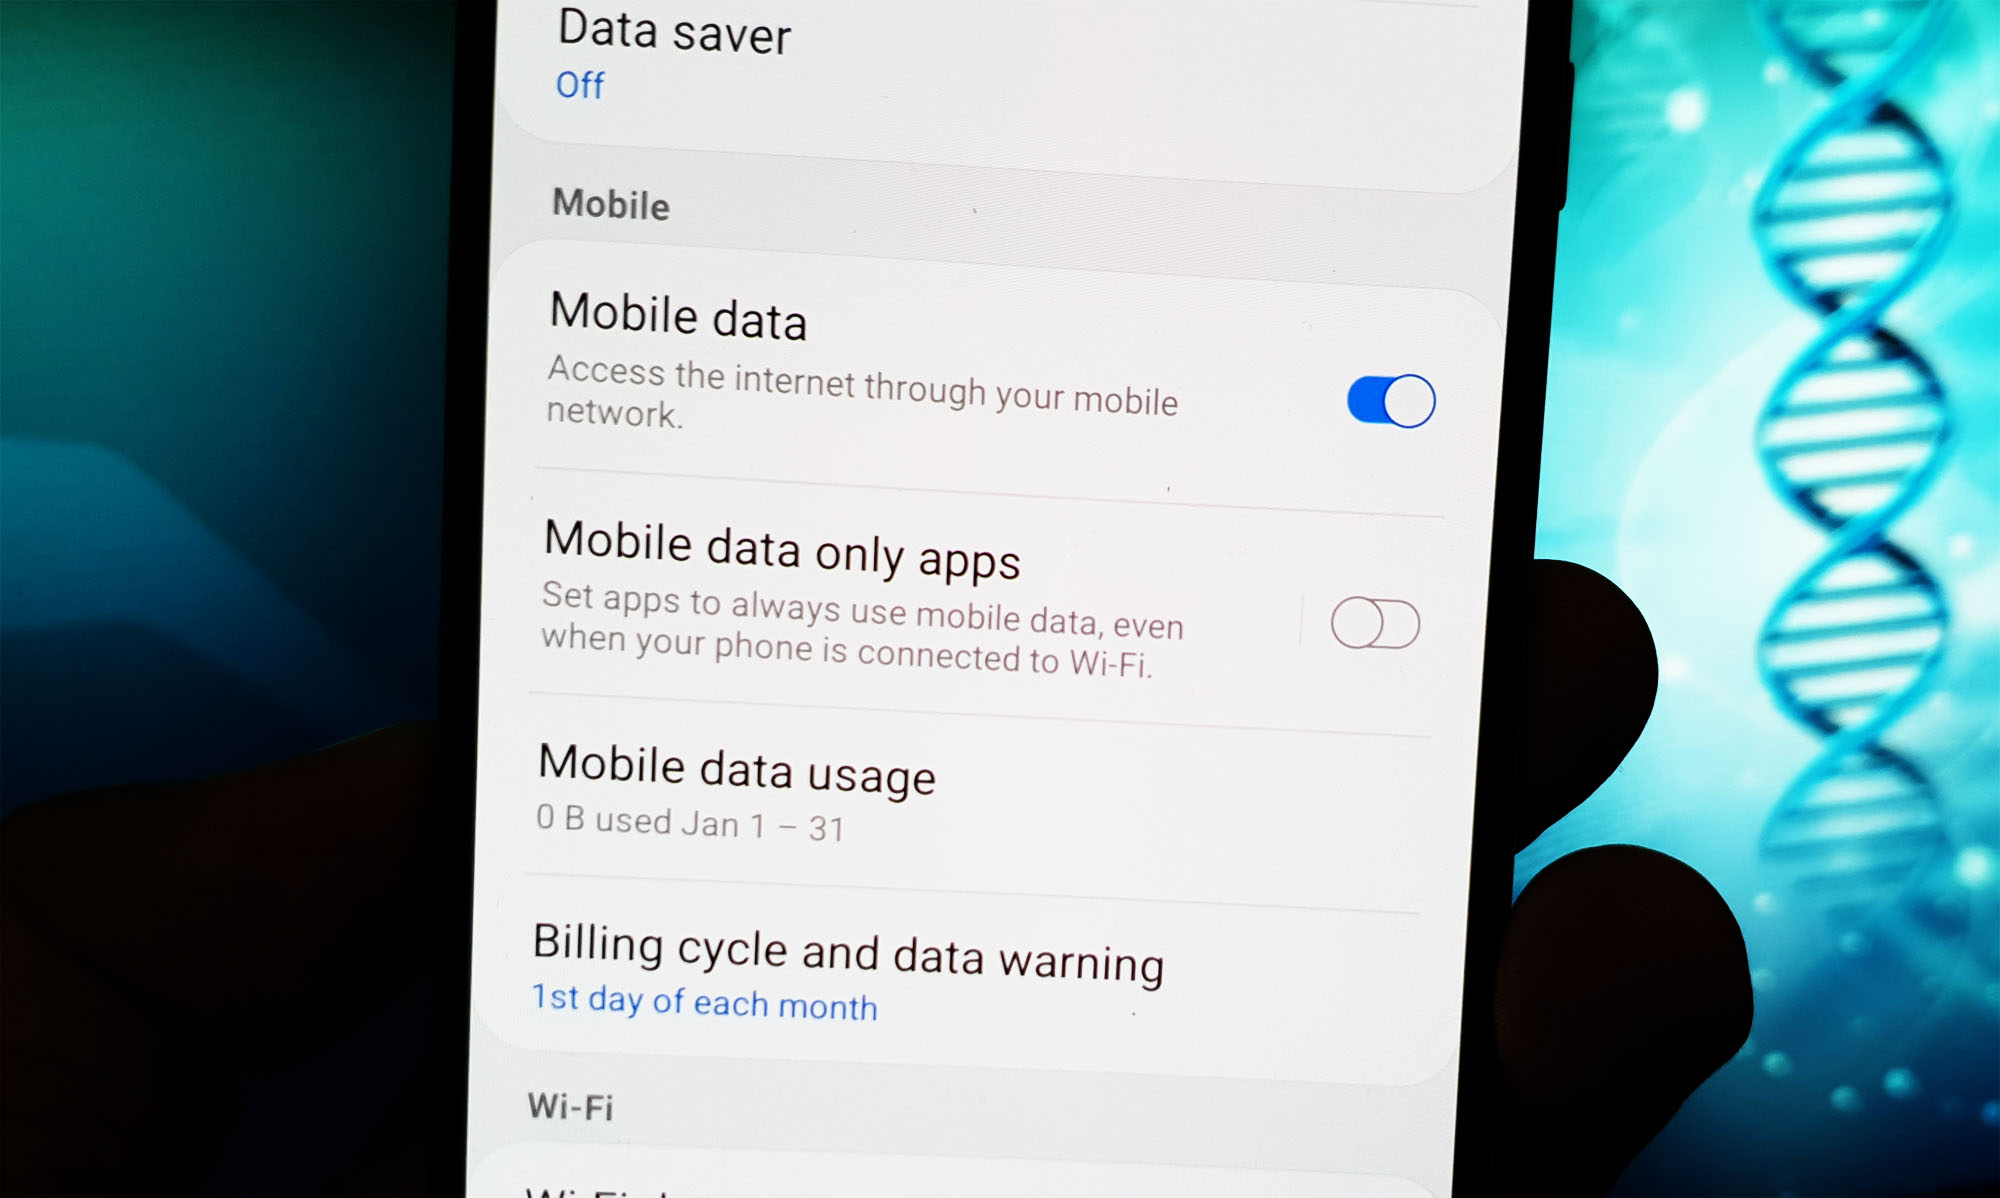
The thing is that this can be a minor problem, or it’s just a result of a rather serious problem. No matter the situation, if you encounter issues with the cellular data, you should immediately do some procedures for you to know what the real problem is and hopefully be able to fix it. That’s the purpose of this post. In here, I will guide you in troubleshooting your Galaxy A10 whose mobile data service is no longer working. So if you’re one of the owners of this device, continue reading as this article may be able to help you.
Fixing a Galaxy A10 with mobile data issues
When troubleshooting a problem like this, or any issue for that matter, it’s always important that you know what you’re dealing with or what caused it because you will be able to easily and accurately fix the problem if you do. So, in this post, we will try to consider all possibilities and then rule them out one after another until we can figure out or determine the reason why mobile data is no longer working on your Galaxy A10. With all that being said, here are the things you need to do…
First solution: Perform the Forced Restart on your device
Most of the time, when a problem like this occurred without obvious reason or cause, it’s always a pretty minor glitch caused by some unknown firmware issues. While it may seem like a pretty annoying problem, it’s actually a problem you can fix on your own without having to do much. The fact is that even a procedure as simple as the Forced Restart will be able to fix it. That’s the reason why you need to do it first before anything else as it may save you from a lot of trouble.
How to Force Restart your phone
- Press and hold the Volume Down button and don’t release it yet.
- While holding down the volume button, press and hold the Power key as well.
- Keep both keys held down together for 15 seconds or until the Galaxy A10 logo shows on the screen.
Once your phone has finished rebooting, make sure that the mobile data service is enabled and WiFi is disabled, and then try to browse any website to know if it can now connect to the Internet. If the problem remained, then try the next solution.
Second solution: Refresh the connection between your phone and the tower
It may sound a bit complicated but it’s actually pretty easy to fix. What you have to do is simply disable mobile data for a few seconds and then re-enable it until it can reconnect to the network.
- Using two fingers, swipe down from the top of the screen to pull quick settings down.
- Look for mobile data icon and then tap to disable it.
- After a few seconds, tap on it again to re-enable it.
More often than not, a forced restart and this procedure will fix the problem but if for some reason your Galaxy A10 is still not connecting to the Internet via mobile data, then try the next solution.
Third solution: Call your service provider
Before you move on to doing advanced troubleshooting procedures to fix this problem, it’s better to call your service provider first because the problem can be with your account or there’s an ongoing outage in your area. You need to do this most especially if the service has been working properly until this problem occurred.
If you have unsettled bills, it’s but normal for your service provider to bar your account from using some of the services and mobile data is always one of those services that automatically gets disabled if there’s an issue with your account. If it’s account-related, then you can rest assured that you will be able to use cellular data once you settle it.
If it’s an issue with the network, your service provider will definitely advise you about the problem and the estimated time that you have to wait before the problem gets sorted out. Most of the time, you don’t have to do anything on your phone, except wait until the issue is fixed.
The thing is that your service provider always has the answers as far as your account, the network and other things are concerned. You may have to talk with the representative for a few minutes but that might actually save you from all the hassle of troubleshooting your phone.
Fourth solution: Reset the Network Settings of your device
Calling your service provider is always up to you and while we strongly suggest it, we really can’t force you to do so if you don’t want to. Now, if you called your provider and were told that your account doesn’t have an issue nor the tower in your area, then you must continue troubleshooting your phone. Do the same if you don’t want to call your provider.
The next thing that you have to do is to reset the network settings of your device. This will bring all network configurations back to factory defaults. It is a very effective solution to any network-related problems.
How to reset the network settings
- Swipe down from the top of the screen to pull the notification panel down.
- Tap the Settings icon on the upper-right corner.
- Scroll to and tap General management.
- Touch Reset.
- Tap Reset network settings.
- Tap Reset settings.
- If prompted, enter your PIN, Password or Pattern.
- Finally, tap Reset.
After doing this, only the mobile data is enabled so try browsing any website and see if the problem is fixed. If your phone is still not able to connect to the Internet using cellular data, then try the next solution.
Fifth solution: Delete the old system cache
Performance issues occur from time to time and there’s a possibility that they’re caused by some cached files that was corrupted. The same is true with network problems that’s why it’s important that you try doing this procedure. You have to wipe the cache partition of your phone to delete the old system cache and get it replaced with a new one. Basically, what you need to do is delete the cache and the Android will do the reset. This is a safe procedure for both your data and your device.
How to wipe cache partition
- Turn off the device.
- Press and hold the Volume Up and Power keys.
- When the Galaxy A10 logo shows, release the keys.
- Your Galaxy A10 will continue to boot up into the Recovery Mode. Once you see a black screen with blue and yellow texts, proceed to the next step.
- Press the Volume down key several times to highlight wipe cache partition.
- Press Power key to select.
- Press the Volume down key to highlight yes, them and press the Power key to select.
- When the wipe cache partition is complete, Reboot system now is highlighted.
- Press the Power key to restart the device.
When the reboot is finished, try browsing the web to see if the mobile data service is now working properly. If it still not letting you connect to the Internet, then try the next solution.
Sixth solution: Perform the Master Reset
As long as this problem isn’t due to an account issue or a network problem, and that the firmware has not been modified in any way, you should be able to fix it by doing the master reset. But before you actually to that, backup your files and data first because you may not be able to recover them after the reset. Also, it’s best to remove your google account from your phone prior to the reset so that you won’t be locked out after the reset and that you will be able to use a different account if you want to. When ready, follow the instructions below to reset your phone.
How to master reset your device
- Turn off the device.
- Press and hold the Volume Up and Power keys.
- When the Galaxy A10 logo shows, release the keys.
- Your Galaxy A10 will continue to boot up into the Recovery Mode. Once you see a black screen with blue and yellow texts, proceed to the next step.
- Press the Volume down key several times to highlight ‘wipe data / factory reset’.
- Press Power button to select.
- Press the Volume down key until ‘Yes’ is highlighted.
- Press Power button to select and start the master reset.
- When the master reset is complete, ‘Reboot system now’ is highlighted.
- Press the Power key to restart the device.
When the reset is complete, set up your phone as a new device. I hope that this troubleshooting guide has been able to help you one way or the other. Thanks for reading!