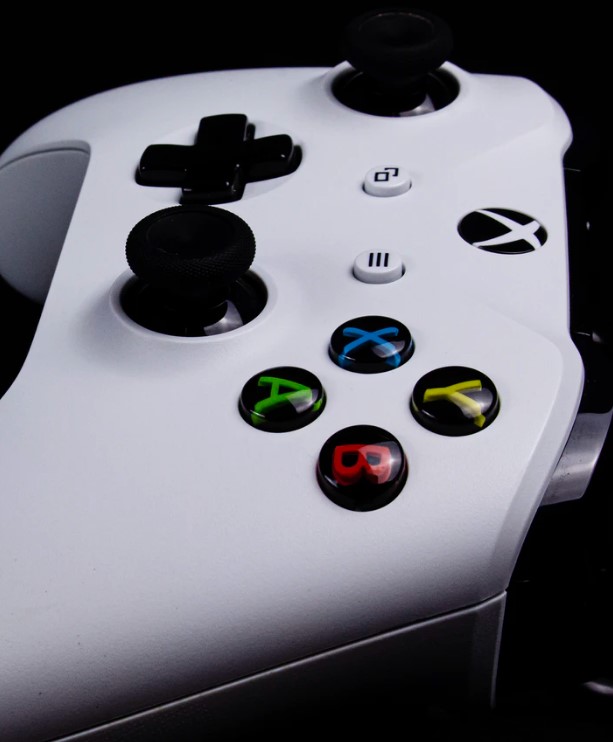
How To Update Xbox One Controller Firmware | Easy Steps
If you are a new owner of one of the best consoles in the world but have no idea on how to update the controller firmware, then continue checking this page. In this article, we will discuss how to update Xbox One Controller firmware in three different ways. The steps are easy to follow which are provided below with all the necessary information.
Importance of updating Xbox One Controller firmware
Just like the Xbox One console, the controller firmware needs to be updated from time to time as well. This action is necessary to ensure that the firmware version of the controller is the latest one. Aside from that, these updates provided by Microsoft also include fixes of bugs and enhance the features of the controller to function better.
How to update your Xbox One controller firmware

The Xbox One controller firmware can be updated in three different methods. You can update the controller using a Windows 10 computer, a wireless connection, or with a micro USB cable. You can select either of these options whichever is convenient to you.
Method 1: Update your Xbox One controller on a Windows 10 computer
The controllers can be updated using a computer with Windows 10 only. Follow these steps to begin updating the controller:
- Install the Xbox Accessories app from the Microsoft Store. Take note that the Xbox Accessories app is only available for Windows 10 computers.
- Once installed, launch the Xbox Accessories app on your computer.
- Connect your controller to your computer using a USB cable or the Xbox Wireless adapter for Windows if available.
- After the controllers are connected, a message will pop up “Update Required” if an update is needed.
- Select Close after the update has been installed.
Method 2: Update an Xbox One controller firmware wirelessly
This is applicable for Xbox Wireless controllers that are purchased in or after June 2015. A circular 3.5-mm port should be found at the bottom of the controller as an indication that it can be updated wirelessly. If you have a stereo headset adapter, connect it first to your controller before doing the firmware update. The steps are as follows:
- Turn on your Xbox One controller.
- Press the Xbox button.
- Select System.
- Select Settings.
- Click on Devices & streaming.
- Select Accessories. Choose the controller you want to update.
- Select Device info.
- Select the Firmware version.
- Click Update Now. The process will begin shortly.
Method 3: Update an Xbox One Controller Firmware using a USB cable
The easiest way to update your controller is by using a USB cable. Here’s how to do it:
- Connect the USB cable to your controller and the other end to your console.
- An instruction to install the update should appear on the screen. However, if the instruction doesn’t show on the screen, press the Xbox symbol instead.
- Select System.
- Click Settings.
- Select Devices & streaming.
- Select Accessories.
- Select the controller you need to update.
- Select Device info.
- Click the Firmware version. Follow the remaining steps reflected to complete the process.
Other interesting articles:
- How To Get Cyberpunk 2077 Refunds | PS4 | Xbox | Steam | Retailers
- How To Fix PS5 CE-108889-4 Error | System Update Not Working
- How To Fix COD Modern Warfare 590912 Error | Easy Solutions
- How To Fix PS5 Cannot Connect To Wifi Error | Easy Solutions | NEW!
Visit our TheDroidGuy Youtube Channel for more troubleshooting videos and tutorials.