How To Turn Off Samsung Galaxy Watch 4
Turning off the Samsung Galaxy Watch 4 can usually fix software related issues that you are experiencing with it such as crashing or freezing. In most cases your data will not be affected when you power off the watch. We will be showing you the correct way on how to perform this step.
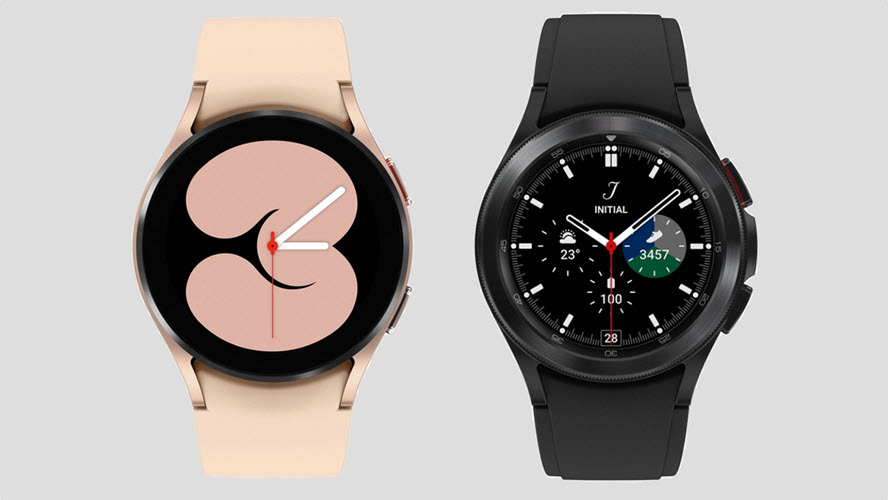
The Samsung Galaxy Watch 4 is one of the best smartwatch models that is available in the market today. It runs on Google’s Wear OS opening up a lot of possibilities on app installations and software support. Some of the outstanding features of this smartwatch include an IP68 rating, Super AMOLED display, as well as more than 2 days of battery life on a single charge.
- Sizes: 40mm, 44mm
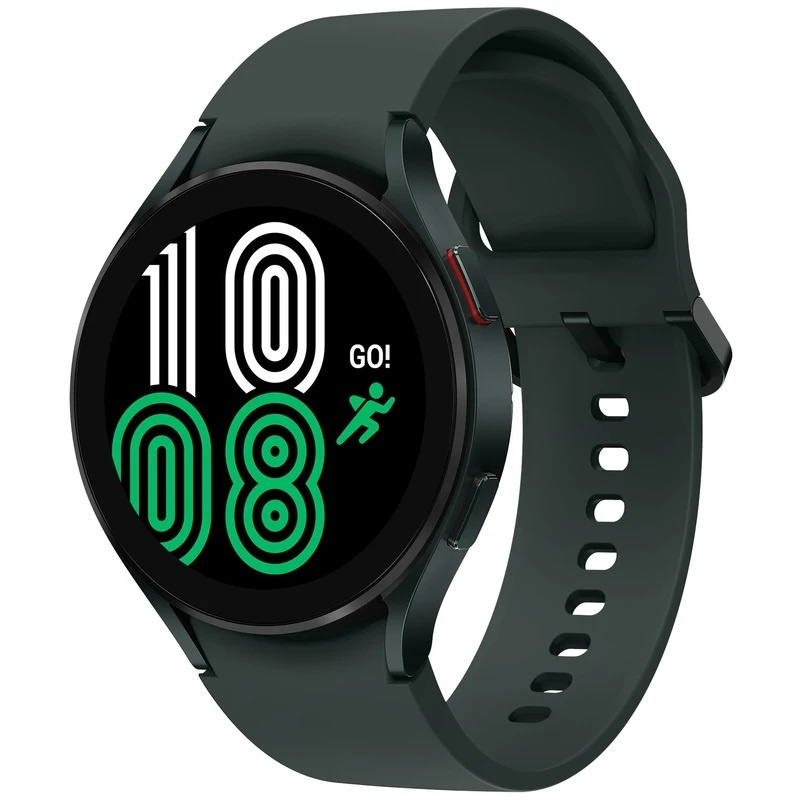
- Colors: Black, silver, green (40mm); black, silver, pink gold (44mm)
- Display: Super AMOLED, 1.2″ 396×396 (40mm) or 1.4″450×450 (44mm)
- CPU: Exynos W920 @ 1.18GHz
- RAM: 1.5GB
- Storage: 16GB
- Battery: 247mAh (40mm) or 361mAh (44mm)
- Connectivity: NFC, GPS, Bluetooth 5.0, Wi-Fi 802.11 a/b/g/n, LTE (optional)
- Durability: IP68 certified, MIL-STD-810G compliant
- Software: Wear OS 3 Powered by Samsung
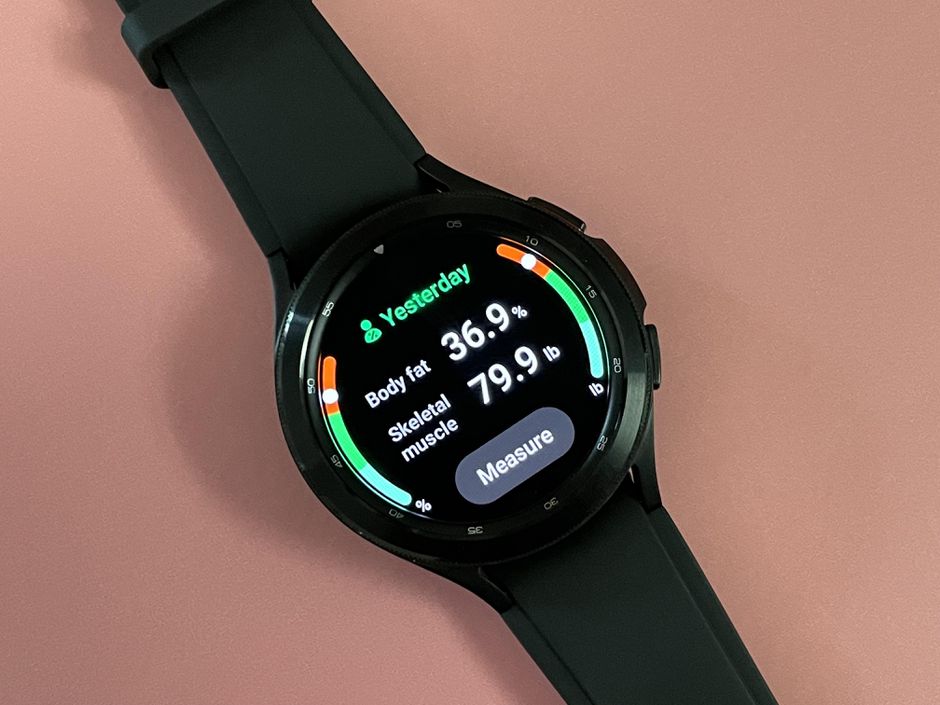
- Health sensors: Heart rate, EKG, bioelectrical impedance
Power off Samsung Galaxy Watch 4 & Samsung Watch 4 Classic
There are several ways for you to turn off the Samsung Galaxy Watch 4. This is actually quite an easy procedure and can usually be done in seconds.
Power off using the hardware keys
Press and hold the Home key (Power key), and then tap Power off.
Power off from quick panel
Quickly open the quick panel by dragging downwards from the top of the watch screen and tap the Power off icon.
Turn on the Samsung Galaxy Watch 4
After you have turned off the watch here’s how you can turn it on.
Press and hold the Power button until the Samsung Galaxy Watch logo appears, then release.
Troubleshooting the Samsung Galaxy Watch 4
In case you are still experiencing issues with the Galaxy Watch 4 even after restarting it then here are the additional troubleshooting steps that you can perform on it.
Charge your Galaxy Watch 4 smartwatch
You will need to make sure that your Galaxy Watch has sufficient charge. If the watch has low battery power left then you might experience issues while using it. The actual charge time will vary depending on the charger you use and the watch’s state. Try charging the Galaxy Watch for at least and hour then check if it turns on.
To properly charge your Galaxy Watch
Place the smartwatch on top of the wireless charging pad.
Allow the watch to charge for at least 1 hour.
If the charging indicator does not appear then press the Home key (Power key) once.
If an error occurs while charging remove the watch from the charger then place it back on the center.
If your watch heats up while charging disconnect it form the charger then close all running apps. When the watch cool down try charging it again.
Update the Samsung Galaxy Watch software
Having the latest software update on your watch is usually advantageous as it will have several improvements over the older software version.
Update watch software with an Android phone
Make sure the watch has at least 30% charge on it before starting the update process.
On the connected phone, navigate to and open the Galaxy Wearable app.
Tap Watch setting
Tap Watch software update.
If your watch displays a Home tab, swipe to and tap Watch software update or Band software update.
Tap Download and install.
Factory reset the Galaxy Watch 4
In case the issue persists then a factory reset is highly recommended.
From the Apps screen, tap Settings.
Tap General.
Tap Reset.
You can Back up data at this time.
Tap Reset.
Wait for the device to reset. The device is reset to its factory settings.
Feel free to visit our YouTube channel for additional troubleshooting guides on various devices.