How to Clear YouTube Watch and Search History on Samsung Galaxy Note 20
This post will teach you how to clear watch history and search history on the Galaxy Note 20 YouTube app.
Read on if you need help deleting all videos you’ve previously watched and searched on YouTube using your Galaxy Note 20 smartphone.
YouTube Watch and Search History
All the videos you’ve watched on YouTube are typically piled up in your search and watch history. For example, if you watch a lot of food videos, YouTube will suggest relevant videos more than other video types. While this may offer benefits especially when it comes to re-watching of a particular video clip at a later time, some sites might use this information to track and show your video preferences.
Just like in computers, YouTube history, browsed site videos, and other relevant browsing details in mobile devices can also be deleted.
On the YouTube Watch history, you will see a chronological view of all videos you’ve previously watched through the app on your phone. Videos are usually displayed with their cover thumbnail with a play indicator in case you’d like to re-watch them.
If you don’t want others to see what you’ve been watching or searching on YouTube, then you might as well consider clearing out all your watch and search history regularly. In case you need help on how to get this done on your Note 20’s YouTube app, I’ve laid out a quick and easy guide for your reference.
Easy Steps to Clear YouTube Watch and Search History on your Note 20
Just like Google’s Chrome browser, content that you’ve previously watched on the YouTube app can also be deleted. The process varies between iOS and Android devices. On the Galaxy Note 20, deleting YouTube’s watch and search history is done this way.
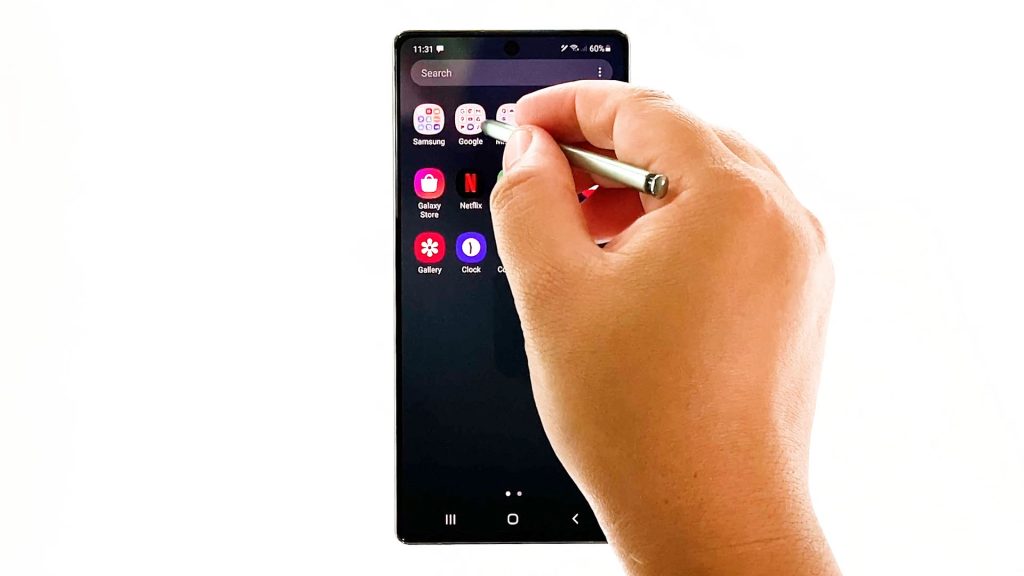
1. From the Home screen, swipe up from the bottom to launch the Apps viewer.
Different app icons and shortcut controls will load up on the next display.
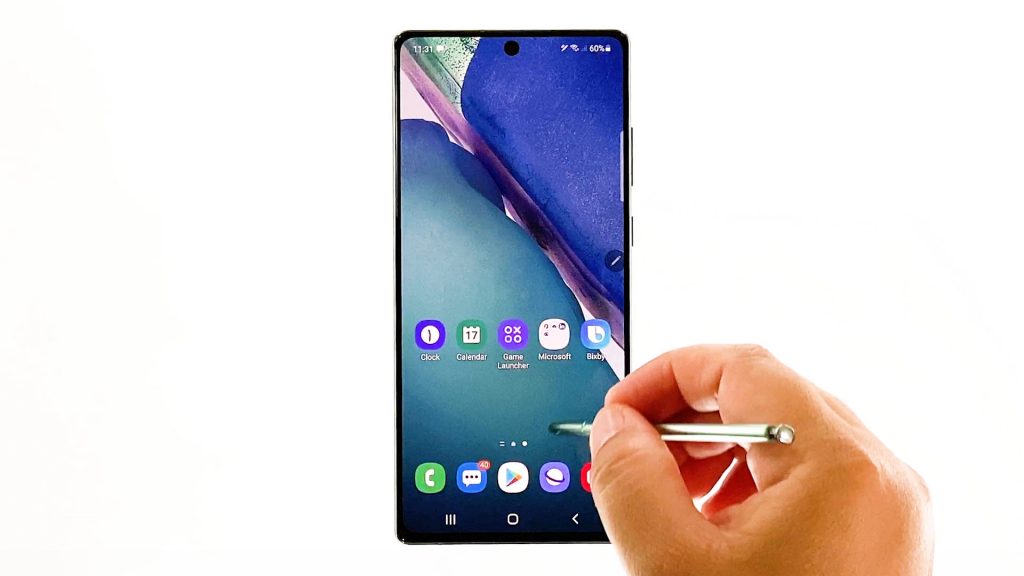
2. Locate the G Suite or Google Folder and then tap on it.
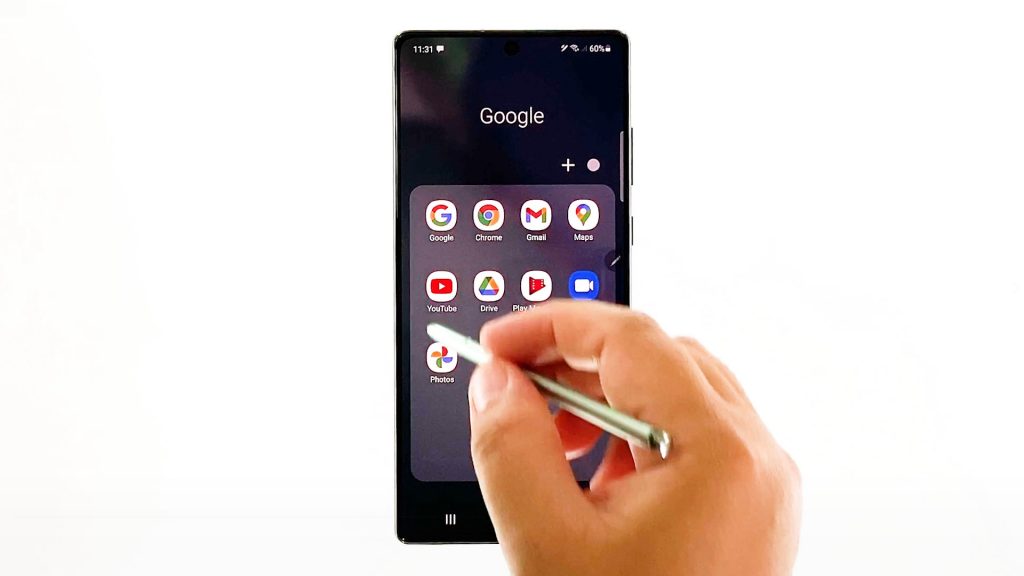
The G suite opens with all Google-related apps and services.
3. Tap YouTube to open the app.
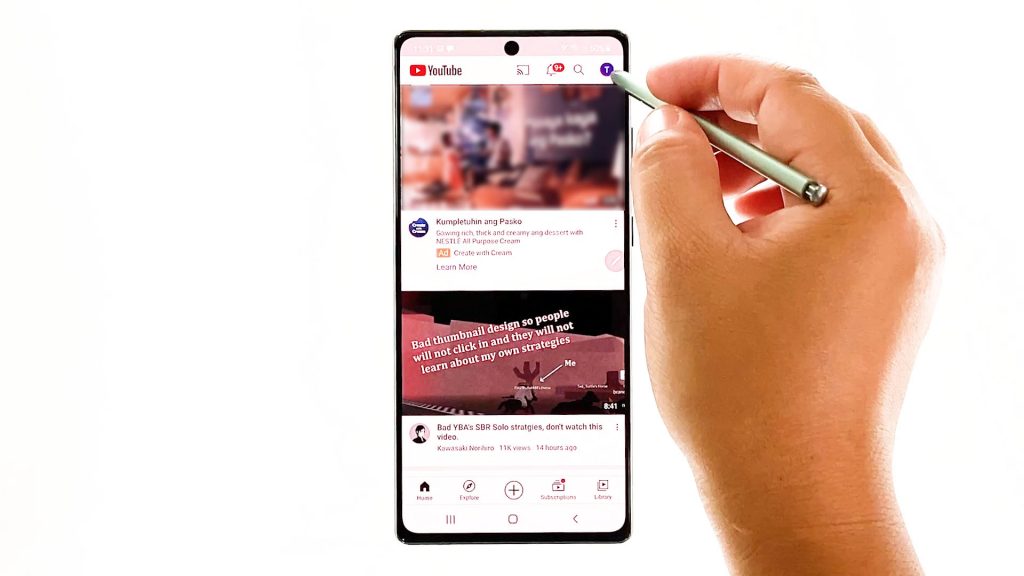
Doing so will route you to the YouTube app’s main screen.
4. Tap on your YouTube profile icon or logo located on the upper-rightmost corner of the screen.
The YouTube menu opens with a list of different items and features.
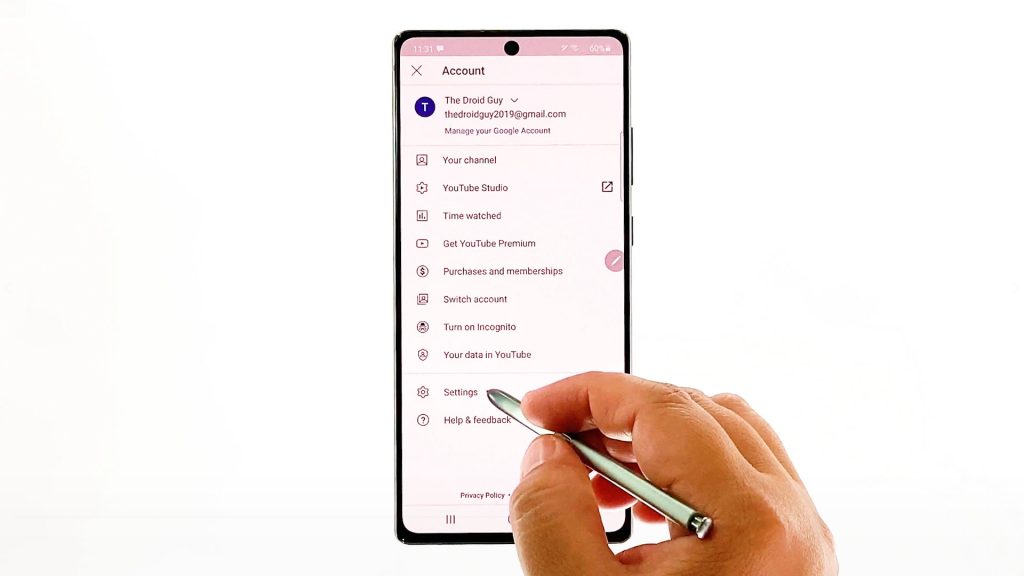
5. Scroll down and then tap Settings.
The settings menu will launch. Here, you will see all the features of the YouTube app that you can use or customize.
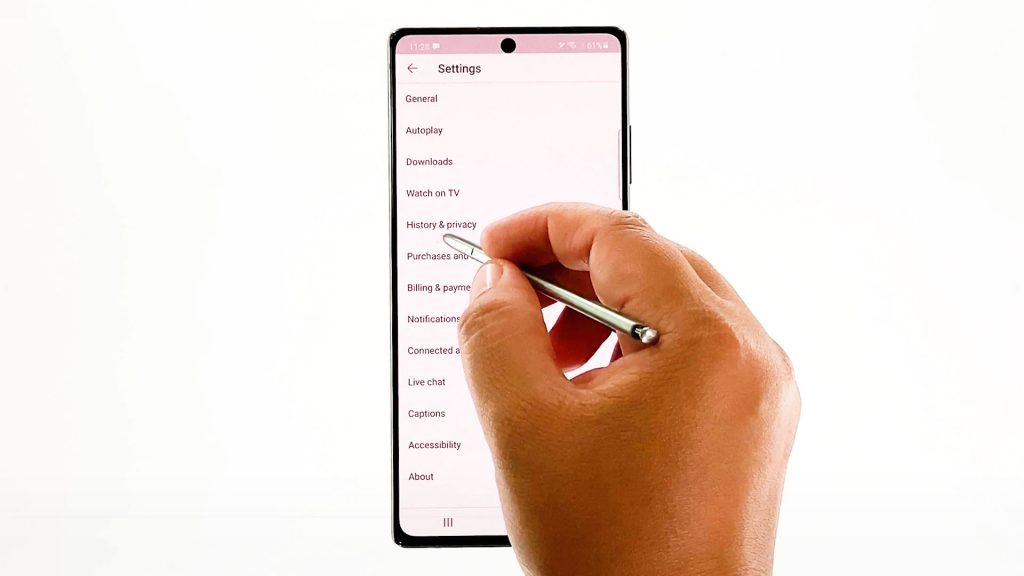
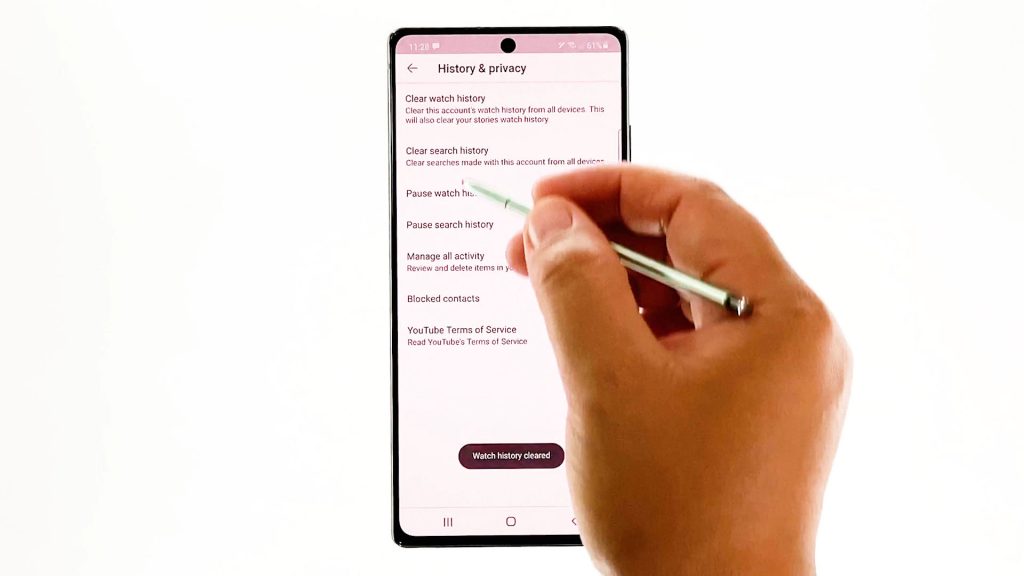
6. Tap History and Privacy to proceed.
Another menu opens, highlighting relevant features and commands to clear watch and search details.
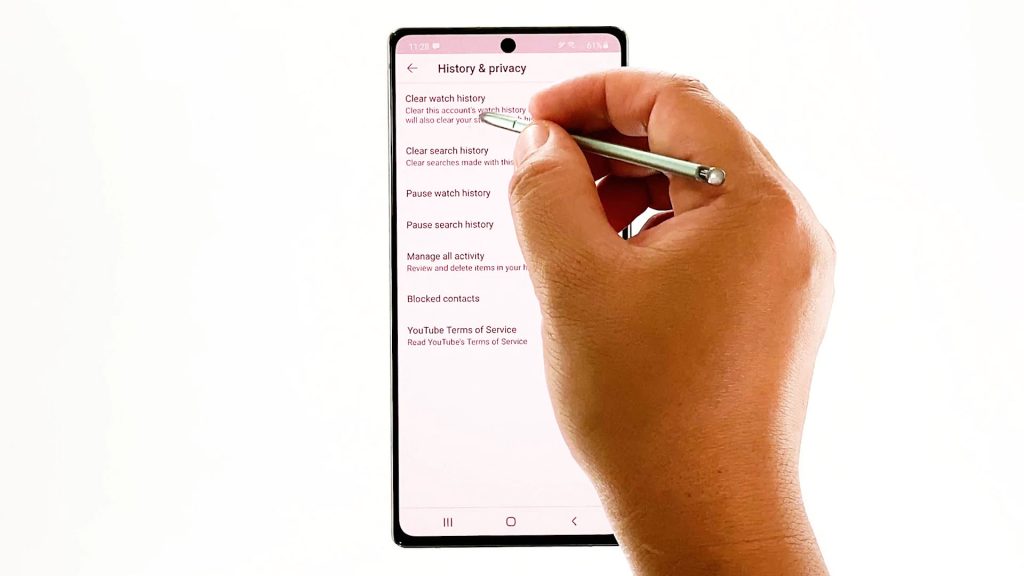
7. To delete your watch history, tap Clear watch history.
A pop-up menu will appear.
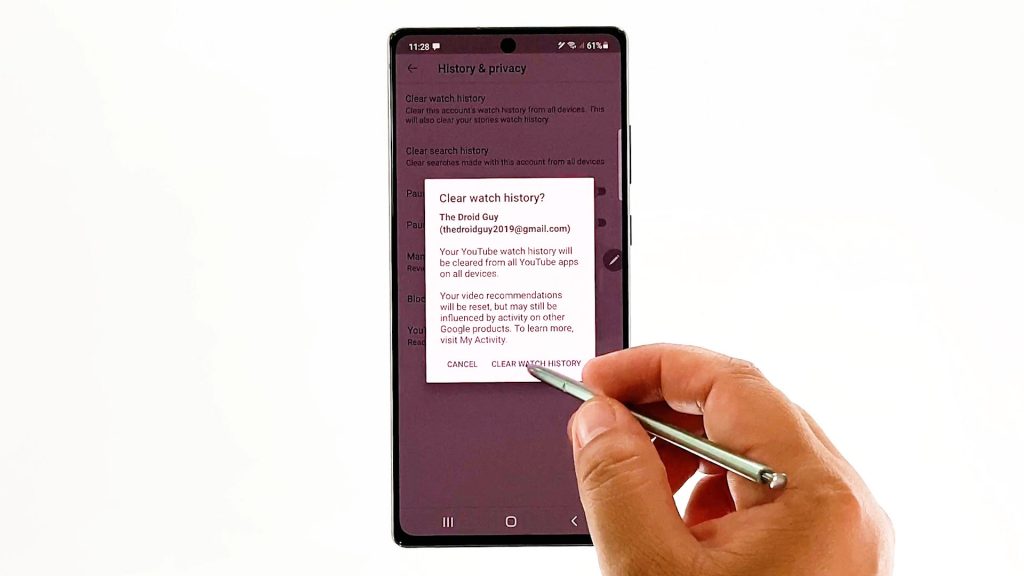
8. Read and review the information and then tap Clear Watch History to confirm.
A confirmation note saying that watch history cleared will show up briefly beneath the screen.
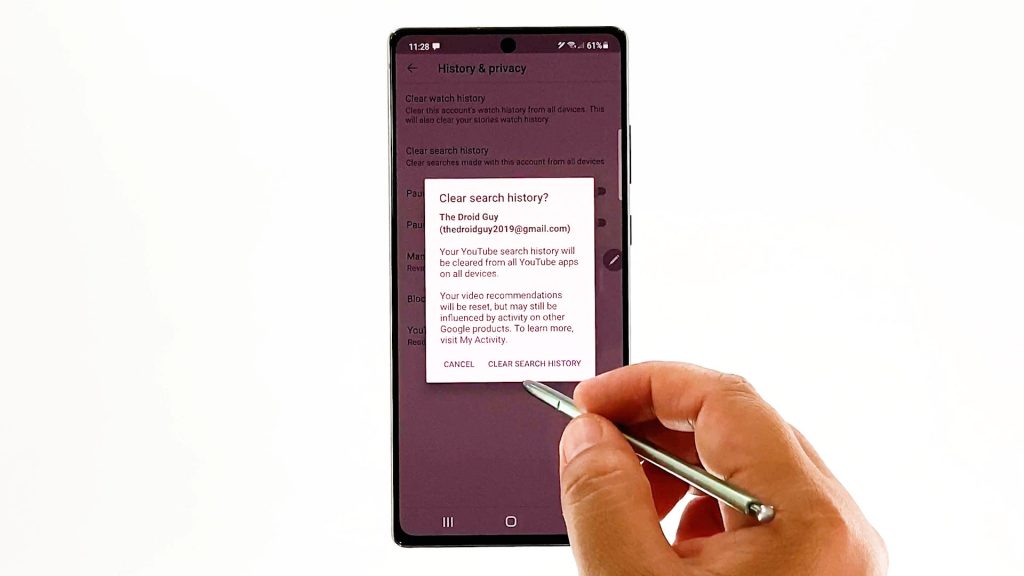
9. To delete all your previous search history on YouTube, tap Clear search history, read and review the pop-up message and then tap Clear Search History to confirm.
The Search history cleared confirmation message will appear beneath the display.
To see if it works, go ahead and check the app’s history folder by opening the Library tab from its main screen and then tap History on the following screen.
On the History menu, there shouldn’t be any more record of your previously visited and searched videos as you’ve just cleared them all.
What Happens After Clearing YouTube History
YouTube will pop up suggested content based on your recent searches. That said, the recommended videos are likely the ones of your interest.
Clearing YouTube history will prevent YouTube from keeping track of the videos you recently watched and then resets the recommended content. New recommendations will be based on your viewing activity from that point onward.
Alternatively, you can delete individual videos you’ve watched by heading to your YouTube watch history and then selecting the videos that you want to remove from your watch history.
You can also stop YouTube from adding similar content to your suggested list by enabling the Pause watch history feature on the app.
Hope this helps!
More Video Tutorials
To view more comprehensive tutorials and troubleshooting clips on different mobile phones and tablets, feel free to visit The Droid Guy channel on YouTube anytime.
You might also want to read: