How to Restart Windows Explorer on Windows 11 | File Explorer
Depicted in this post is the actual process of restarting the File Explorer in Windows 11. Read on to learn when and how to restart Windows Explorer on your Windows 11 laptop or desktop.
How does Windows Explorer work?
Windows Explorer (earlier Windows versions) or File Explorer (in Windows 10 and 11) is a file management program/application used in Windows computers. It’s mainly used for browsing files and folders in the entire system. Basically, it provides a graphical user interface for file management.
How to access Windows Explorer in Windows 11?
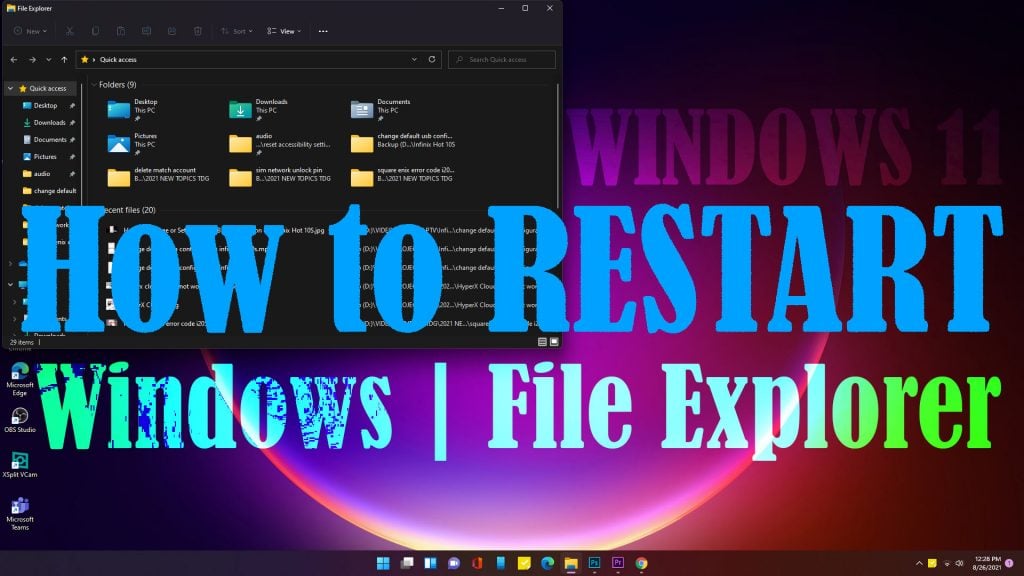
Windows Explorer or File Explorer can be accessed in various ways. You can launch it using the Win + E key shortcuts, by clicking on the Folder icon on the Taskbar, and by right-clicking on the Start/Windows icon from the taskbar and then clicking File Explorer from the menu items.
Alternatively, you can launch the File Explorer app by searching for it. To do so, simply press the Windows icon on the Taskbar then type explorer and press Enter. Select/click the File Explorer app from the search result to launch the application.
The use of Start Search method is recommended whenever the File Explorer shortcut is missing on the Taskbar and the app doesn’t appear in the Start menu options.
Windows/File Explorer can also be accessed through the Command prompt, Task Manager, Run dialog box as well as Windows PowerShell.
When to Restart Windows/File Explorer app in Windows 11
For Windows users, restarting the Windows Explorer or File Explorer app is not a new thing. But for the sake of those who are new to the platform, we’ve outlined the steps as quick reference.
Restarting the Windows Explorer or File Explorer application is usually needed whenever performance issues arise in the system like when the computer is lagging or freezing. Another instance requiring a Windows Explorer restart is when the app itself keeps crashing.
Restarting means terminating the Windows Explorer process that’s currently running in the background.
In Windows 11, the Windows Explorer or File Explorer application can be restarted in different ways, and that is through the Task Manager, using Command Prompt and using a script/code.
A. Restarting Windows/File Explorer via Task Manager
The following steps depict that standard process of restarting Windows Explorer or File Explorer through the Windows 11 Task Manager application.
- Open the Task Manager app by pressing the Ctrl+Shift+Esc keys simultaneously. Alternatively, you can just search Task Manager through Start Search and then click the app from the search result.
- If the Task Manager window is in simplified mode, click More details at the bottom-left side to view all the list of running apps and background processes along with their respective CPU, Memory, Disk, Network, and GPU usage.
- Navigate to the Processes tab and find Windows Explorer in the list. If multiple windows of File Explorers are open on your computer, just select the process at the top of the list next to other programs listed under the Apps section.
- If you don’t see File Explorer under Apps, navigate to the Background processes section and then locate Windows Explorer or File Explorer.
- Once you find the Windows/File Explorer process, click on it and then click the Restart button at the bottom-right corner of the Task Manager window. Alternatively, you can right-click on the Windows/File Explorer process and then select Restart from the menu options.
Wait for a few seconds for the Windows to restart its shell. During this time, you should see a quick flash on the desktop and taskbar and after that it will go back to normal. Once you restart the process, all other relevant processes will also be terminated.
As soon as the Windows Explorer process is finished restarting all linked processes should likewise restart.
B. Restarting Windows/File Explorer via Command Prompt
The following steps show the standard process of restarting Windows/ File Explorer using the Windows 11 command prompt.
- Open the Command Prompt or Windows PowerShell application by typing Command Prompt in Start Search or by typing cmd then press Enter on the Run box.
- While on the Command Prompt/Windows PowerShell, type this command line:
taskkill /f /im explorer.exe
- This is the command to quit or terminate the Windows Explorer/File Explorer application.
- After typing the command line, press Enter on the keyboard to execute the input command.
- You should see a message saying: SUCCESS: The process “explorer.exe” with PID [number/code] has been terminated.
- To continue, type this next set of command:
start explorer.exe
- Then, press Enter on the keyboard to execute the input command.
Executing this command line will start the Windows Explorer or File Explorer application on your computer.
C. Restarting Windows/File Explorer using a Script/Code
Another way to restart the Windows or File Explorer app is through the following script or code:
- Open the Notepad app on your computer.
- Once you’re in Notepad, type the following lines of code:
taskkill /f /im explorer.exe
start explorer.exe
exit
- After typing the code, click File and then select Save As from the menu options.
- On the File name field, type a relevant filename with a .bat extension (example: RestartWindowsExplorer.bat) and then select All files from the Save as type drop-down options.
- After naming the file and specifying the file type, click Save.
The file will then be saved as a script file that you can use or activate to restart explorer.exe on your Windows 11 computer.
Hope this helps!
Please visit our YouTube channel to view different troubleshooting and tutorial videos that might be helpful to you.
You Might Also Want To Read: