How To Fix Steam Error Code E502 L3 [Updated 2023]
In this post, we will look at the Steam error code E503 L3 that many gamers have encountered when attempting to login in the popular gaming platform or access the Steam store. This particular error includes an additional message that shows “We were unable to service your request. Please try again later”. If you’re experiencing this error code as well, keep reading to learn about the many solutions you can use to solve the problem.
How to fix Steam error code E502 L3
The most effective remedies that we have gathered from video gamers who have coped with the Steam error code E502 L3 are highlighted below. To successfully solve the problem, we recommend that you attempt two or more of the solutions listed.
Fix #1: Check Steam server status.
When there is a problem or if there is too much traffic on the servers, the Steam error code E502 L3 usually appears. If you receive the error while using Steam, check to see if any issues with the Steam servers have been reported. You may check the status of Steam on their page, or go to Steam’s unofficial Twitter account for information on server disruptions. Another popular third-party website that you may use to check for Steam status is Downdetector.
Fix #2: Logout and Exit on the Steam client app.
If no issues with the Steam service have been reported, try logging out of your account and closing the program completely to reestablish a connection with the Steam server. This easy troubleshooting step usually resolves small issues with the gaming platform.
Fix #3: Restart PC.
Restarting the Windows PC can also be a potential solution that is worth trying to fix Steam error code E502 L3.
Fix #4: Troubleshoot your internet connection.
Steam error E502 L3 can also be caused by a slow or intermittent internet connection. In order to fix the issue, you’ll need a stable internet connection. Here are some helpful troubleshooting tips to help you enhance your internet connection:
- If possible, move your PC closer to the router for less interference.
- Metal objects or appliances that can potentially block and interfere with the wifi signal must be placed far from the router.
- Try to connect your PC to a different WiFi network if the router has the 2.4 GHZ and 5 GHZ networks available.
- Connect the computer directly to your router using a LAN cable if the wifi is still unstable.
Fix #5: Allow Steam through Windows Defender Firewall.
Windows Firewall protects the Windows system for any potential harm and automatically blocks or removes suspicious applications and files present in your computer. With that in mind, there is a possibility that Steam may have not functioned properly because of this reason. To address and eliminate the Steam error E502 L3, you need to adjust the Firewall settings as follows:
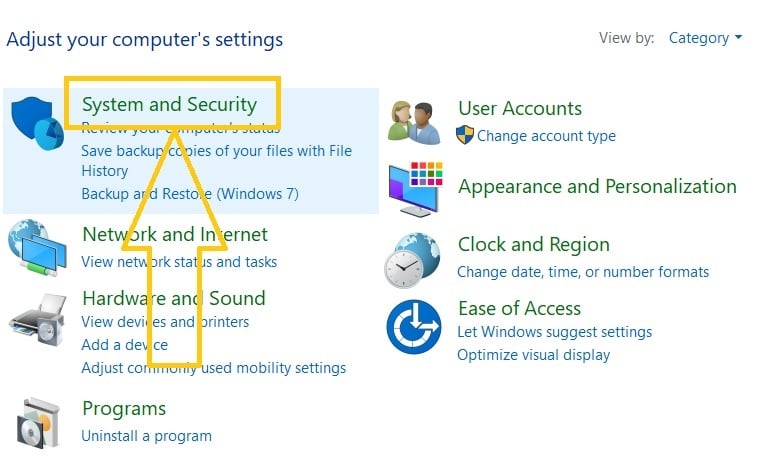
- Press the Windows icon on your keyboard.
- Type Control Panel and select from the results.
- Select System and Security.
- Choose Allow an app through Windows Defender Firewall next.

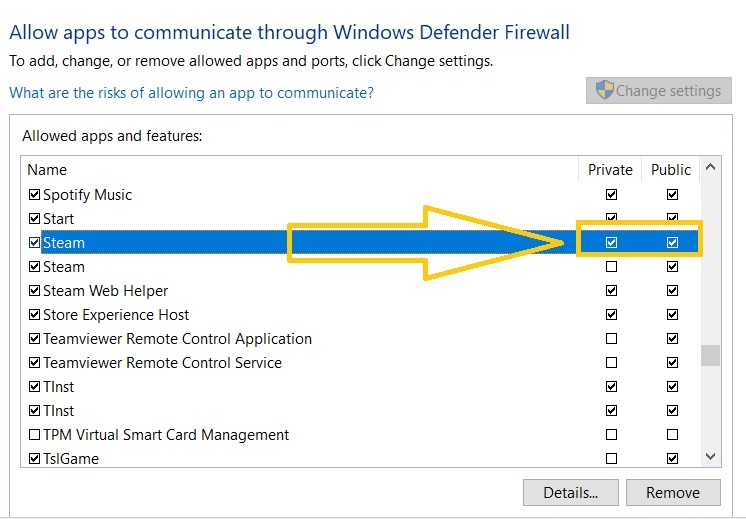
- In the Allowed apps window, click Change settings.
- Find Steam and put a check mark for both Private and Public boxes.

- Click OK to save the changes.
- Launch the Steam application to check if the error code E502 L3 has now been removed.
Fix #6: Disable the antivirus software installed.
In some cases, the antivirus program installed on your computer may have blocked the Steam client from functioning properly. To avoid a conflict with Steam, temporarily disable the program to fix Steam error E502 L3.
Fix #7: Turn off the third-party firewall solution on your computer.
Since most firewall solutions block Steam, disable this software if you have one installed on your computer.
Fix #8: Uninstall and reinstall Steam client.
If none of the above suggestions have worked to resolve the Steam error E502 L3, uninstalling Steam may be the best solution. A buggy Steam client may have created the issue, which cannot be removed unless the entire application is uninstalled. Before reinstalling Steam, make sure you delete the previous version from your computer. Check out the steps for uninstalling and reinstalling the Steam application.
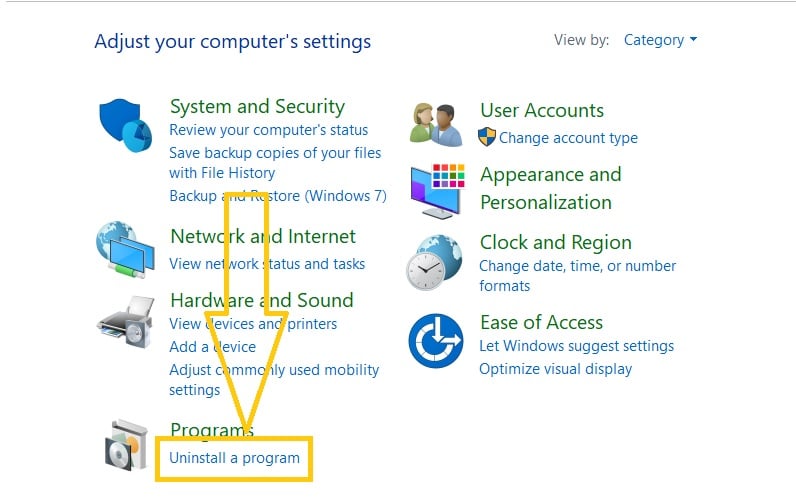
- Press the Windows icon on your keyboard.
- Enter the word Control Panel and select.
- Select Uninstall a program under Programs.

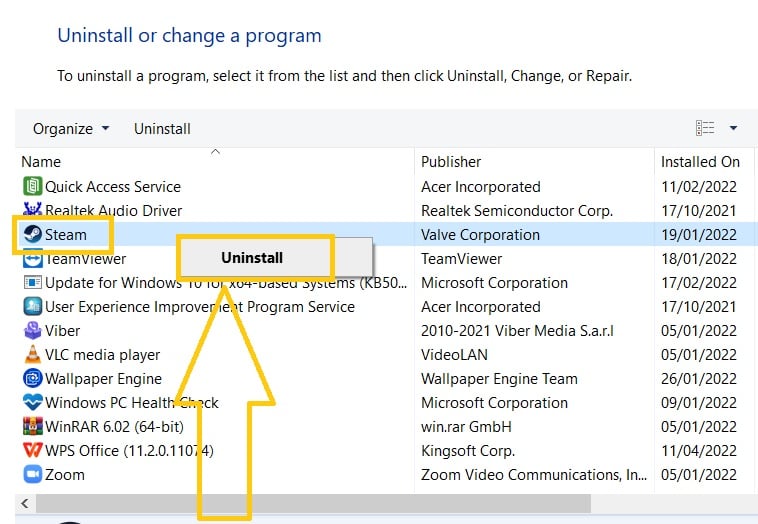
- Right-click Steam and click Uninstall.

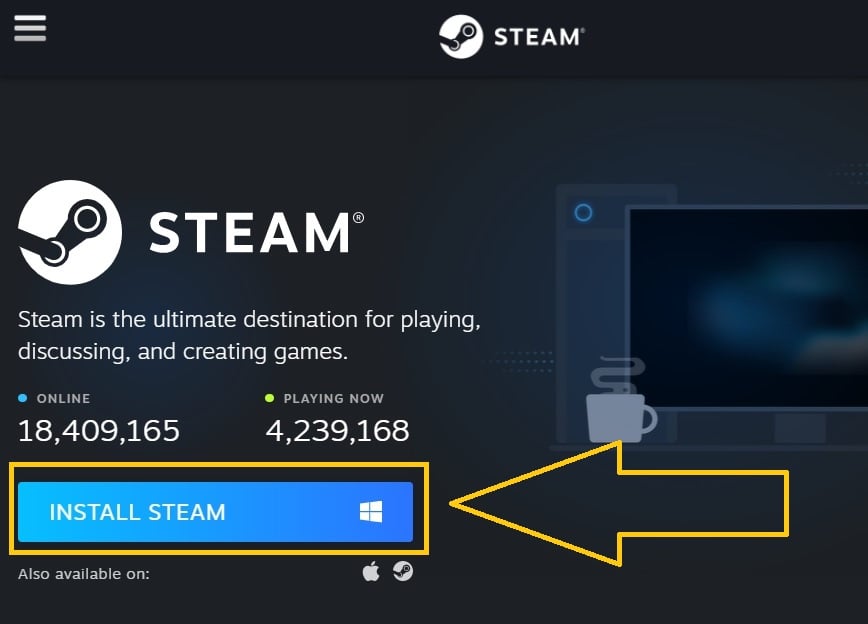
- After you have uninstalled Steam, you can now install Steam on your Windows computer from their official website.