How To Fix CPU Fan Error On Windows 10/11 | Updated [Updated 2023]
Windows machines are complicated and that means there are thousands of potential issues that any user might encounter throughout his or her course of usage. For some people, software problems might happen while others may encounter hardware malfunction.
The issue we’re dealing with today can be caused by either a software glitch/bug or by a hardware components failure. The CPU fan error is a common error message as far as the CPU is concerned so if you’re experiencing it right now, you should definitely go ahead and check this troubleshooting guide.
How to fix CPU Fan Error on Windows 10/11?
The CPU Fan Error usually occurs when you’re trying to power on your computer or laptop, or when the system is on start-up. Users rarely experience the CPU fan speed error message while a Windows PC is already in the middle of operation.
As far as causes of this issue are concerned, the most common ones include hardware malfunction, incorrect CPU fan speed settings, dust accumulation, or blocked vents.
If you’re getting either the “Error: CPU Fan Has Failed!” or “CPU Fan Error,” here are the solutions that might work for you:
Fix #1: Open BIOS settings.
If you’re getting a CPU fan error on startup, your machine will likely prompt you to enter the BIOS configuration by pressing the F1 key on your keyboard.
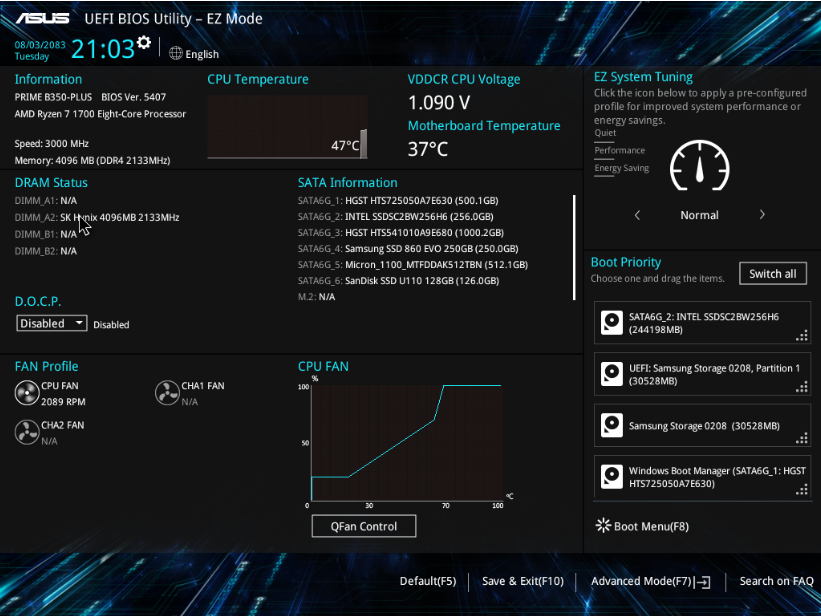
Once you press F1, follow the on-screen instructions.
Fix #2: Check the CPU fan settings.
If your Windows 10/11 computer has been working normally before the CPU fan error appears, it’s possible that there may be some software settings that you need to change to fix it. This means that there may not be a serious hardware issue that requires immediate action from you.
What you can do right now is to go into the Advanced Settings of your BIOS system to work on your fan settings. Once there, make sure that you configure the following items as follows:
- Passive Heat Sink – Disabled
- Fan Duct without Fan – Disabled
- Active Heat Sink – Enabled
- Fan Duct with Fan – Enabled
If you need assistance in accessing your computer’s BIOS, do a quick Google search about it.
Fix #3: Do not overclock your CPU.
While certain CPUs are designed to be overclocked, doing so can sometimes lead to shortened life span of components, particularly the fan. Overclocking may also lead to higher CPU temperature, which can lead to problems if there’s no proper heat dissipation devices on your computer.
If your computer has been overheating lately and the CPU fan error occurs more frequently, it can be due to overclocking. Consider stopping overclocking and see if that will fix the problem..
Fix #4: Relocate your PC.
Moving the location of your computer tower or laptop in a cool, dry place may be an effective way to fix this problem. You must do this if the location of your computer is dusty or warm.
Most CPUs are designed to work normally at room temperature so if the place where it’s placed is exposed to heat, the ambient temperature may exceed 40 degrees Celsius. This can be the reason why your PC is overheating and showing the error.
Fix #5: Open your PC and clean the CPU fans.
Too much dust can lead to hardware malfunction. You can open up your computer and check if the CPU fan blades are covered with thick dust or dirt. If the fan blade needs cleaning, try to use a cotton swab and soak it with isopropyl alcohol.
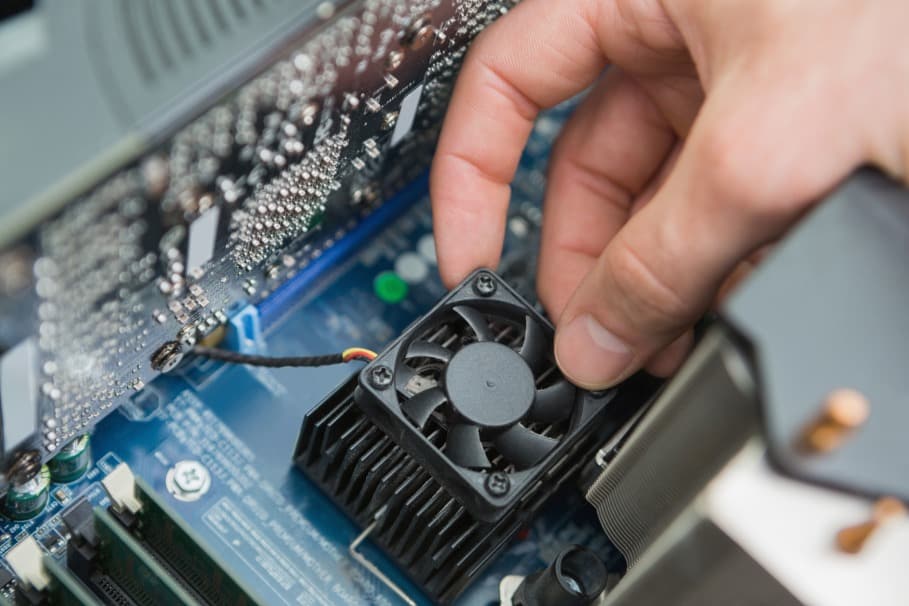
Be sure to avoid putting too much alcohol that might drop into the sensitive parts of the CPU. Do not use any water or cleaning agent to clean dust or dirt as that might damage the CPU or nearby components.
You can also blow the dust using canned air or compressed air and see if that will bring the CPU fan to its normal working order.
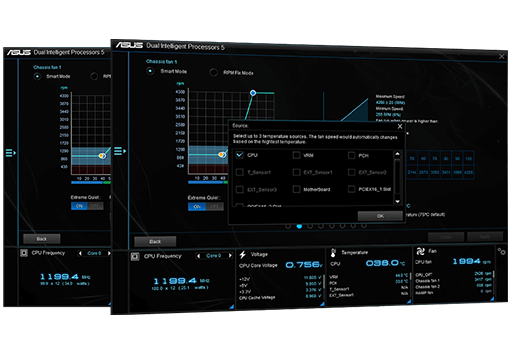
Fix #6: Change BIOS settings.
If you’re still getting the CPU fan error message at this point and you’re positive that there’s no problem with the fans at all, then you can go into your BIOS Settings again to reconfigure the system to ignore the error message. It’s possible that your CPU fan speed monitoring may be getting an incorrect data from sensors and it’s causing the computer to show the CPU fan speed error.

Here are the general steps on what you need to do. Keep in mind that the exact steps may vary differently for every brand and BIOS version.
- Access the BIOS system setup and then go to Monitor.
- Look for an option that says something about Fan Speed Monitor or similar. You can use the arrow keys on your keyboard to do this.
- Once you’re in the hardware monitor menu, set the Fan Speed from N/A to IGNORE.
- Then, exit BIOS and make sure to save the changes.
- Afterwards, restart your PC and see if the CPU fan error is now gone.
Fix #7: Get professional help.
For some unfortunate users, the main reason why they’re getting the CPU fan error message is due to total hardware failure, which means that either that the CPU fan itself has simply quit.
If none of the solutions in this guide has helped, you should consider fixing the CPU fan error by letting a professional check your computer. It’s possible that the CPU fan has been damaged or needs replacement.
Because your CPU won’t run without the fan working properly, your computer is basically useless so you need to have it fixed.
OTHER INTERESTING ARTICLES YOU MAY LIKE:
- How To Fix An Error Occurred While Updating Steam Game [2022]
- 10 Ways To Fix YouTube Not Working On Firefox | Updated [2022]
- How To Fix Google Chrome Slow Download In Windows 11 [2022]
- How To Change Default Browser In Windows 11 | Updated Steps [2022]
Visit our TheDroidGuy Youtube Channel for more troubleshooting videos and tutorials.
my problem is the fan error shows, the main fan is being recognized all the fans are new and preinstalled into the case there are 4 fans in this case led lights I got a different power supply with separate 4 pin connectors contains 4 in the power supply trying to put in windows 11 and can’t get the setup to go thru because it doesn t recognize any of them but the main fan should i let it go thru the setup and then go to BIOS to have the fans show as they are working all 4 of them recognized in system