How To Fix Can’t Make Or Receive Calls In Android | Calls Not Working
Making or receiving calls is one of the basic functions of a phone. If you’re having difficulty contacting family member, friends, or anyone because your Android won’t make or receive calls, this troubleshooting guide is for you.
How to fix can’t make or receive calls in Android
If you’re having trouble making or receiving calls on your Android device, these are the solutions that you should try.
Keep in mind that there are thousands of different Android handsets so the exact steps to do each of these solutions may vary depending on the exact Android build, phone brand, and model of your phone.

Fix #1: Reboot your phone.
The good old restart can sometimes be the quickest yet most effective way to fix network and calling issues. Smartphones are tiny computers that needs to be refreshed from time to time. Sometimes, a temporary network bug may develop if your device has been left running for a long time.
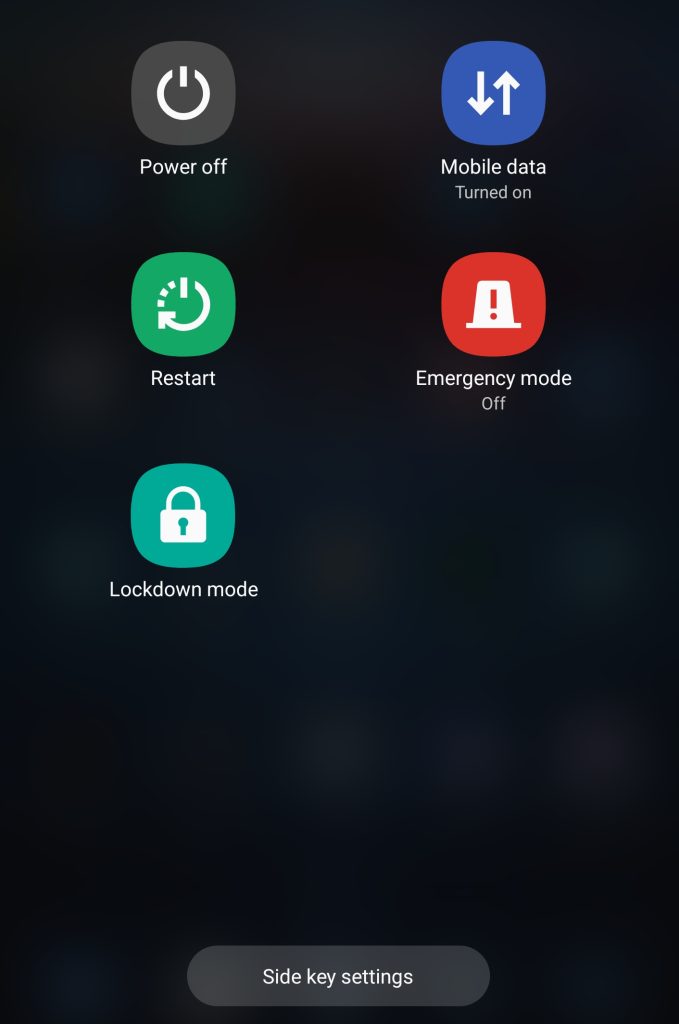
Make sure that you reboot your Android at least once a week to fix temporary minor bugs in the system. Android devices are usually restarted by pressing and holding the Power button to pull up the Power menu. Then, once the options are displayed, all you have to do is to tap on Restart.
Fix #2: Check the signal.
If a quick restart won’t fix your calling issue and your Android is still unable to make or receive calls, the next thing that you want to try is to check whether or not you have a good enough cellular signal in your location.
It’s possible that the signal where you’re currently on is weak and can’t support voice calls. If the network signal seems to be fluctuating, try to relocate to a more open area to improve the signal situation. It’s not uncommon to lose network signal when underground, driving through a tunnel, or when you’re in an isolated rural area.
You can check the top part of your device to see the network signal. Ideally, you should be making calls only when the signal indicator shows a full set of bars.
If the signal indicator shows something like a “No Service” message, or if the signal bars keep disappearing, that may be the reason for the issue you’re having.
If the cellular signal has improved but you are still having trouble making or receiving calls, proceed to the next solution.
Fix #3: Remove the phone cover.
Some aftermarket phone covers may have metallic materials that can interfere with the antenna of your Android. If you’re using a phone case, try to see if you will be able to make or receive calls without it. You can also check if the cellular signal improves when the cover is off. In this case, you should consider getting a different phone cover, or better yet, simply don’t use one.
Fix #4: Verify Do Not Disturb.
Some Android phone models may have a Do Not Disturb feature that can effectively block incoming and outgoing calls. Do Not Disturb feature is usually focused on muting or silencing notifications but in certain handsets, the same feature can effectively disable the calling feature.
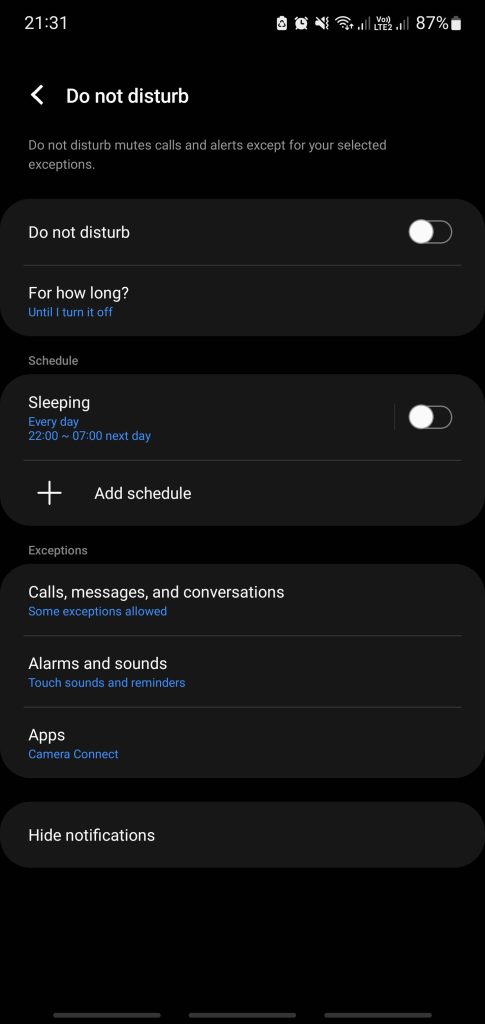
Try checking your network settings to see if you have such a feature. Make sure that Do Not Disturb is NOT enabled before you try receiving incoming calls, or making a call to someone.
Fix #5: Toggle Airplane Mode
Airplane Mode or Flight Mode is one of the common features in all Android phones. Basically, this feature is there to give the user a quick shortcut to disable all the network functions of a device in one tap. Although some Android smartphones may still allow a limited network functionality even when Airplane Mode is on, making calls and receiving incoming calls are almost disabled in this mode.
If your Android smartphone has Airplane Mode or Flight Mode, make sure that it’s NOT enabled at this time. The icon of Airplane Mode is usually shown at the top when it’s enabled.
Fix #6: Reseat the SIM card.
A poorly inserted SIM card can sometimes be the reason that you can’t make or receive calls. If your Android device has a SIM card, be sure to check that the card is inserted correctly in its slot. To do that, we recommend that you simply take out the SIM card first. Before doing that, make sure that your Android device is turned off.
Try removing and reinserting the SIM card and then check if you can start receiving calls or making outgoing calls afterwards.
Fix #7: Check Call Forwarding feature.
Another feature that’s considered almost basic to even the older generations of both dumb- and smartphones is Call Forwarding. This feature lets users to never miss a call by setting a different number to receive incoming calls, or to forward said incoming calls to a voicemail.
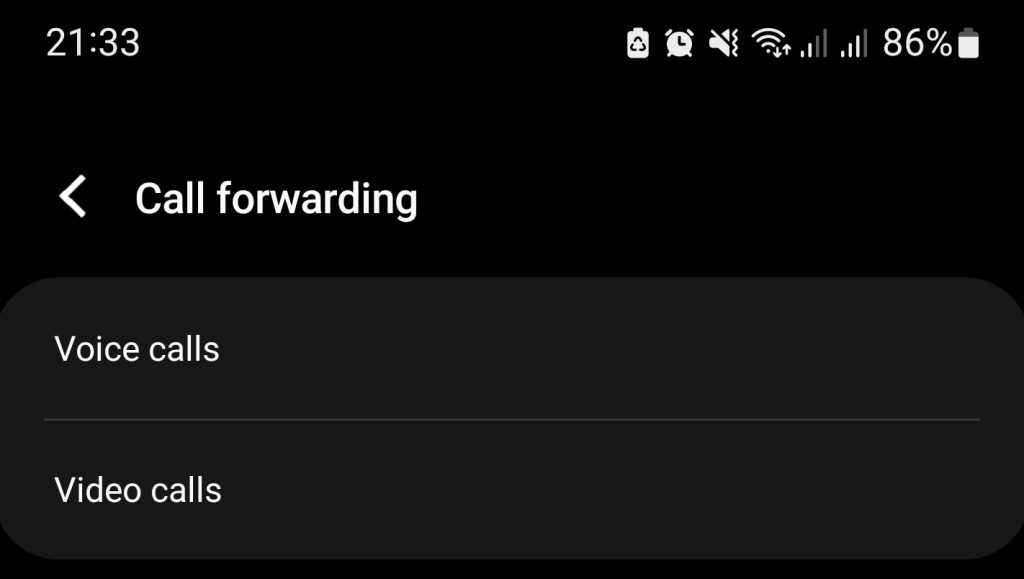
Sometimes, people may forget that they set Call Forwarding feature for their number and may wonder why they’re no longer receiving calls.
The exact steps to check call forwarding feature is different for every Android device, even when they have the same brand. If you can’t figure out how to check Call Forwarding on your Android phone, we suggest that you contact your network service provider for help.
Fix #8: Delete the Phone app cache.
Corrupted phone app cache and data can sometimes result in calling issues. Just like any other app, the Phone dialer app or Phone app, whether first or third party, can encounter internal errors and file data corruption, which may lead to Android devices being unable to make or receive calls.
You can try to delete the Phone app cache to see if that will fix the problem.
Here’s an example of clearing the Phone app cache on a Samsung device:
- Go to your phone Settings menu.
- Tap on Apps.
- Find the Phone app, tap it to open.
- Tap on Storage.
- Tap on Clear cache.
Fix #9: Run the device on Safe Mode.
At times, a bad app or malware may interfere with your Android phone functions like calling and texting, or may change certain things like network settings. If your Android phone started having problems receiving phone calls after installing a new app, it’s possible that that app may be causing the issue. You can verify if that’s the case by rebooting your device to Safe Mode.
While in this mode, all third party apps, that is apps you installed after setting up the phone for the first time, will be blocked from running. In Safe Mode, only the core or basic apps will be permitted to be used, which includes the Phone app.
So, you can use Safe Mode to determine if you have an issue with an app.
What you need to do here is to reboot your device to safe mode and try to make or receive calls. If the calls work normally on safe mode, that’s a confirmation of our suspicion that one of the installed apps is to blame.
To fix the issue, you need to remove the app from your Android phone. If you have no idea which app it is, you can use the process of elimination to identify it. Basically, that means doing a trial-and-error deletion of apps you think is the culprit. You have to keep uninstalling apps one by one, making sure to check for the problem after deleting a single app.
To give you an idea how to boot an Android phone to Sade Mode, here are the steps on the Galaxy Note 10+:
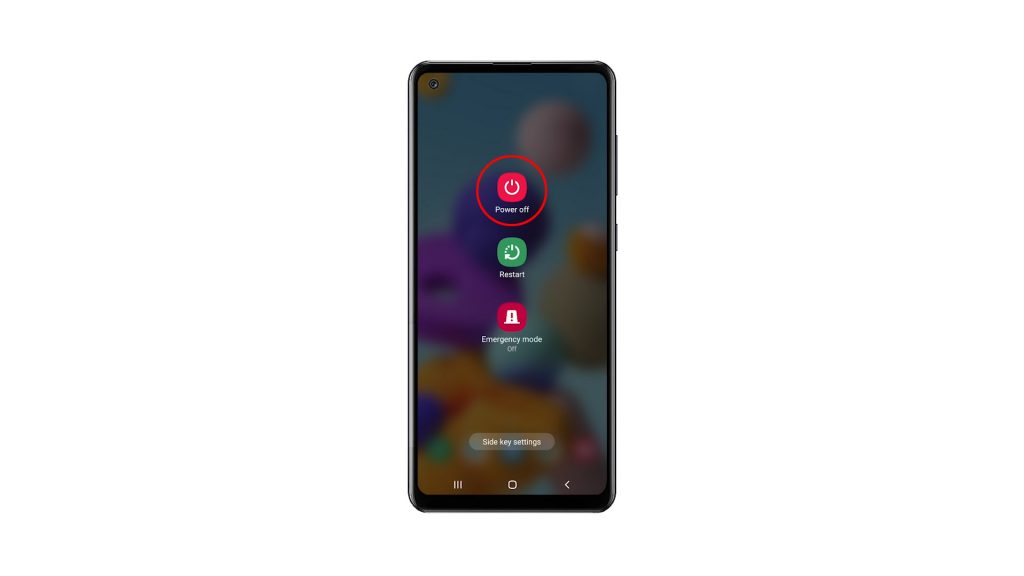
- Press and hold the Power button until the Power off window appears then release.
- Touch and hold Power off until the Safe mode prompt appears then release.
- To confirm, tap Safe mode.
- The process may take up to 30 seconds to complete.
- Upon reboot, “Safe mode” appears in the lower-left of the home screen indicating that the Android phone is now on Safe Mode.
In order to return to normal mode, simply restart the device.
Fix #10: Try using a different SIM card.
If your Android phone has dual SIM card capability, or can handle multiple SIM cards, try to check if the other SIM card can make a call. Preferably, you want to test a SIM card from the same network in order to know whether or not there’s an on-going issue with your mobile networks. This procedure will also help you check if phone calls on your Android works fine or not.
Fix #11: Check for blocks.
If you are only having an issue calling or receiving calls from a single number, it’s possible that you’re either blocked from the end of that certain number, or you may have blocked it by mistake.
What you can do in this case is to check your blocked list and unblock that number accordingly.
If you think that the person on the other end is blocking your number, hence you are not able to reach him or her, consider contacting that person using other modes of communication and tell him or her to unblock you.
Here are steps on how to check your blocked numbers list on a Samsung:
- Open the Contacts app.
- Tap the contact you want to unblock.
- Tap More options (3 dots at the upper right).
- Tap Unblock contact.
Alternatively, you can use the Phone app to check:
- Open the Phone app.
- Touch More Options (3 dots at the upper right).
- Touch Settings.
- Touch Block numbers.
Fix #12: Reset network settings.
If you are still unable to receive calls or make one, you can also try to refresh the network settings to see if that will help. Resetting the network settings will delete certain things such as your saved wifi network, bluetooth connections and devices, and other mobile networks settings. Here’s a comprehensive list of things that occur when you perform a network reset:
- Allows background data sync.
- Clears mobile data limits.
- Deletes all Wi-Fi SSIDs or wifi names.
- Disconnects all tethered interfaces.
- Forgets paired devices.
- Removes all app data restrictions.
- Sets network selection mode to automatic.
- Sets preferred mobile network type to the best available.
- Turns off Airplane mode.
- Turns off Bluetooth.
- Turns off data roaming.
- Turns off mobile hotspot.
- Turns off VPN.
- Turns on mobile data.
- Turns on Wi-Fi.
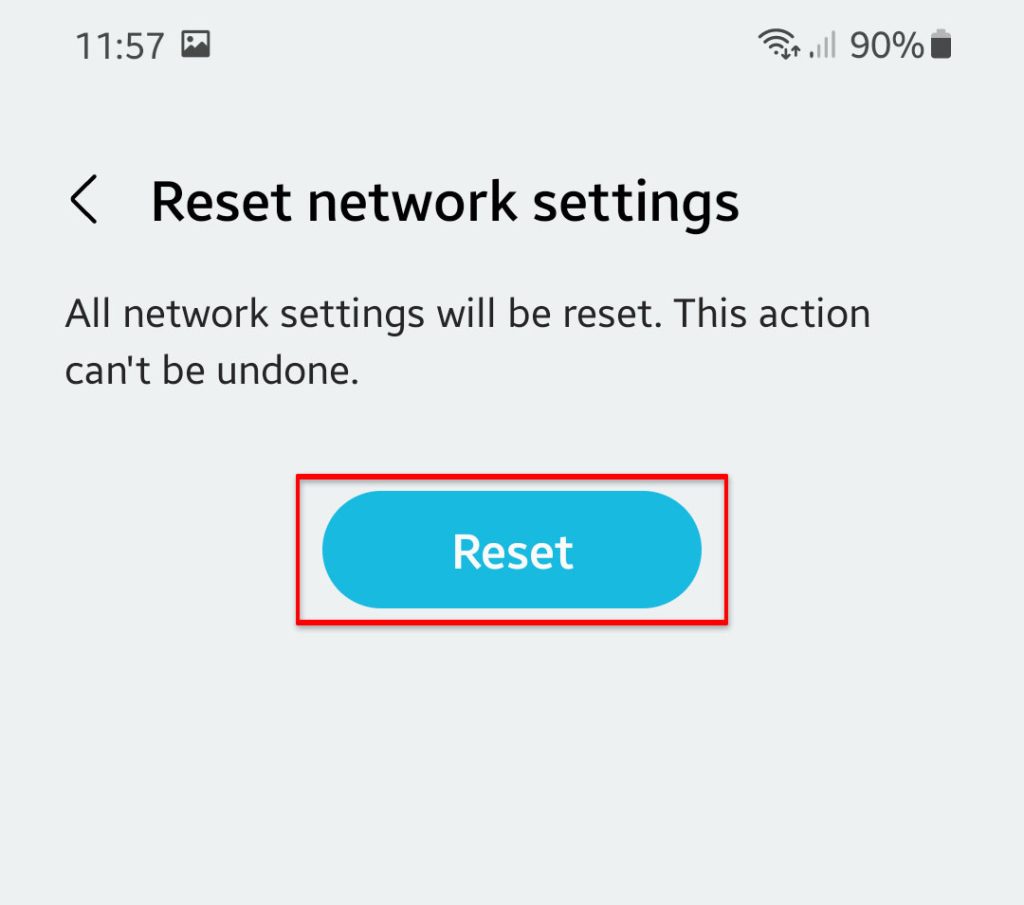
Here’s how it’s done on a Samsung:
- Open Settings app.
- Tap General management.
- Tap Reset.
- Tap Reset network settings.
- Tap Reset settings to confirm.
Fix #13: Refresh the APN settings.
Another thing that you can do is to reset the Access Point Names settings. APN is associated with your mobile network settings and resetting this setting can sometimes fix calling issues on Android.
Here’s how:
- Open Settings app.
- Tap Connections.
- Tap Mobile networks.
- Tap Access Point Names.
- Tap the three dots at the top right corner.
- Tap Reset to default.
Fix #14: Install updates.
Keeping the software environment of your Android device by updating is important in this situation. Be sure to check for the latest Android version right now before you try calling again.
Fix #15: Contact your service provider.
From time to time, mobile networks may go down due to a glitch, maintenance, or unplanned outage. Make sure to contact your carrier to see if there’s any problems on their end right now that affects the service in your area or your account.
Fix #16: Factory reset.
Finally, you want to perform a factory reset if you’ve got a confirmation from your carrier that all their services are all working normally.
A factory reset will return the software of your Android device to defaults. If the reason for the problem is software-related, performing a factory reset will most likely help.
Do a quick Google search on how to factory reset your Android device if you don’t know how.