How To Fix Arctis 5 Microphone Not Working | NEW & Updated in 2026
SteelSeries is a well known manufacturer that provides good quality gaming headsets and Arctis 5 is one of their best selling products. However, no matter how impressive their headsets are, some users were having issues with their features, particularly the Arctis 5 microphone not working. If you are dealing with the same issue with your own Arctis 5 headset, we suggest that you continue to check this page to learn more about it and also try some of the solutions that we will include in this post.
Causes of Arctis 5 microphone not working
There can be a number of factors why the microphone on Arctis 5 wired headset is not working and the common reasons are enumerated below.
- Microphone is on mute
- SteelSeries engine not installed
- Microphone settings in the computer not configured
- Default devices not selected
- Audio settings unadjusted
How to fix Arctis 5 microphone not working
Here are the most effective solutions that we have gathered from other SteelSeries owners who have encountered issues with their Arctis 5 microphones.
Fix #1: Unmute the Arctis 5 microphone.
There are instances when the Arctis 5 microphone is not working due to accidentally pushing the mute button located near the volume wheel of your headset. If you see a red light on the microphone, it indicates that it is on mute. You only need to press the said button again in order to unmute the microphone and begin using it.
Fix #2: The SteelSeries engine must be installed.
The SteelSeries engine is an application that supports all SteelSeries products where you can customize, sync profiles and combine features from supported games. It is highly recommended to install the SteelSeries engine when you have an Arctis 5 gaming headset in order to enable the features that came along with the headset and to get the best performance of the product that you have bought. A guide is provided on how to install the SteelSeries engine in your computer.
- Access the SteelSeries official website.
- Click the Software tab.
- Select Engine. Take note that the SteelSeries engine supports Windows and MacOS softwares. Select the compatible software for your computer.
- After the application has been installed, launch the SteelSeries engine.
- Create an account if you don’t have an existing SteelSeries account yet.
- Sign in to the application.
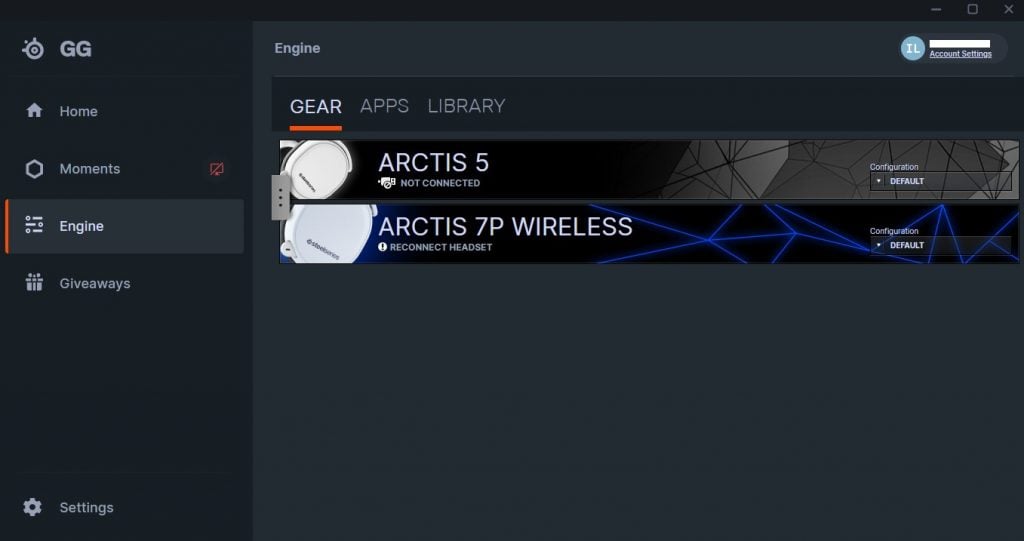
- Select Engine found on the side menu.
- When the application identifies the Arctis 5 headset connected to your computer, it should appear under the Gear tab. Click the Arctis 5 icon.
- The Arctis 5 configuration window will pop out. Click the Live Mic Preview located on the top right corner of the page to turn it on.
- Try to speak to test the microphone if it is working properly now.
- Do the necessary adjustments on the settings according to your preference.
Fix #3: Configure the microphone settings.
Sometimes, you only need to adjust the microphone settings on your computer when dealing with a microphone not working on your Arctis 5 headset. You need to enable these settings in order for the apps to have access to the microphone in your device. If you are using a Windows computer, the steps below should be applicable.
- Click the Start button found at the lower left corner of the screen.
- Select Settings.
- Scroll down and select Privacy.
- Scroll down the options found in the left menu and select Microphone.
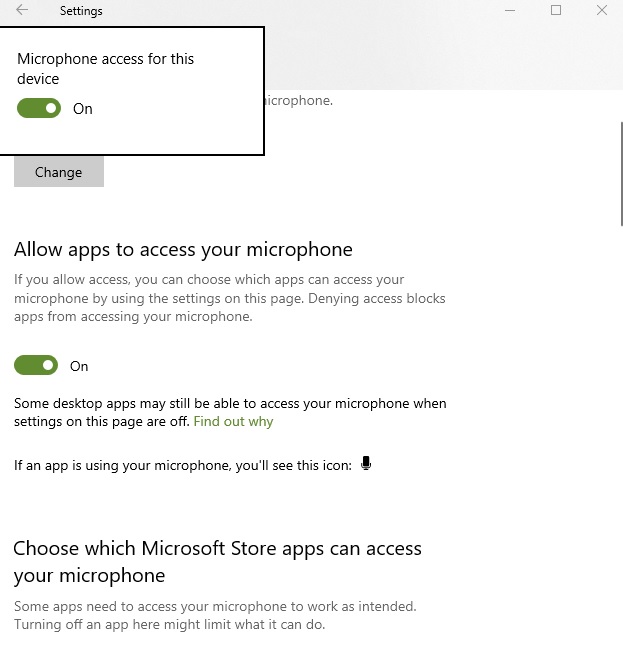
- Click the Change button and turn on the button for Allow apps to access your microphone.
- Also, enable the button for Allow desktop apps to access your microphone.
Fix #4: Default devices must be selected on your computer.
For the microphone and the headset to function properly, you must set the “Arctis 5 game” and “Arctis 5 chat” as the default devices in your computer. These two devices should be set as the input and output devices on your sound settings for the Arctis 5 microphone to be working. Check the steps below on how to adjust the settings.
- Right click the volume button located at the bottom left corner of your screen.
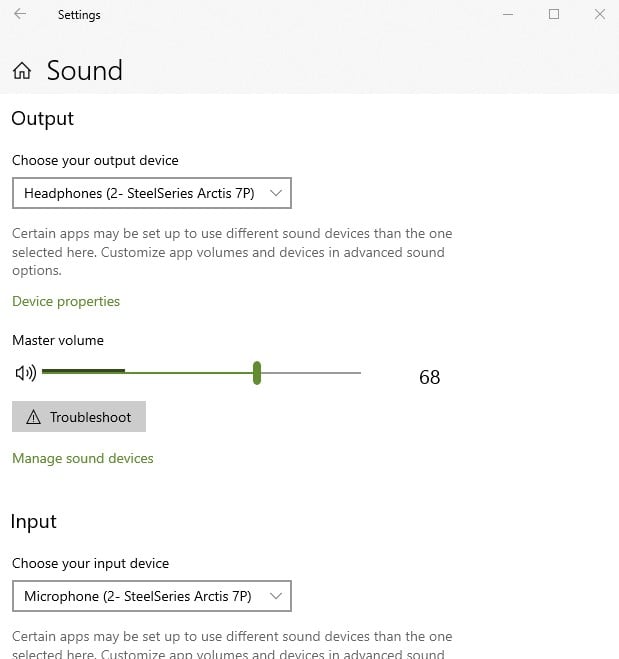
- Select Open Sound Settings.
- Click Sound from the side menu.
- Select Headphones (Arctis 5 Game) as the default device for output.
- Scroll down and select Headphones (Arctis 5 Chat) as your input device.
Fix #5: Configure the audio levels.
Adjusting the audio levels in your computer when connecting an Arctis 5 headset is also necessary to ensure that the microphone’s volume level is not set so low. If you haven’t tried making this adjustment yet, we have included the steps for your reference.
- Right click the volume icon in your computer.
- Select Sound.
- Go to the Recording tab. A green check mark should be reflected in the Arctis 5 Chat indicating as the default device for the microphone.
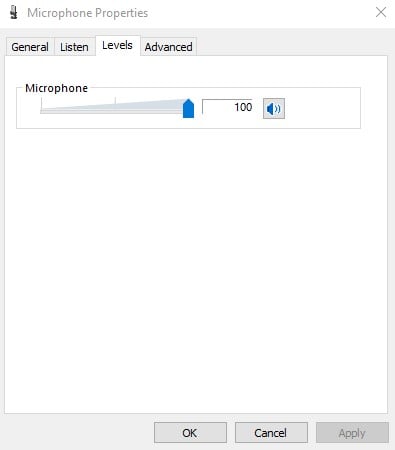
- Highlight the Arctis 5 Chat and then select Properties.
- Go to the Levels tab and adjust the microphone level to your preference.
OTHER INTERESTING ARTICLES:
- How To Fix SteelSeries Arctis 7 Keeps Disconnecting | 2021
- How To Fix Fortnite 0xc000007b Error | NEW & Updated 2021
- How To Fix Valorant 0xc0000005 Error | NEW & Updated 2021
- How To Fix GTA 5 0xc0000142 Error | NEW & Updated 2021
Visit our TheDroidGuy Youtube Channel for more troubleshooting videos and tutorials.