How to Resolve Galaxy S23 Overexposed Photos
Capturing images with your Galaxy S23 camera only to find they are washed out and overexposed can certainly be disappointing. You likely want vibrant, accurately exposed shots to share with friends and family. But don’t delete those bleached photos just yet – overexposed pictures are usually caused by minor setting adjustments needed, not irreparable user error.
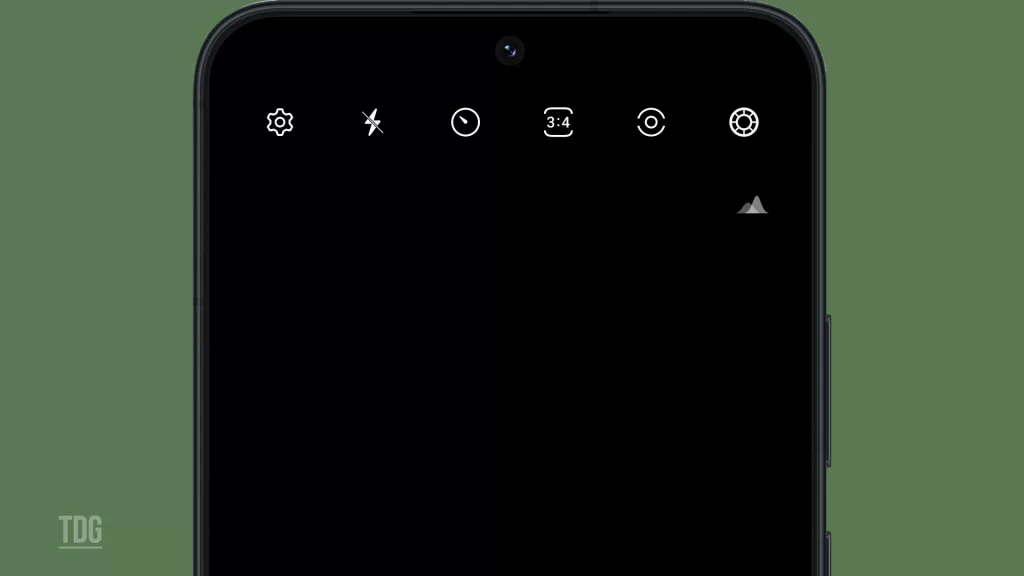
With a few informed tweaks and technique changes, you can dramatically improve exposure in your Galaxy S23 photos and get perfectly balanced, share-worthy images. This guide will cover common reasons for overexposed shots and solutions to test. Just a bit of troubleshooting can have your photos looking their best.
Common Causes
Some typical causes of Galaxy S23 photos appearing overexposed include:
- Incorrect metering – Evaluating brightness incorrectly leads to overexposure. Use spot metering on main subjects.
- High ISO sensitivity – Very high ISO levels blow out images. Reduce ISO to 100 or 200 when possible.
- Aperture too wide – Wide apertures decrease the depth of field but also overexpose images in bright light. Use higher f-stops.
- Shutter speed too slow – Long shutter speeds allow too much light in. Increase shutter speed to 1/250s or faster.
- Subject too backlit – Strong backlighting requires exposure compensation to avoid blowouts. Move the subject or adjust settings.
- Direct sunlight – Harsh midday sun can easily overexpose images without exposure adjustments. Shoot in the shade when possible.
- Post-processing effects – Overuse of auto-enhancements and filters boosts brightness excessively. Edit conservatively.
Troubleshooting Procedures
To avoid overexposed or washed-out Galaxy S23 photos, you can try these recommended settings and techniques.
1st Method: Use Spot Metering
Spot metering allows you to choose a specific area of the scene that you want to expose. This ensures that the subject you’re interested in is properly exposed, even if the rest of the scene is much brighter or darker.
For example, if you’re taking a portrait of someone standing in front of a bright window, spot metering can help ensure that the person’s face is properly exposed rather than being silhouetted by the bright background.
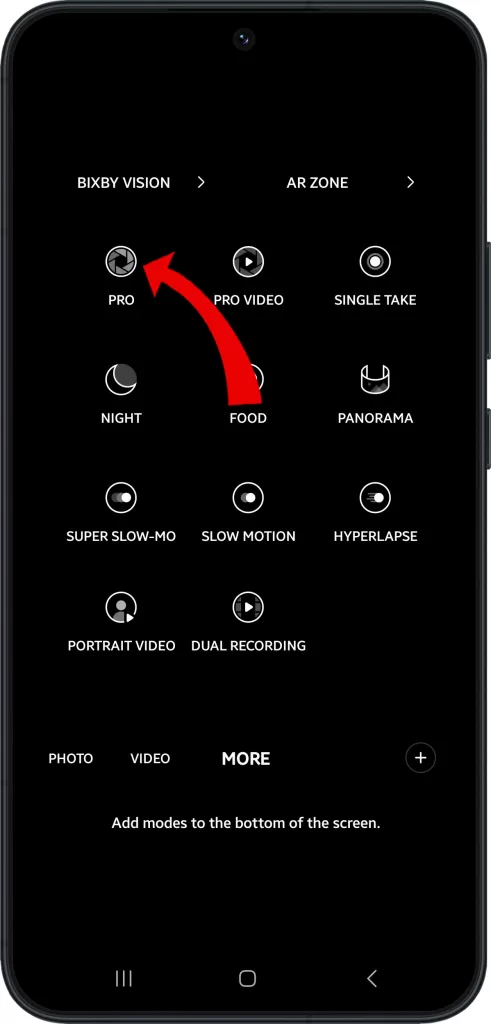
Here are the steps on how to use spot metering on Samsung Galaxy S23:
- Open the Camera app.
- Tap on the Mode icon at the top left corner of the screen.
- Select Pro mode.
- Tap on the Metering icon (it looks like a sun).
- Select Spot metering.
- Tap on the subject that you want to expose correctly. The camera will now meter the exposure based on the area that you selected.
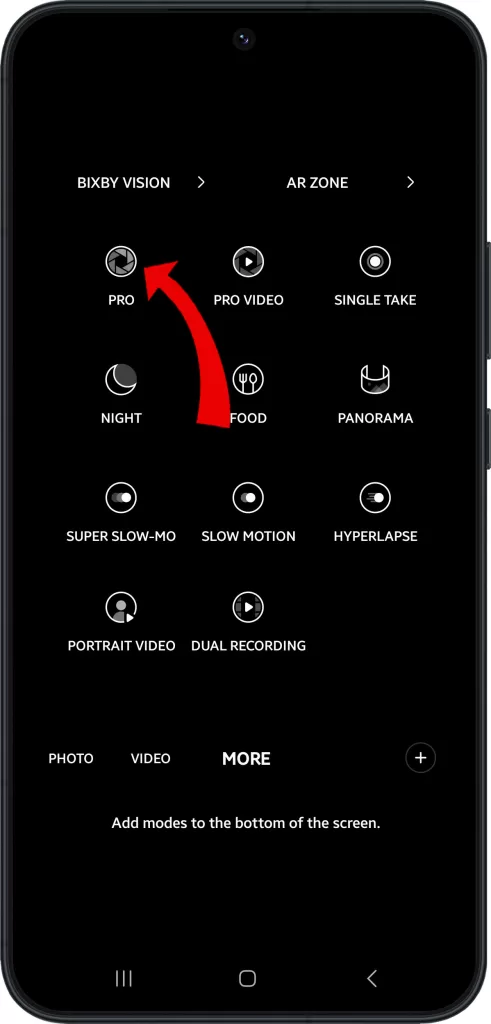
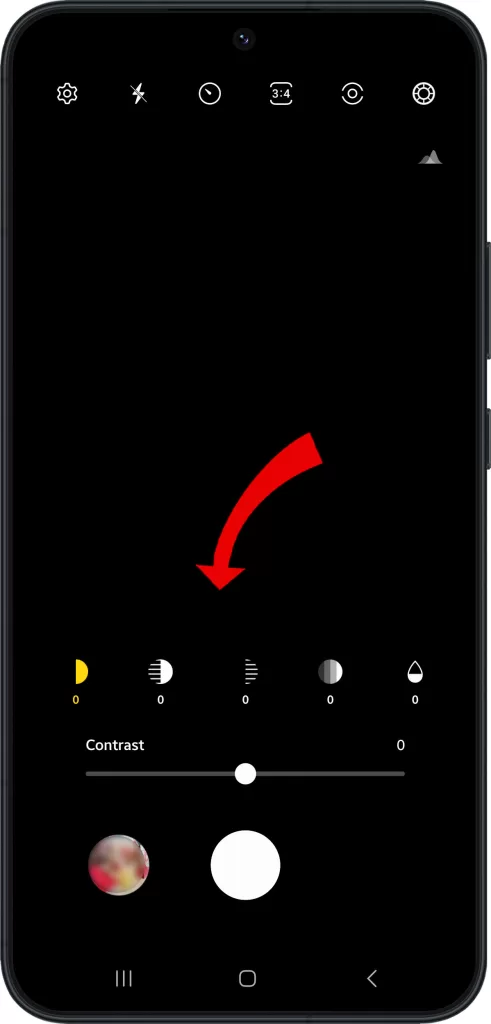
After applying the above settings, take the photo and see if the problem is resolved.
2nd Method: Lower ISO
Using ISO 100 or 200 for images with wide dynamic range means that you should set your camera’s ISO to either ISO 100 or 200 when taking photos in situations where there are both bright and dark areas within the same scene. This will help ensure that you capture the full range of details in the scene without overexposing or underexposing any areas.
Boosting ISO should only be done when necessary, such as in low-light situations where you need to increase the camera’s sensitivity to light.
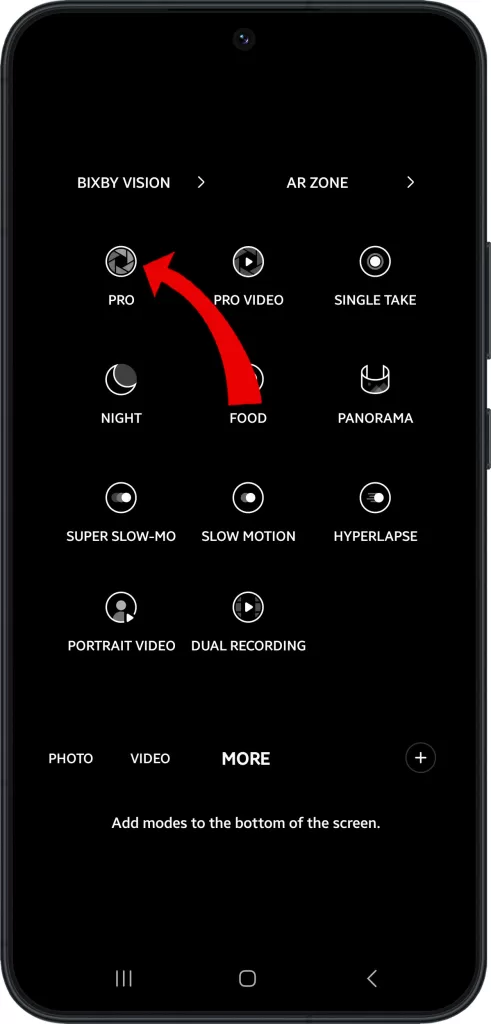
To lower the ISO on your Samsung Galaxy S23, you need to use the Pro mode. Here are the steps:
- Open the Camera app.
- Tap on the Mode icon at the top left corner of the screen.
- Select Pro mode.
- The ISO setting is located at the top of the screen.
- Drag the ISO slider to the left to lower the ISO value.
- Take a test shot to see how the lower ISO affects the photo.
The ISO setting controls the camera’s sensitivity to light. A lower ISO value means that the camera is less sensitive to light, which will result in a darker photo. A higher ISO value means that the camera is more sensitive to light, which will result in a brighter photo.
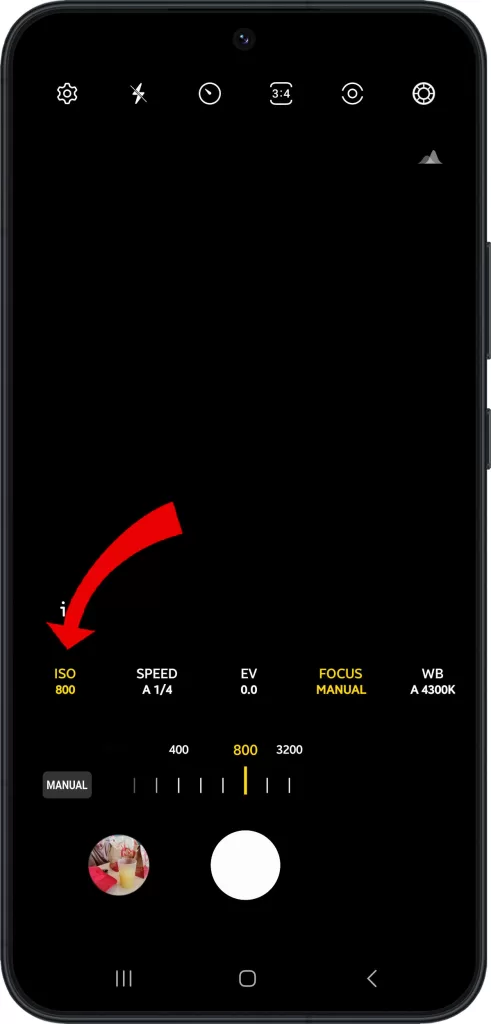
In general, you want to use the lowest ISO value possible to get the best image quality. However, if you are shooting in low light, you may need to increase the ISO value to get a properly exposed photo.
Note:
Higher ISO settings can also lead to more noise or grain in your photos, so it’s important to find the right balance between ISO and other camera settings to achieve the desired result.
3rd Method: Increase Shutter Speed
When taking photos, the shutter speed determines how long the camera’s sensor is exposed to light. If the shutter speed is too slow, too much light can enter the camera and cause overexposure, leading to blown-out highlights where certain parts of the photo appear completely white with no detail.
By increasing the shutter speed to 1/250s or faster, you can prevent this from happening and ensure that your photos have a balanced exposure with all details properly captured.
To increase the shutter speed on your Samsung Galaxy S23, you need to use the Pro mode. Here are the steps:
- Open the Camera app.
- Tap on the Mode icon at the top left corner of the screen.
- Select Pro mode.
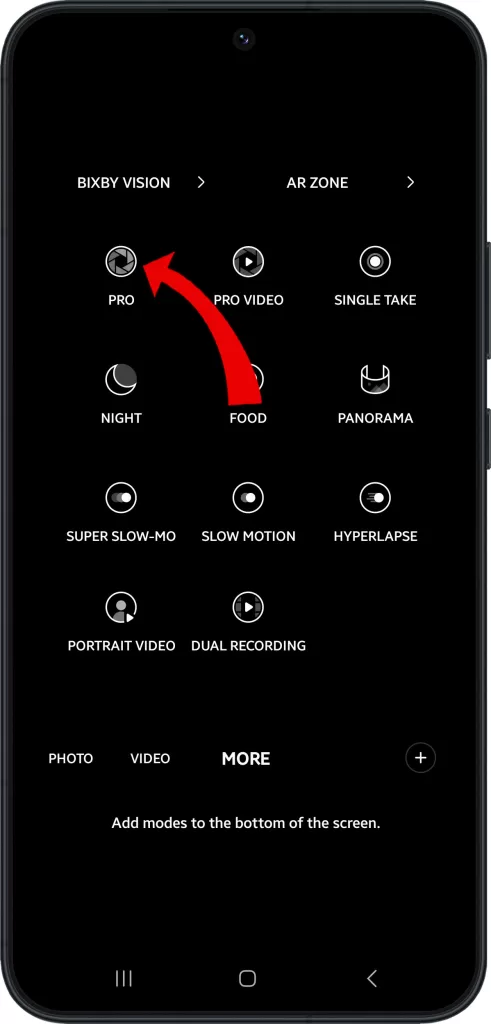
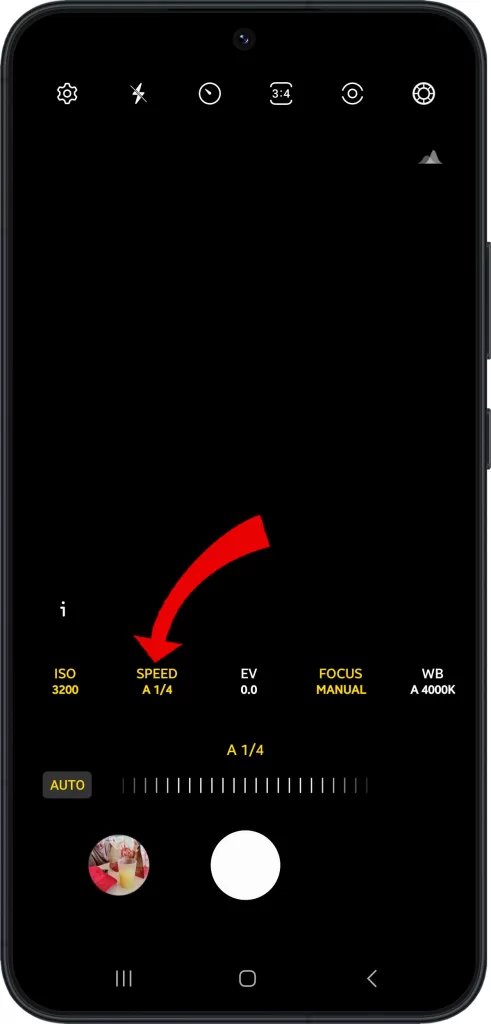
- The shutter speed setting is located at the bottom of the screen.
- Drag the shutter speed slider to the right to increase the shutter speed value.
- Take a test shot to see how the longer shutter speed affects the photo.
A longer shutter speed means that the shutter is open for a longer period of time, which will allow more light to enter the camera. This can be useful for taking photos in low light or for creating long exposure effects.
Note:
A longer shutter speed can also introduce blurriness into your photos, especially if there is a camera shake. To avoid this, you can use a tripod or a slow shutter speed app.
4th Method: Consider Adjusting Aperture
The aperture is the opening in your camera’s lens that lets in light. The aperture value determines how wide or narrow this opening is.
Unfortunately, there is no way for you to adjust the aperture on the Samsung Galaxy S23. The aperture is fixed at f/2.2 on the main camera and f/2.4 on the ultrawide camera.
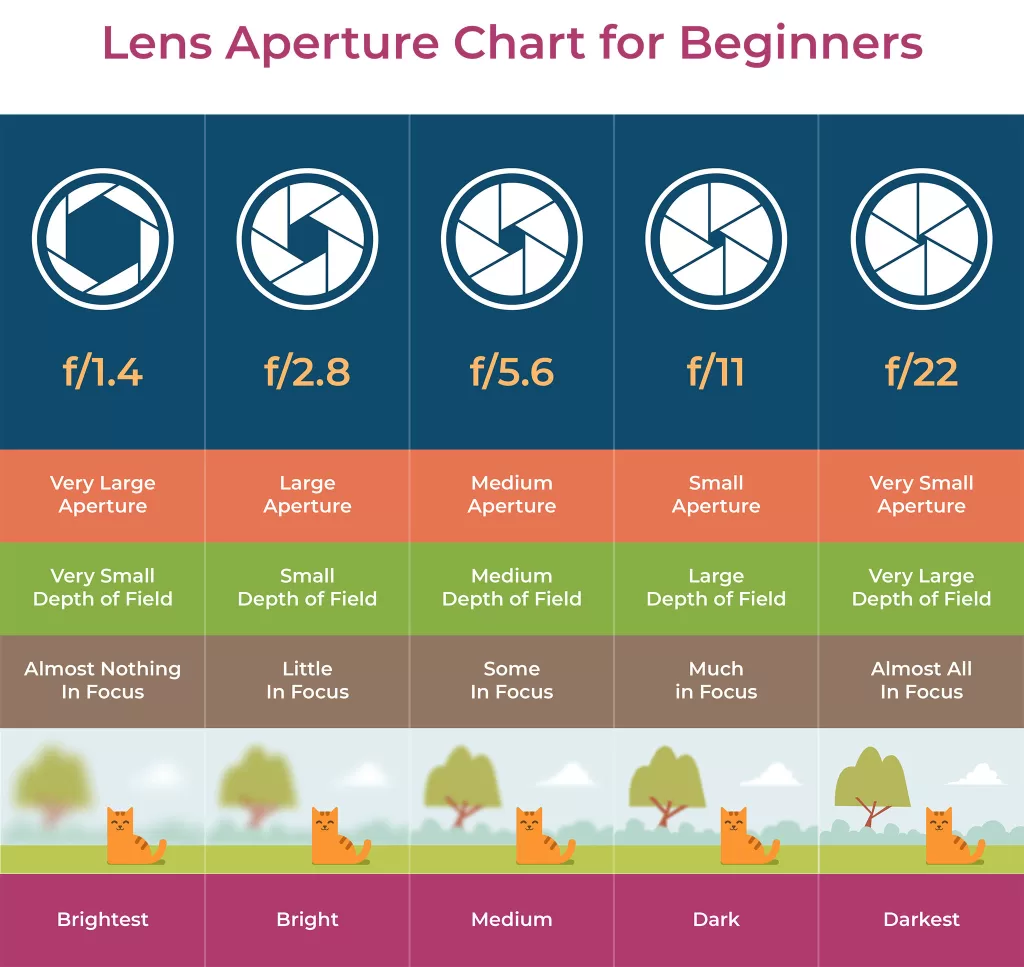
If you want to take photos with more control over the aperture, you can consider using a different camera, such as a DSLR or mirrorless camera. These cameras have physical apertures that can be adjusted, giving you more creative control over your photos.
Values between f/5.6 and f/11 are often used for landscape photos because they provide a good balance between sharpness and depth of field. Extremely wide apertures like f/1.5 can create a shallow depth of field, which may be desirable in some situations but can also make it difficult to keep the entire scene in focus.
Additionally, using f/1.5 in bright light conditions can cause overexposure and loss of detail in your photos.
5th Method: Enable Exposure Compensation
When taking a photo with high contrast, the difference between the brightest and darkest areas of the scene can be quite significant.
To avoid losing details in the brightest areas of the image, it can be helpful to use negative exposure compensation. This means intentionally underexposing the photo by adjusting the exposure settings to -1 EV or lower.
To enable exposure compensation on your Samsung Galaxy S23, you need to use the Pro mode. Here are the steps:
- Open the Camera app.
- Tap on the Mode icon at the top left corner of the screen.
- Select Pro mode.
- The exposure compensation setting is located at the top of the screen.
- Drag the exposure compensation slider to the left to make the photo darker or to the right to make the photo brighter.
- Take a test shot to see how the exposure compensation affects the photo.
Exposure compensation is a way to adjust the brightness of a photo. By default, the camera will try to expose the photo correctly, but sometimes, you may want to make the photo darker or brighter. This is where exposure compensation comes in.
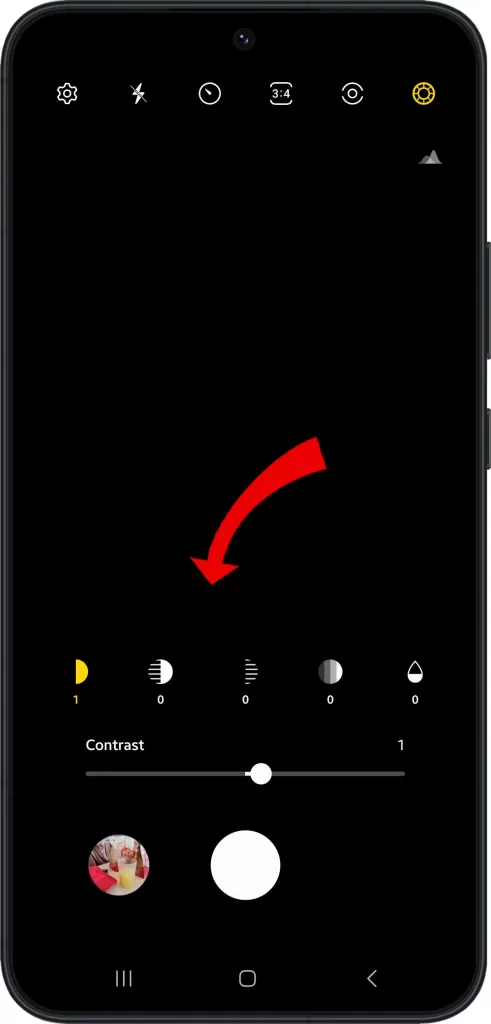
The exposure compensation slider has a range of -5 to +5. A value of -5 will make the photo very dark, while a value of +5 will make the photo very bright. A value of 0 will use the camera’s default exposure settings.
Enabling this feature can help preserve the details in the highlights while still capturing the details in the shadows and mid-tones.
6th Method: Know Your Lighting
When shooting outdoors, it’s important to pay attention to the lighting. Midday sun can create harsh shadows that can be unflattering for your subjects.
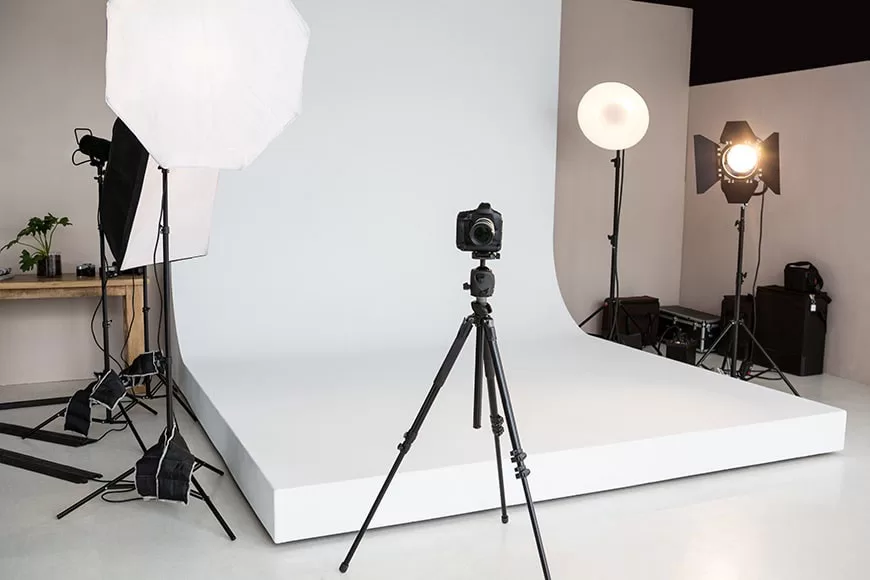
It’s best to choose early morning or afternoon light when the sun is not at its peak. This will provide softer, more even lighting for your photos.
7th Method: Edit Sparingly
When editing images, it’s important to be mindful of the adjustments you make to brightness, contrast, and clarity.
Here are the steps on how to edit images on the Samsung Galaxy S23 camera:
- Open the Camera app.
- Take a photo or select an existing photo from the Gallery.
- Tap on the Edit icon at the bottom of the screen.
- You can now edit the photo using the following tools:
- Crop: Crop the photo to remove unwanted areas.
- Filters: Apply filters to change the look of the photo.
- Effects: Apply effects to change the brightness, contrast, saturation, and other aspects of the photo.
- Text: Add text to the photo.
- Stickers: Add stickers to the photo.
- Drawing: Draw on the photo.
When you are finished editing, tap on the Save button to apply recent changes you’ve made.
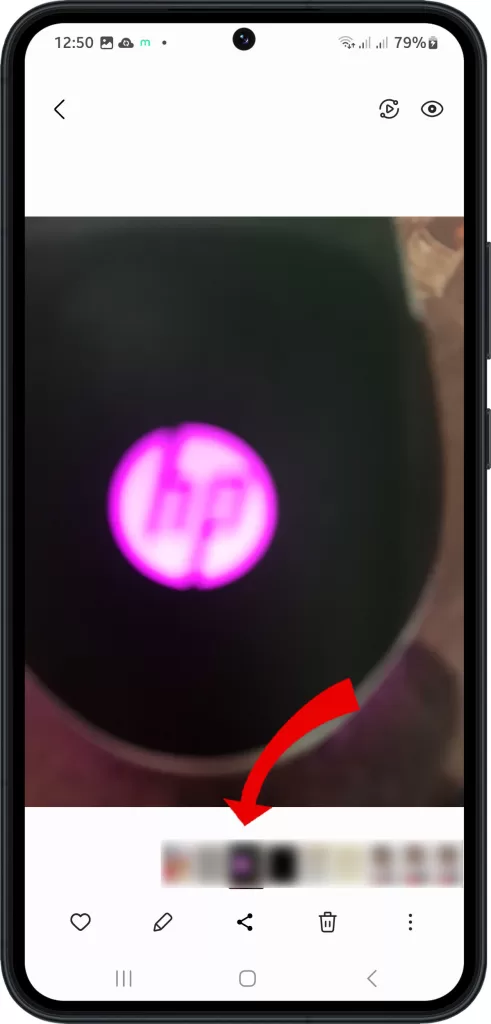
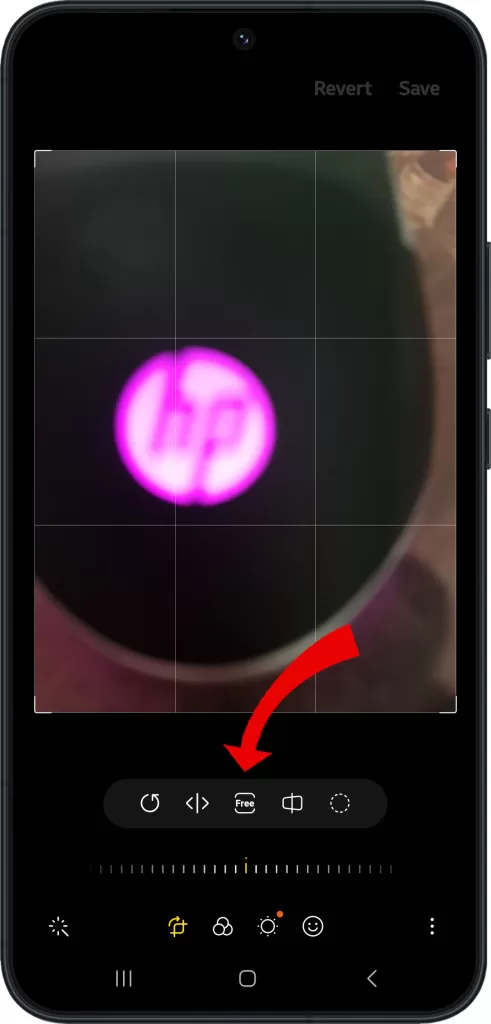
It’s generally best to make small changes rather than over-processing your image. This can help prevent your photo from looking over-exposed or washed out.
Additionally, it’s a good idea to preview your changes before applying them to the entire image, as this can help you make more informed decisions about how to edit your photo.
With some informed shooting techniques and controlled settings adjustments, your Galaxy S23 is capable of properly exposing even challenging high-contrast scenes. Just take an analytical approach.
Thanks,! This is great advice the difference is amazing, the washed out look achieved by standard settings goes away. I wish they could tweak the normal photo mode a bit as many times point and shoot is all there is time for .