How to Insert and remove the nano SIM and microSD cards into your Samsung Galaxy S10e
Your new Samsung Galaxy S10e has a combined nano SIM and microSD card tray so, inserting and removing both can be done together or separately. It’s located at the top of your phone and fits well into the slot so you will have to look closer to find the pinhole that will set it loose.
In this post, I will walk you through in inserting and/or removing both nano SIM and microSD cards into your new device. If you don’t know how to do it safely yet, continue reading as this article may be able to help you one way or another.
But before we actually move on to our tutorial, if you have issues with your phone, then visit our troubleshooting page as we’ve already addressed some of the most common problems with this device. In case you need more help with your problem, fill up our Android issues questionnaire and hit submit to contact us.
- Turn your Galaxy S10e off to avoid damaging the SIM or SD card.
- With the device powered off, press the card removal tool into the pinhole and push in until the tray releases.
- Remove the tray out of your phone completely.
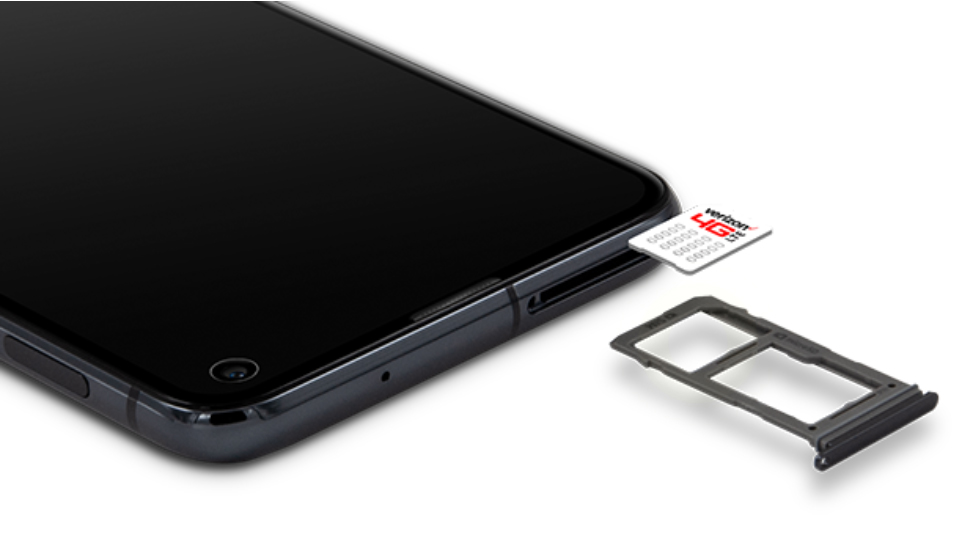
- Insert or remove the nano SIM and microSD cards into or from the tray with the gold contacts facing the back of the phone.
- Press the combined nano SIM / microSD card tray back into its slot until it clicks, making sure it’s secure.
- Now, turn your phone back on.
ALSO READ: What to do if your new Samsung Galaxy S10e won’t turn on
Most of the time, you’ll be able to enjoy the services such as texting, calls and data the moment the phone turns on provided there’s enough credits. However, there are times when you need to set something up to make them work.
As to the SD card, you may have to format it so that you can save your files, apps and other data in it. Unlike other Android devices, your Galaxy S10e doesn’t have ‘adoptable storage’ so you cannot integrate or add it as an extension of the internal storage. It will remain as an external storage device.
I hope that this how-to post has helped you one way or another. Please help us spread the word by sharing this post to your friends or people who may also have similar problems. Thanks for reading!
RELEVANT POSTS:
So how do I open the SIM slot if I push a small paperclip into the hole hard and it still won’t pop out? I’m sure it’s the correct hole.