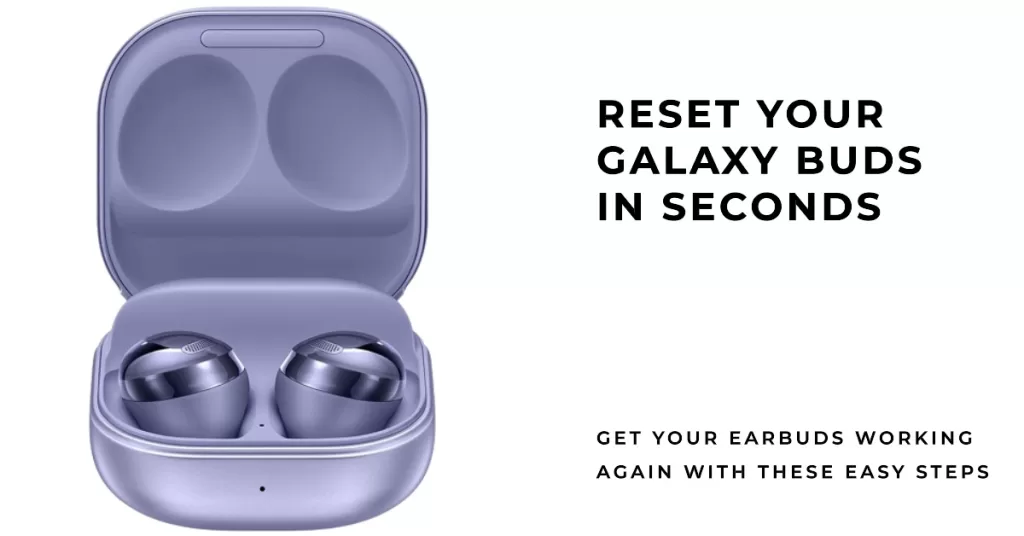
How to Reset Galaxy Buds | easy steps to factory reset or master reset
Do you want to know how to reset Galaxy Buds? Samsung’s new Galaxy Buds is considered one of the most well-designed wireless earpieces available today. It fits well in the ear and does block external sound pretty effectively. It’s light so it doesn’t feel bulky in the ear at all. Overall, this wireless gadget is an excellent complement to whatever phone you’re using as it also offers universal Bluetooth support. This means that it can work with almost all smartphones, tablets, and even Bluetooth-capable computers. However, just like any electronic device, the Galaxy Buds can have connection or software problems as well. Sometimes, Galaxy Buds issues may not go away right away and may require that you perform a hard reset or factory reset. In this tutorial, we’ll show you how this is done.
Galaxy Buds Not Working? Learn How to Reset Them Easily
Sometimes, despite their seamless performance, Galaxy Buds might encounter connectivity issues or software glitches that require a reset. This can manifest as audio disruptions, pairing problems, or unresponsive touch controls, causing inconvenience and frustration for users. In such cases, a quick and effective reset of the Galaxy Buds can often resolve these issues and restore their optimal functionality.
When do you need to hard reset your Galaxy Buds?

Samsung Galaxy Buds is definitely a top-notch wireless earpiece but it’s not perfect. It may encounter issues that may not go away easily. There can be many instances when Galaxy Buds may become problematic but some of the most common issues we’ve known about it so far include the following:
- Unable to connect to a new device
- Won’t re-establish connection with a previously paired device
- Keeps disconnecting
- Won’t update
- Won’t charge
- Sounds robotic
If you have any of these issues when using Galaxy Buds, the first thing that you want to do is to try to see if a restart will help. Below are the easy steps to restart Galaxy Buds:
- If the charging case is low on power (indicated by red light), or if the earbuds have less than 10% battery power, make sure that you connect the charging case to a charger first for at least 10 minutes. This should give the charging case and the earbuds more than enough power while you are troubleshooting an issue.
- If you haven’t done it yet, put the earbuds in their respective charging case slot.
- Close the charging case.
- Wait for at least 7 seconds.
- Reopen the charging case and see if the earbuds connects to your phone or gadget automatically.
If restarting your Galaxy Buds won’t help at all, then that’s the time that you should consider doing a hard reset or factory reset.
How to reset Galaxy Buds | easy steps to factory reset or master reset
Doing a hard reset or factory reset on your Galaxy Buds will erase all data from your earbud’s storage. The Galaxy Wearable app on your phone will not also recognize your Buds afterwards so you’ll have to set it up again later on. If you want to go ahead with the reset, follow these steps below:
- Make sure that your Galaxy Buds is fully charged. Be sure to charge it using the charging case for at least 10 minutes.
- On your phone, open the Galaxy Wearable app.
- Scroll down and tap About earbuds.
- Tap Reset earbuds.
- Tap Reset to confirm.
NOTE: If you are using a non-Samsung device like an iPhone, you won’t be able to access the reset function of your Galaxy Buds. Find an Android phone, install the Galaxy Wearable app from the Play Store, then reset your Buds using the app.
If you are one of the users who encounters a problem with your device, let us know. We offer solutions for Android-related problems for free so if you have an issue with your Android device, simply fill in the short questionnaire in this link and we will try to publish our answers in the next posts. We cannot guarantee a quick response so if your issue is time sensitive, please find another way to resolve your problem.
If you find this post helpful, please help us by spreading the word to your friends. TheDroidGuy has social network presence as well so you may want to interact with our community in our Facebook and Google+ pages.