How to fix your Samsung Galaxy S7 with a disabled Wi-Fi switch and won’t stay connected to Wi-Fi
It is important that your #Samsung Galaxy S7 (#GalaxyS7) an connect to a Wi-Fi network without a problem and get a stable internet connection so that some of the apps and services will work properly. However, some owners are plagued with some minor issues like being cut off while browsing the web or the Wi-Fi switch being disabled or something.
I will have to address these issues in this post. I suggest you read this post entirely to understand what the problem with your phone is and how to troubleshoot it in case the problem happens to your in the future.
For those who have other issues, make sure you visit our S7 troubleshooting page for we have already addressed a lot of problems with this device. And in case you need further assistance, you may contact us by completing our Android issues questionnaire.
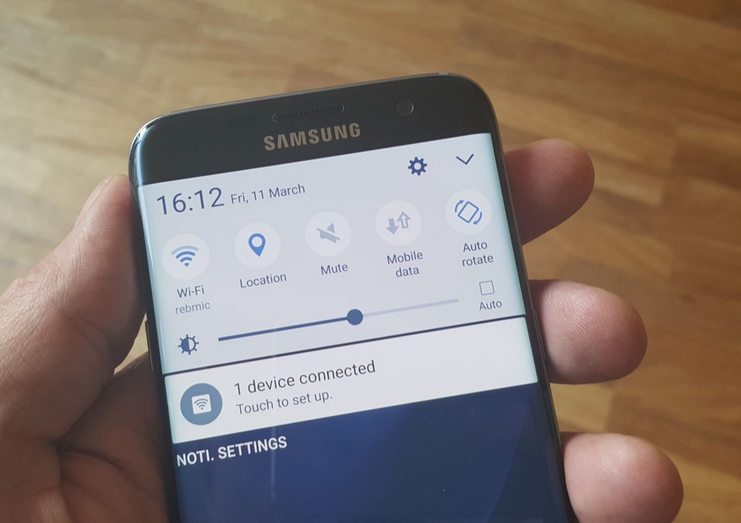
Samsung Galaxy S7 Wi-Fi switch is greyed out or disabled
Problem: Hi droid guys. I own the Galaxy S7 for a few months now there were a couple of issues that happened but I was able to fix them on my own. There is, however, one problem that puzzled me and that’s what I’m currently experiencing. The Wi-Fi button or switch is greyed out or disabled. I think it’s currently off because I don’t see the Wi-Fi icon at the top of the screen but I can’t turn it on because it seems disabled. What shall I do?
Troubleshooting: Hi! It’s really important to have knowledge on how to find ways to fix the problem of your own device, like what you did. Anyway, this kind of issue is common not only with the Galaxy S7 but with other android devices as well. More often, it occurs after a software update or if there is a system glitch caused by some rogue applications. As long as this problem is only caused by a software issue, it can be resolved by performing some easy steps. We recommend troubleshooting steps below to help you resolve this.
Step 1: Reboot your Galaxy S7
During the download process to update your device’s software, some files may end up corrupt or damaged and could cause problems. It may also be downloaded successfully but manual powering off and on of the device is necessary to complete the process. So try the reboot first as there’s always a possibility that it’s just a minor glitch in the system and a simple procedure like this might help fix the problem.
Step 2: Run your Device in Safe mode
There are instances that applications are causing this issue, we can’t determine which app but most of the time apps that cause issues are ones that were developed by some small group of programmers. But in order to isolate the problem and determine whether it’s an app that’s causing it or not, we recommend booting the device in Safe mode. In this mode, all the third party apps will be temporarily disabled and if the issue is caused by one of them, then the Wi-Fi switch may be enabled while in this state.
If the Wi-Fi switch is not greyed out then find and remove the suspected apps. Here are the steps on how to boot your phone in safe mode:
- Press and hold the Power key.
- As soon as you can see the ‘Samsung Galaxy S7 on the screen, release the Power key and immediately hold the Volume Down key.
- Continue holding the Volume Down button until the device finishes rebooting.
- You may release it when you can see ‘Safe mode’ in the bottom left corner of the screen.
Step 3: Clear the System Cache in your Device
If running in Safe mode did not resolve the issue or if the Wi-Fi switch is still greyed out, then clearing the system cache might help. After an update, old temporary files will be replaced with a new ones in order for your device to work smoothly. However, there are times when old caches are still used by the system and issues may occur. This problem is just one of the possible symptoms. Therefore, it’s necessary completely delete all system caches so that the phone will create newer ones that are perfectly compatible with the new system. Here are the steps how to delete system cache:
- Press and then hold the Home and Volume UP keys, then press and hold the Power key
- When the Samsung Galaxy S7 shows on the screen, release the Power key but continue holding the Home and Volume Up keys.
- When the Android logo shows, you may release both keys and leave the phone be for about 30 to 60 seconds.
- Using the Volume Down key, navigate through the options and highlight ‘wipe cache partition.’
- Once highlighted, you may press the Power key to select it.
- Now highlight the option ‘Yes’ using the Volume Down key and press the Power button to select it.
- Wait until your phone is finished wiping the cache partition. Once completed, highlight ‘Reboot system now’ and press the Power key.
- The phone will now reboot longer than usual.
Step 4: Perform Hard Reset
If all else fails, then the master reset is your last resort. Keep in mind that performing a reset will delete all your files including contacts, messages, images, etc. that are saved in your phone’s internal storage. So before you proceed, we highly recommend you backup all your files first; you can copy and paste them on your computer or into your SD card.
- Turn off your Samsung Galaxy S7
- Press and then hold the Home and Volume UP keys, then press and hold the Power key. NOTE: It doesn’t matter how long you press and hold the Home and Volume Up keys, it won’t affect the phone but by the time you press and hold the Power key, that’s when the phone starts to respond.
- When the Samsung Galaxy S7 shows on the screen, release the Power key but continue holding the Home and Volume Up keys.
- When the Android logo shows, you may release both keys and leave the phone be for about 30 to 60 seconds. NOTE: The “Installing system update” message may show on the screen for several seconds before displaying the Android system recovery menu. This is just the first phase of the entire process.
- Using the Volume Down key, navigate through the options and highlight ‘wipe data / factory reset.’
- Once highlighted, you may press the Power key to select it.
- Now highlight the option ‘Yes , delete all user data’ using the Volume Down key and press the Power button to select it.
- Wait until your phone is finished doing the Master Reset. Once completed, highlight ‘Reboot system now’ and press the Power key.
- The phone will now reboot longer than usual.
I am almost certain this problem can be fixed by a reset, if not, then you may want to reinstall the firmware on your phone or you can find a technician who will do so.
Samsung Galaxy S7 cannot stay connected with Wi-Fi
Problem: My phone is an S7. It’s working fine but the Wi-Fi won’t stay connect. More often when I’m browsing, the phone just disconnects and I get cut off. I don’t know if you’ve already addressed this problem but I just want to know how to keep my phone connected to my Wi-Fi network and not disconnect at its will but mine. Thanks.
Troubleshooting: One of the reasons that the phone will disconnect from the Wi-Fi network is due to weak signal. However, if the signal is strong but the device can’t stay connected to a network without apparent reason, then you really have to do some troubleshooting to determine the cause and discover a solution.
Step 1: Connect the device to a network
Since you cannot connect to a Wi-Fi network the first thing that you should do is to try connecting to any public networks available in your area. Doing this will help you determine whether the phone is still able to connect to any network without disconnecting because if so, then the problem might be on the network side and not your phone.
There are times when your network equipment such as your modem or router needs to be refreshed so that it can work properly again. Most often, a reboot will fix any minor network issues.
However, if your phone acts the same even with other networks, then we can almost say the problem is with the device and we need to troubleshoot further. So, proceed to the next step to see if the issue can still be fixed by basic troubleshooting.
Step 2: Reboot your Samsung Galaxy S7
This is the most basic troubleshooting procedure that you can perform if your phone is experiencing a minor glitch. But after rebooting the device and the problem still persists, then you can proceed to the next steps to rule out other possibilities.
I understand you may have already done this procedure many times but it’s a prerequisite before you can proceed to other steps. Besides, we still don’t know if it’s just a minor problem or a complex hardware issue.
Step 3: Boot your phone on Safe mode
There are apps that can manipulate Wi-Fi, in fact, your service provider may have installed them on your phone so you can minimize your data usage. While they came pre-installed by your provider, they’re still considered third-party apps so you can actually disable all of them by simply booting your device in safe mode.
If the phone still disconnects from Wi-Fi, then the third-party apps have nothing to do with it. In this case, you will have to go after the firmware itself.
Step 4: Wipe the cache partition of your Galaxy S7
If you are suspecting that the firmware of your phone has an issue, wiping its cache partition may fix it. In this procedure you are deleting the possible corrupt cached files on your phone. However, this procedure should be performed if booting the device on Safe mode didn’t help fix the issue. To wipe the cache partition, follow the steps in the first problem.
Step 5: Perform factory reset on your phone
There are times when you really have to bring the phone back to its default settings to be able to observe if the problem is caused by misconfiguration, newly installed apps, or more complex firmware issues. There’s no better way to do that than the factory reset.
- From the Home screen, tap the Apps icon.
- Find and tap Settings and then touch Backup and reset.
- Tap Factory data reset and touch Reset device.
- If you have screen lock feature turned on, enter your password or PIN.
- Touch Continue.
- Tap Delete all to confirm your action.
Other Wi-Fi Related Problems with the Galaxy S7
The following issues have also been reported by our readers and while they may seem complex, they’re actually very easy to fix or troubleshoot.
Question: Hi guys! How come my Galaxy S7 cannot update my emails when I’m not using the app? When at home, I am connected to my home Wi-Fi and when at work, to my company’s network. Needless to say, my phone is connected to the internet whether at home or at work. But email messages do rush in when I open the app but when it’s sitting idle, no message will be received. Why is that?
Answer: The reason why your phone cannot receive your email messages when the screen is off is because it goes offline when idle. There is a setting that will allow the phone to stay connected even when idle. I think that’s all you need to change to fix your problem. Go to advanced Wi-Fi settings and look for Keep Wi-Fi On During Sleep.
Question: My brother gave me his old Galaxy S7 in pristine condition. I used to have a basic phone and this one is the first smartphone I ever have. I am not savvy but I know a thing or two about IP-enabled devices. But my problem is seem to be beyond my understanding because my phone keeps disconnecting from Wi-Fi and tries to connect to the internet via mobile data. From mobile data, it reconnects to Wi-Fi and the cycle repeats a hundred times a day leaving me without a good internet connection. So, I’m wondering if there’s something I can do about it since I need to have a stable internet connection.
Answer: It’s just a matter of changing one setting to fix this problem. Under the Wi-Fi Advanced Settings, there’s an option “Auto Network Switch” which I think is enabled by default. You need to disable that as it’s causing this issue; the phone disconnects from one network and connects to the other and so on. So, disable Auto Network Switch and this problem will be fixed.
CONNECT WITH US
We are always open to your problems, questions and suggestions, so feel free to contact us by filling up this form. This is a free service we offer and we won’t charge you a penny for it. But please note that we receive hundreds of emails every day and it’s impossible for us to respond to every single one of them. But rest assured we read every message we receive. For those whom we’ve helped, please spread the word by sharing our posts to your friends or by simply liking our Facebook and Google+ page or follow us on Twitter.