How to Fix HyperX Cloud 2 Mic Not Working on Windows
This post tackles an issue on the HyperX Cloud 2 Mic that is not working on Windows 10. Read on to learn what to do if you encounter the same issue when using HyperX Cloud II headset while playing video games on your Windows computer.
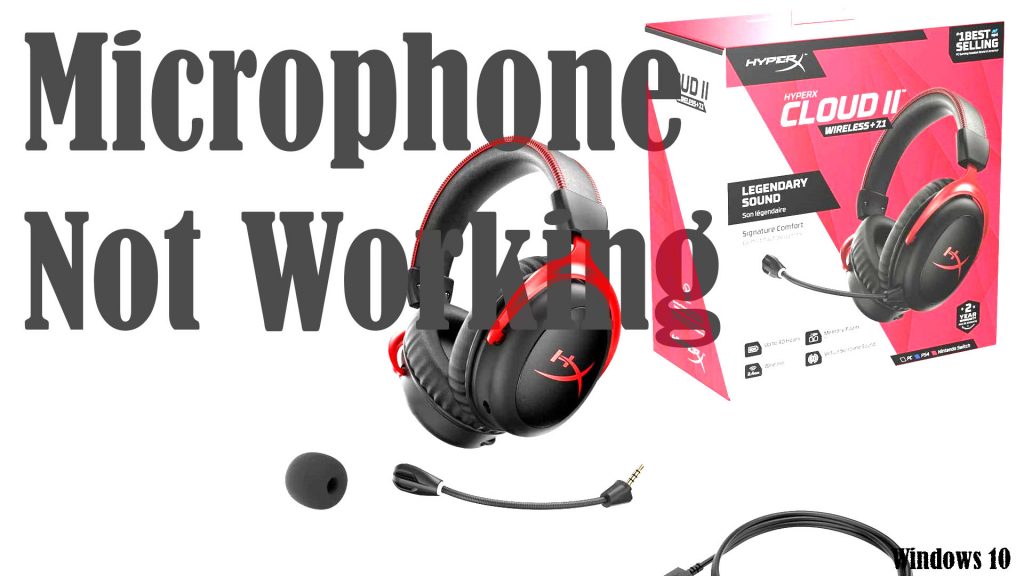
Hyperx Cloud 2 Headset
Hyperx Cloud 2 is tagged among the top-rated gaming headsets among video gamers to-date. Aside from its quality built, this headset also sports a number of advanced features including a 7.1 virtual surround sound, digitally enhanced noise-cancelling microphone, advanced USB audio control box and a preloaded sound card. The headset also comes with an automatic gain control functionality and echo cancellation enabled. As a result, clearer voice quality and reduced background noise are achieved. But despite its hi-tech features, this headset is also not spared from random issues.
Possible causes of Hyperx Cloud 2 Mic problems
There are many factors that can cause problems among gaming headsets like Hyperx cloud 2. Aside from liquid and physical damage, software-related factors can also be the underlying cause.
Among the possible culprits would include but not limited to incorrect or misconfigured audio settings, random system glitches on the computer in use, as well as an outdated sound card or missing audio driver.
Troubleshooting Hyperx Cloud 2 Mic Not Working on Windows
Before opting for hardware repair, you can try some workarounds to rule out software-related factors that might have prevented the Hyperx cloud 2 mic from working as intended. Don’t forget to test the headset after carrying out each of these outlined procedures to determine whether or not the problem is fixed.
First Solution: Enable Microphone Permissions.
Also consider reviewing your computer settings and make sure that access to the microphone for audio apps is enabled. Just head over to your computer’s privacy settings with these steps:
- Open the Settings app through Start Search.
- While on the Settings menu, click Privacy.
- Navigate to the left pane and select Microphone from the given options.
- Then, enable the button for Allow apps to access your microphone.
After applying the recent permission settings, test the headset and see if the microphone is already working.
Second solution: Check and change default audio.
The headset may also fail to work if it is disabled in the system. To clear this out, check your computer’s sound settings and make some alterations when needed. Here’s what you should do then:
- Navigate to the bottom of your desktop screen and then right-click on the Speaker icon.
- From the pop-up options, click Recording device. Doing so will open a new window.
- Right-click on the blank area on this window and then click the option to Show Disabled Devices.
- Find and select the HyperX Cloud 2 headset and then click Enable.
- On the succeeding window, select the HyperX Cloud 2 headset and then click the option to Set as Default Device.
- To save recent changes, click Apply then OK.
Once you’ve exited the settings window, test the headset and see if the microphone is already working.
Third solution: Update/reinstall missing or corrupted audio drivers.
In some instances, a faulty or outdated sound/audio card driver on the computer is to blame. To rule this out, head over to your computer’s device manager to view the status of your sound drivers. Here’s how:
- Launch the Run app from the Start menu.
- On the Run screen, type devmgmt.msc then press Enter or OK to confirm.
- On the Device Manager screen, click the plus sign to expand the Audio inputs and outputs list.
- Then, find and right-click on the sound/audio card driver that’s associated with your HyperX cloud 2 headset.
- On the pop-up menu, select the option Update driver.
- You may opt to check for modified driver software automatically so that Windows will automatically scan, download and update the sound/audio card driver for the system.
- Just follow the onscreen instructions to complete the updating process.
Once everything is completed, restart your computer to refresh the system and apply the recent software changes.
As soon as your computer is done rebooting, test the HyperX cloud 2 headset and see if the microphone problem is fixed.
Fourth solution: Run Windows 10 Audio Troubleshooter
To eliminate software-related errors that might have caused the computer’s audio system to fail, you can use the built-in audio troubleshooter. Here’s how:
- Launch the Settings app through Start search or using your preferred method.
- On the Settings window, navigate to the Update & Security section then click Troubleshoot from the given options under this section.
- On the right menu, click Playing Audio and then click the button to Run the troubleshooter.
Follow the rest of the onscreen prompts to finish troubleshooting the computer’s audio functions and then test the HyperX Cloud 2 Headset to see if the microphone is already working properly.
Other Suggestions
If Bluetooth is enabled on your computer, there’s a tendency for it to automatically connect or pair with your other Bluetooth-enabled audio accessory. If you don’t hear any sound and the microphone is not working on your Hyperx cloud 2, then try to disable and re-enable Bluetooth on your computer. After re-enabling Bluetooth, verify and ensure that it’s paired with the Hyperx cloud 2 headset.
Muting and unmuting the headset can also help fix random audio problems that caused the microphone to suddenly malfunction. If your headset has a USB switcher and the switcher is in use, make sure that it isn’t muted.
Also ensure that all the connectors are properly seated. You can also try plugging the USB cable into another USB port available. Otherwise, use the 3.5mm audio jack connection and see if that fixes the microphone problem.
If none of the given solutions worked and the headset’s microphone is still not working, try to use other headsets. If other headsets are working as intended, then the problem is isolated to the HyperX Cloud 2. In this case, there’s a higher chance that hardware damage is present.
Hope this helps!
Please visit our YouTube channel to view different troubleshooting and tutorial videos that might be helpful to you.
You Might Also Want To Read: