How To Fix DHCP Lookup Failed Error In Windows 11 | Updated [Updated 2023]
Are you getting the DHCP Lookup Failed error on your Windows 11 machine? In this guide, we’ll share you the tips on how to resolve this issue quickly.
What is DHCP?
The DHCP Lookup Failed problem indicates that your PC was unable to obtain an IP address from the DHCP server. To interact with the router and the internet, each device requires an IP address.
DHCP (Dynamic Host Configuration Protocol) is a device configuration protocol that operates over the internet. It allocates IP addresses to devices and allows them to use default gateways. The protocol enables fast and seamless communications between IP network devices.
When your device fails to obtain an IP address from the DHCP server, the DHCP Lookup Failed error occurs. As a result of the problem, your device will be unable to retrieve information from the DHCP server.
How to fix DHCP Lookup Failed error?
There are a number of potential solutions that you can try to fix DHCP Lookup Failed error. Let’s take a close look at each one below.
Fix #1: Install updates.
Before doing anything, you want to make sure that the software of your PC is running the latest version by updating.
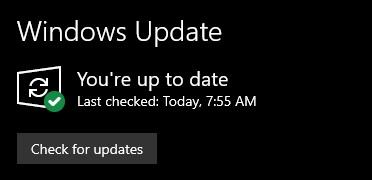
To do that, just go to Settings > Windows Update.
Fix #2: Verify if your internet connection is working.
Because the issue is network-related, it’s possible that the cause of the problem is coming from your network devices. When your router fails to interact with your ISP, the DHCP Lookup Failed error occurs. You can remove the power cable from your router and restart it to check your Internet connection.
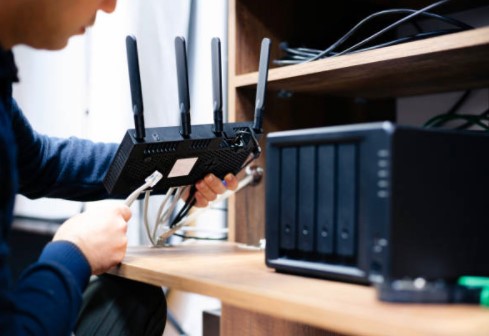
After that, wait 30 seconds before reconnecting the cable to your modem or router. Try connecting to your router now that it’s turned back on to see if it fixes the problem.
You may also connect other devices to your network, such as your phone, to determine whether there’s a problem. If any of your other devices can’t connect to the router, the issue is with your ISP.
If your ISP is the source of the problem, contact their customer support to report the problem. Your other devices, on the other hand, should be able to connect to your network without trouble.
Fix #3: Power cycle your network devices and PC.
Restarting your device is an effective technique to resolve small faults since it allows it to reset itself. What you want to do here is to ensure that you restart both your PC that has the DHCP Lookup Failed error and your modem or router.
Fix #3: Run the Network troubleshooter.
If updating and restarting the devices did not change anything, the next solution that you must try is to use the built-in network troubleshooter. You can access this useful utility in Windows with these steps:
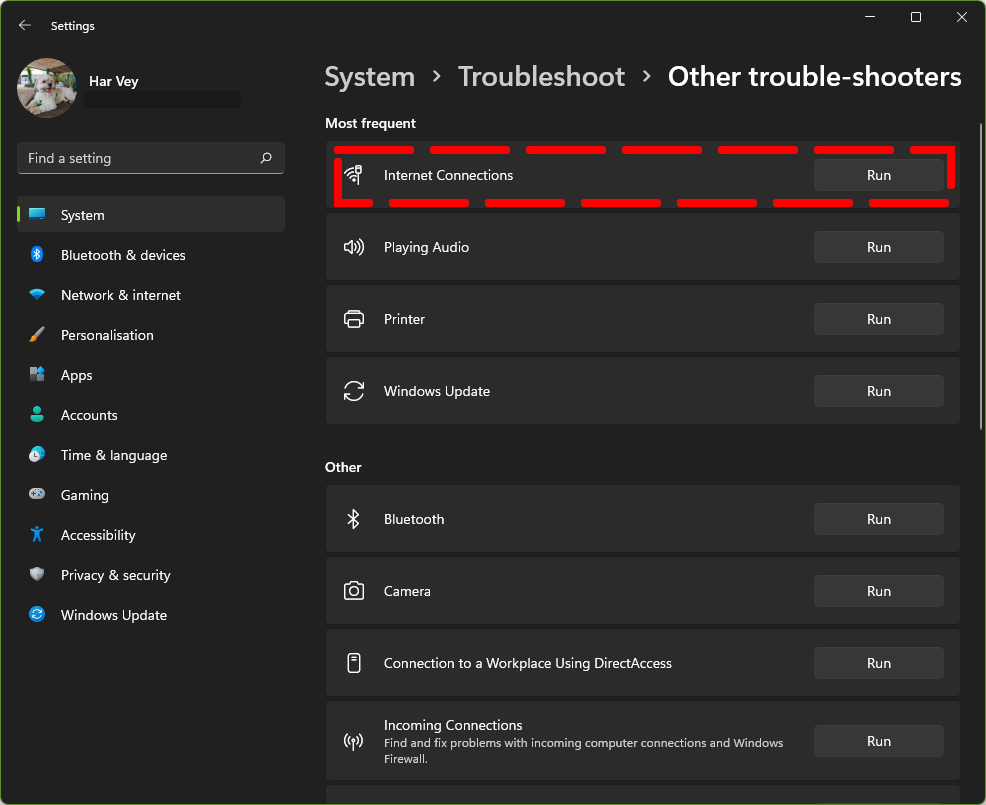
- Open the Settings app by pressing the Windows key + I buttons.
- Select System.
- Click on Troubleshoot.
- Select Other trouble-shooters.
- Click on the Run button for Internet Connections.
- Follow the instructions from the troubleshooter.
Fix #4: Don’t use wifi extender.
When it comes to increasing the range of Wi-Fi access, WiFi extenders or repeaters are brilliant. However, some issues, such as the DHCP Lookup Failed have been reported as a result of using these devices.
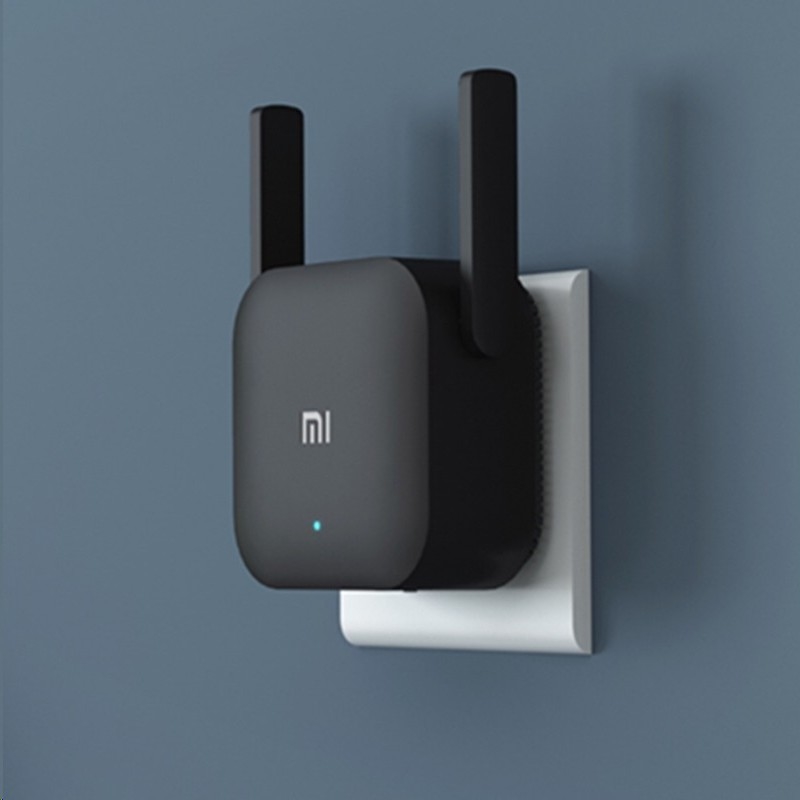
Make sure to connect to Wi-Fi directly from the router and see if that will fix the problem. If this resolves the error, the issue is with the extender.
If you don’t want this problem, invest in a high-range router or a Google Wifi router for improved WiFi coverage.
Fix #5: Change your DNS server.
The DHCP Lookup Failed Error in Windows 11 can be resolved by changing DNS servers to the Google Public DNS server. Change the DNS settings on Internet Protocol Version 4 (TCP/IPv4) on DNS server addresses for the preferred DNS server and Alternate DNS server, and then test to see whether the issue is fixed. Here’s how:
- Access the Windows settings app by pressing the Windows key + I on your keyboard.
- Click Network & Internet.
- On the right panel, click the circle with an “i” beside Properties.
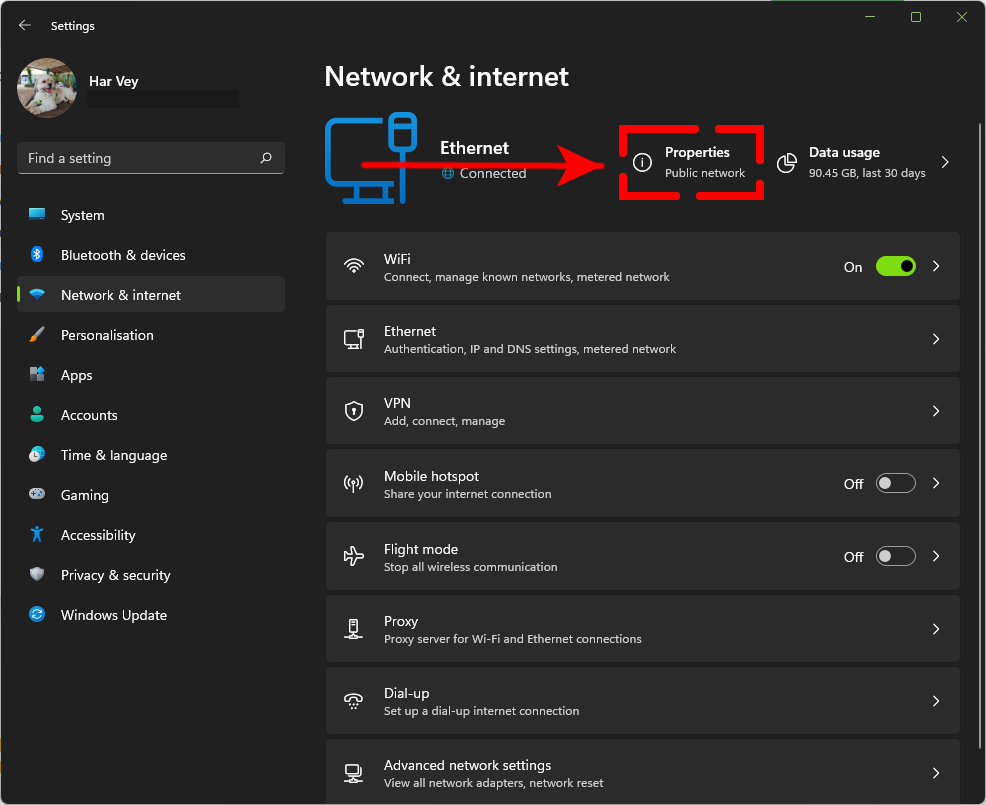
- Click the Edit button for DNS server assignment.
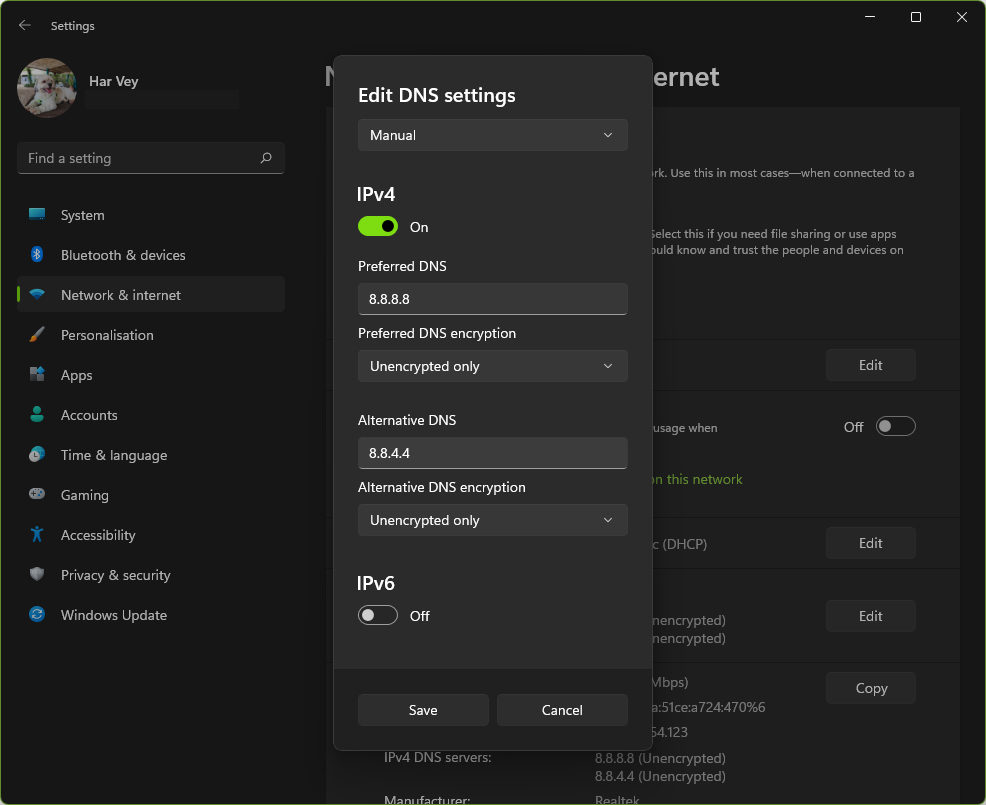
- Under Edit DNS settings, click on the drop-down arrow and select Manual.

- Then, turn on the IPv4 switch.
- Change the values for Preferred DNS and Alternative DNS. For your preferred DNS, enter 8.8.8.8 and 8.8.4.4 for Alternative DNS.
- Click Save.
Once you’ve changed the DNS settings to Google Public DNS, check for the DHCP Lookup Failed error again.
Fix #6: Disconnect from your wifi.
Disconnecting your PC from your wifi and reconnecting to it afterwards has been found to have helped fix DHCP Lookup Failed error message. Make sure that you do that and see if it helps in resolving this error.
Fix #7: Change the router’s frequency band.
If you are connecting your PC to a new wifi and you’re getting this error, there’s a chance that your computer does not support the Wi-Fi frequency provided by your network.
If you have a dual-band router, which means that it can broadcast in both 2.4GHz and 5GHz, try to see if switching to any one of these bands will work to fix fix DHCP Lookup Failed error.
Fix #8: Expand the range of IP addresses.
The DHCP Lookup Failed problem might occur if you have more than one device connected to your home network. This is due to a limitation in your DHCP router. And once your router has hit this limit, you will be unable to join any further devices to the network. To address this, you might try expanding the number of devices that can connect to your network. For example, you can set the DHCP range to 100–253 to allow more devices to connect to your wireless network.
Keep in mind that the steps for doing so may differ based on the type and brand of your internet router.
After increasing the limit, reconnect to your WiFi router to determine if the problem has been resolved.
Fix #9: Renew your IP address.
It’s likely that the router wasn’t able to issue IP addresses to all of the devices, and some of them failed.
In this situation, you can renew the IP address on your PC and see if that will fix DHCP Lookup Failed error. Here’s how:
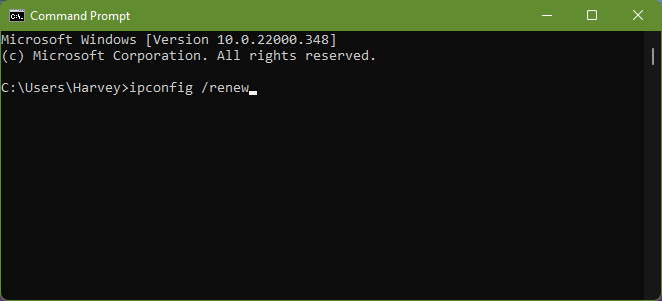
- Open the Command Prompt on Windows by pressing the Windows key on your keyboard and typing “cmd.”
- Open the Command Prompt app.
- Type the following in the command prompt: ipconfig /renew.
This will force the computer to connect to DHCP in order to obtain a new IP address.
Fix #10: Do not use a VPN.
Some VPNs may create a conflict with the network settings of certain computers. If you are connected to a VPN, try disconnecting it temporarily to check if the DHCP Lookup Failed issue is fixed.
Fix #11: Move closer to the router.
If the internet connection on your PC is constantly disconnecting and you’re also getting this error, try to see if you can improve the situation by moving closer to the router.
Fix #12: Reset the router.
The DHCP issue might be caused by faulty firmware on your router/modem. You may always reset the router in these kind of situations by hitting the reset button on the router. This resets the router to factory settings and may resolve the DHCP lookup failed issue.
Causes of DHCP (Dynamic Host Configuration Protocol) Lookup Failed Error
DHCP Lookup Failed error can be caused by a number of factors. Some of the common reasons for the problem include VPN usage, malfunctioning wifi extenders, corrupted router firmware, incorrect router settings, and even outdated Windows Operating System.
OTHER INTERESTING ARTICLES YOU MAY LIKE:
- How To Reset Graphics Card To Fix Display Issues | Windows 11 | 2022
- How To Change Device Bluetooth Name In Windows 11 | Easy Steps 2022
- How To Turn Off Steam Notifications [2022]
- How To Fix A Discord API Error | Updated Solutions in 2026
Visit our TheDroidGuy Youtube Channel for more troubleshooting videos and tutorials.