My Galaxy S10 Won’t Charge. Here’s The Fix!
When a premium device like the Galaxy S10 won’t charge, the problem can be with the hardware and its accessories, or it could be just a minor issue with the firmware. As an owner, you should do some troubleshooting procedures to determine what the issue is and hopefully be able to fix it.
Today’s post will show you how to fix a Galaxy S10 that stopped charging. Find out the list of troubleshooting steps to try to identify the reason of your problem.
What To Do If Galaxy S10 Won’t Charge
There is no direct way to know what is causing a charging problem. To identify the cause, you must do a number of troubleshooting steps to narrow down the factors. Learn what to do by following the steps below.
First solution: Forced reboot
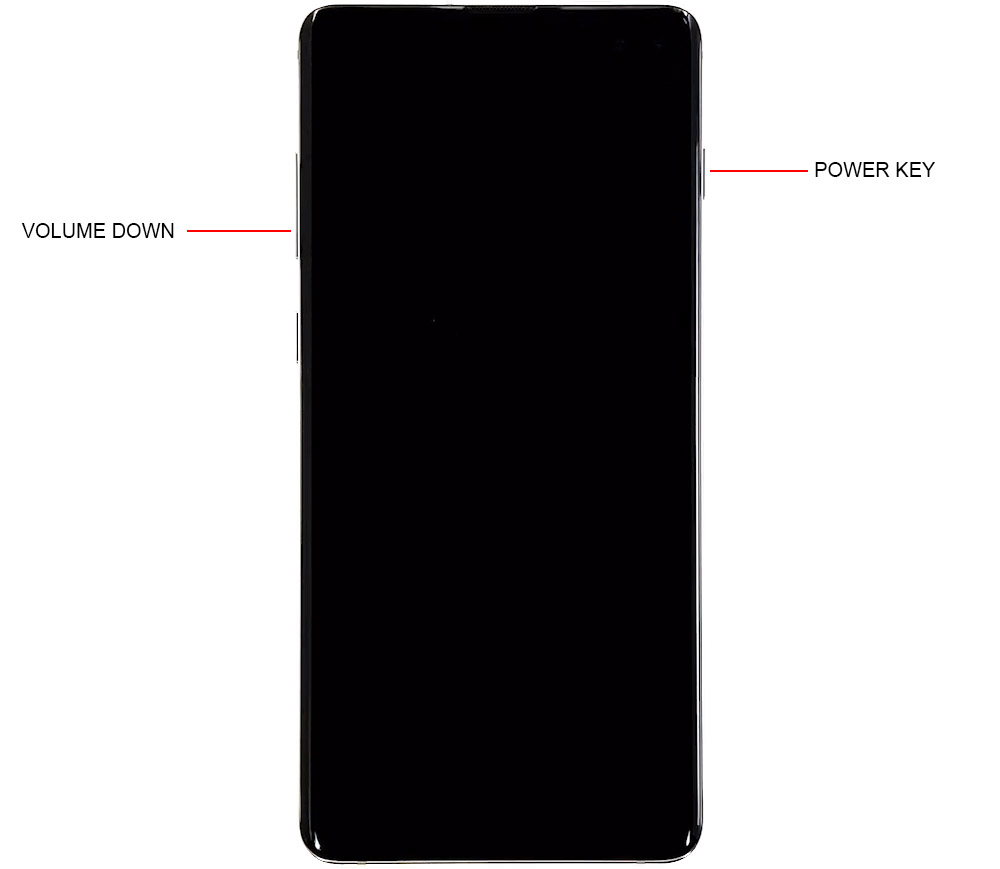
Before doing any device troubleshooting, it’s always a good idea to start with a system refresh. A lot of minor bugs are fixed by simply restarting a device. In your case, we recommend that you go beyond the usual restart and do a forced reboot. This simulates the effects of disconnecting the battery from the device. Here’s how:
- Press and hold the Power + Volume Down buttons for approximately 10 seconds or until the device power cycles. Note: Allow several seconds for the Maintenance Boot Mode screen to appear.
- From the Maintenance Boot Mode screen, select Normal Boot. You can use the volume buttons to cycle through the available options and the lower left button (below the volume buttons) to select. Also, allow up to 90 seconds for the reset to complete.
Second solution: Confirm charging accessories are working
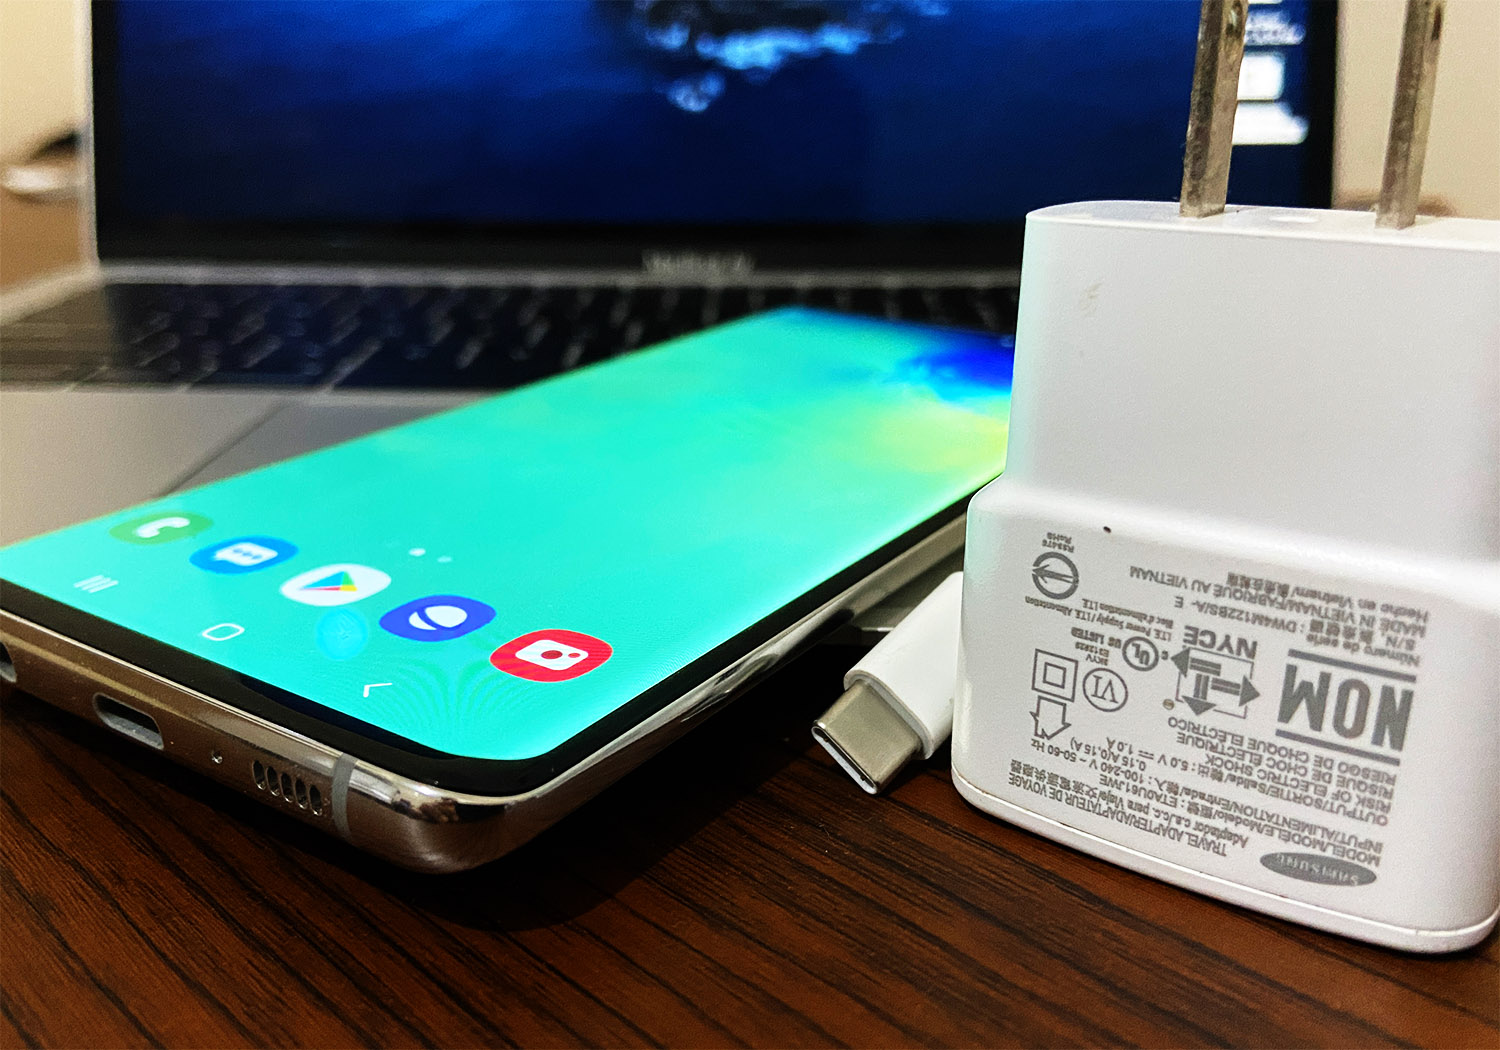
If restarting your device did not help, the next good thing to do is to check the charging cable and adapter. One of the common reasons for a lot of charging problems is using bad charging accessories. Make sure that you check yours to help you save time and effort. To do that, you can try to use another set. If you have a family member with the same device, try to use his or her charging cable and adapter and see if that will jumpstart charging. If you can’t readily find a charging cable or adapter, visit your local Samsung store to try their own accessories.
Third solution: Check charging port
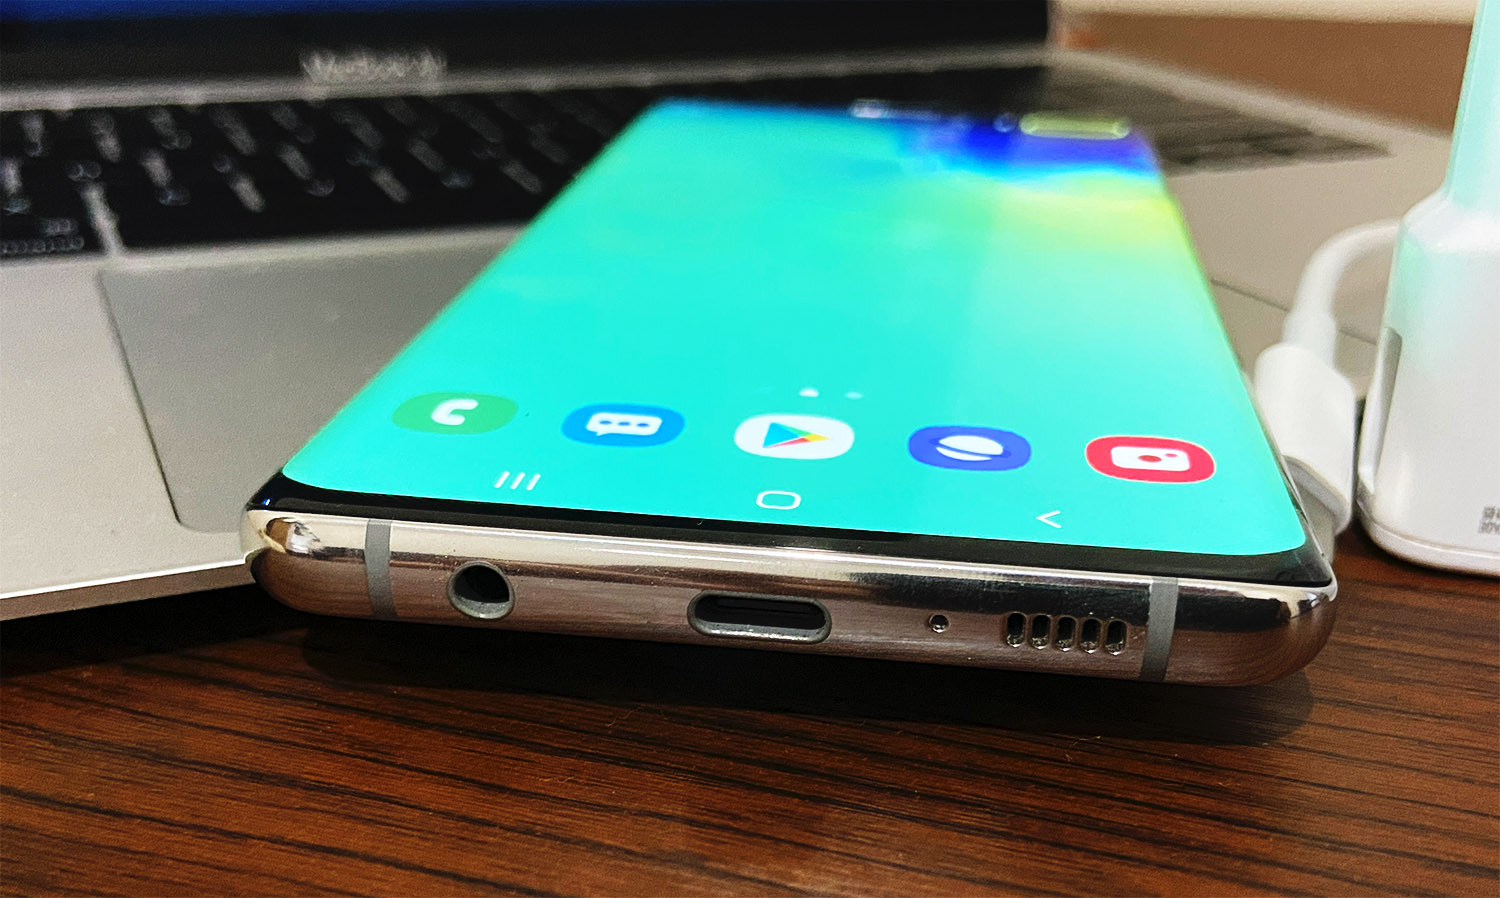
If you’ve confirmed that there’s no issue coming from your charging accessories, the next step would be to ensure that the charging port is not blocked. Sometimes, dirt or lint may get inside the port and prevent the cable from connecting properly. To check the port, you can use a magnifying tool. If there’s obvious sign of dirt or lint inside, use a can of compressed air to clear it out. If the port is clean and dry but your Galaxy S10 won’t charge still, then try the next solution.
Third solution: Charge on Safe Mode
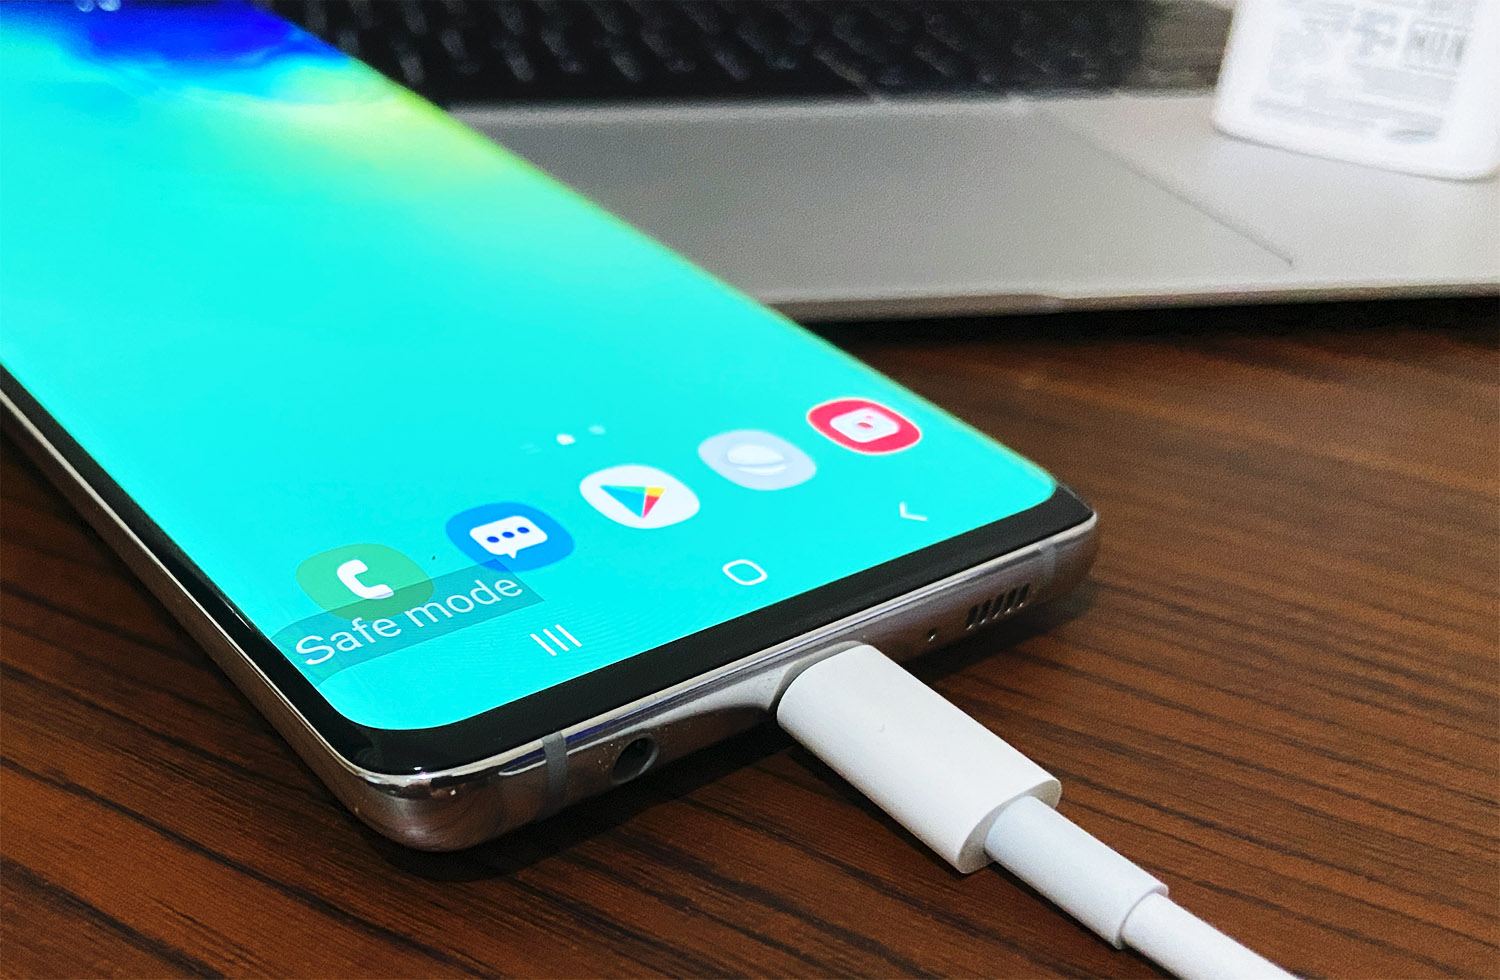
At times, a bad app may interfere with Android and prevent charging. To check, run your phone on safe mode and see how it charges. While on safe mode, no third party apps or services will be allowed to run. So, if one of the third party apps is responsible for the issue, your S9 should charge normally on safe mode.
To boot your device to safe mode:
- With your S10 off, press and hold the Power key past the model name screen.
- When “SAMSUNG” appears on the screen, release the Power key.
- Immediately after releasing the Power key, press and hold the Volume down key.
- Continue to hold the Volume down key until the device finishes restarting.
- Safe mode will display in the bottom left corner of the screen.
- Release the Volume down key when you see Safe Mode.
To know which app is causing a problem, follow these steps:
- Boot to safe mode.
- Check for the problem.
- Once you’ve confirmed that a third party app is to blame, you can start uninstalling apps individually. We suggest that you begin with the most recent ones you added.
- After you uninstall an app, restart the phone to normal mode and check for the problem.
- If your Galaxy S10 still refuses to power back on, repeat steps 1-4.
Fourth solution: Moisture detected error
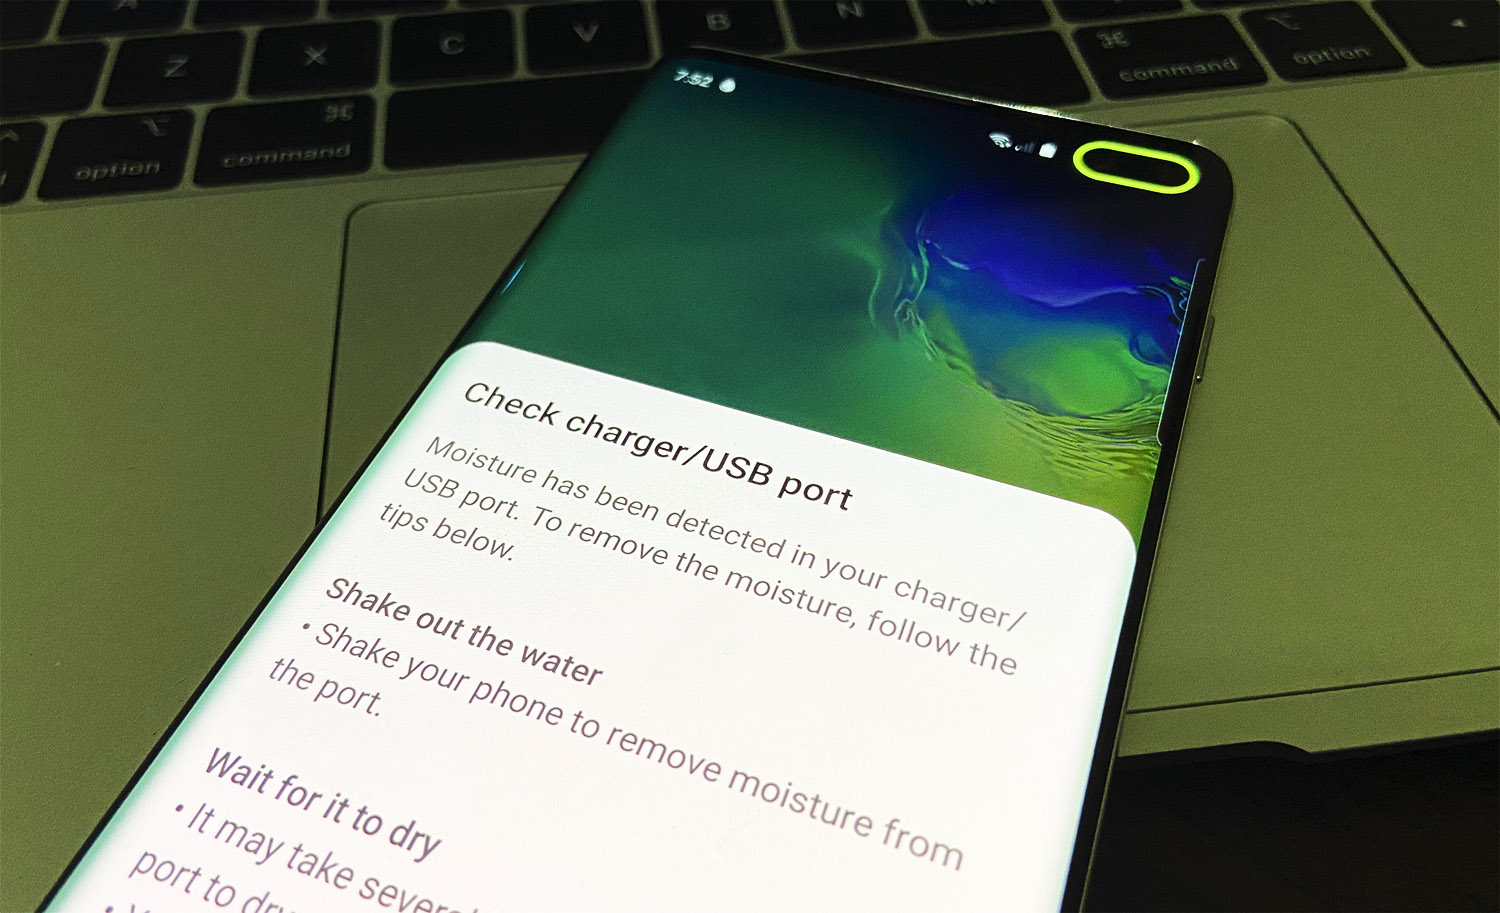
If you recently exposed your Galaxy S10 to water, it’s possible that there may be moisture inside. This can prevent the device from charging. Normally, your device should show a “Moisture detected” warning in such situation. Not getting one though does not mean the charging port is 100% free of moisture. If you suspect that the charging port may be wet, consider drying the phone.
An easy way to do home drying is by using uncooked rice or packs of silica gel (the thing that comes with your shoe box). If using rice, make sure cover your device with fully with it. Then, seal the container and leave the phone there for at least 48 hours.
A more effective way to home dry your device is to use silica gel packs instead of rice. It absorbs moisture faster than rice so you can cut the drying time for about half the time. So, instead of leaving the device inside a sealed container for 2 days, 24 hours will do. You can get silica gel packs from your local crafts store.
Fifth solution: Factory reset
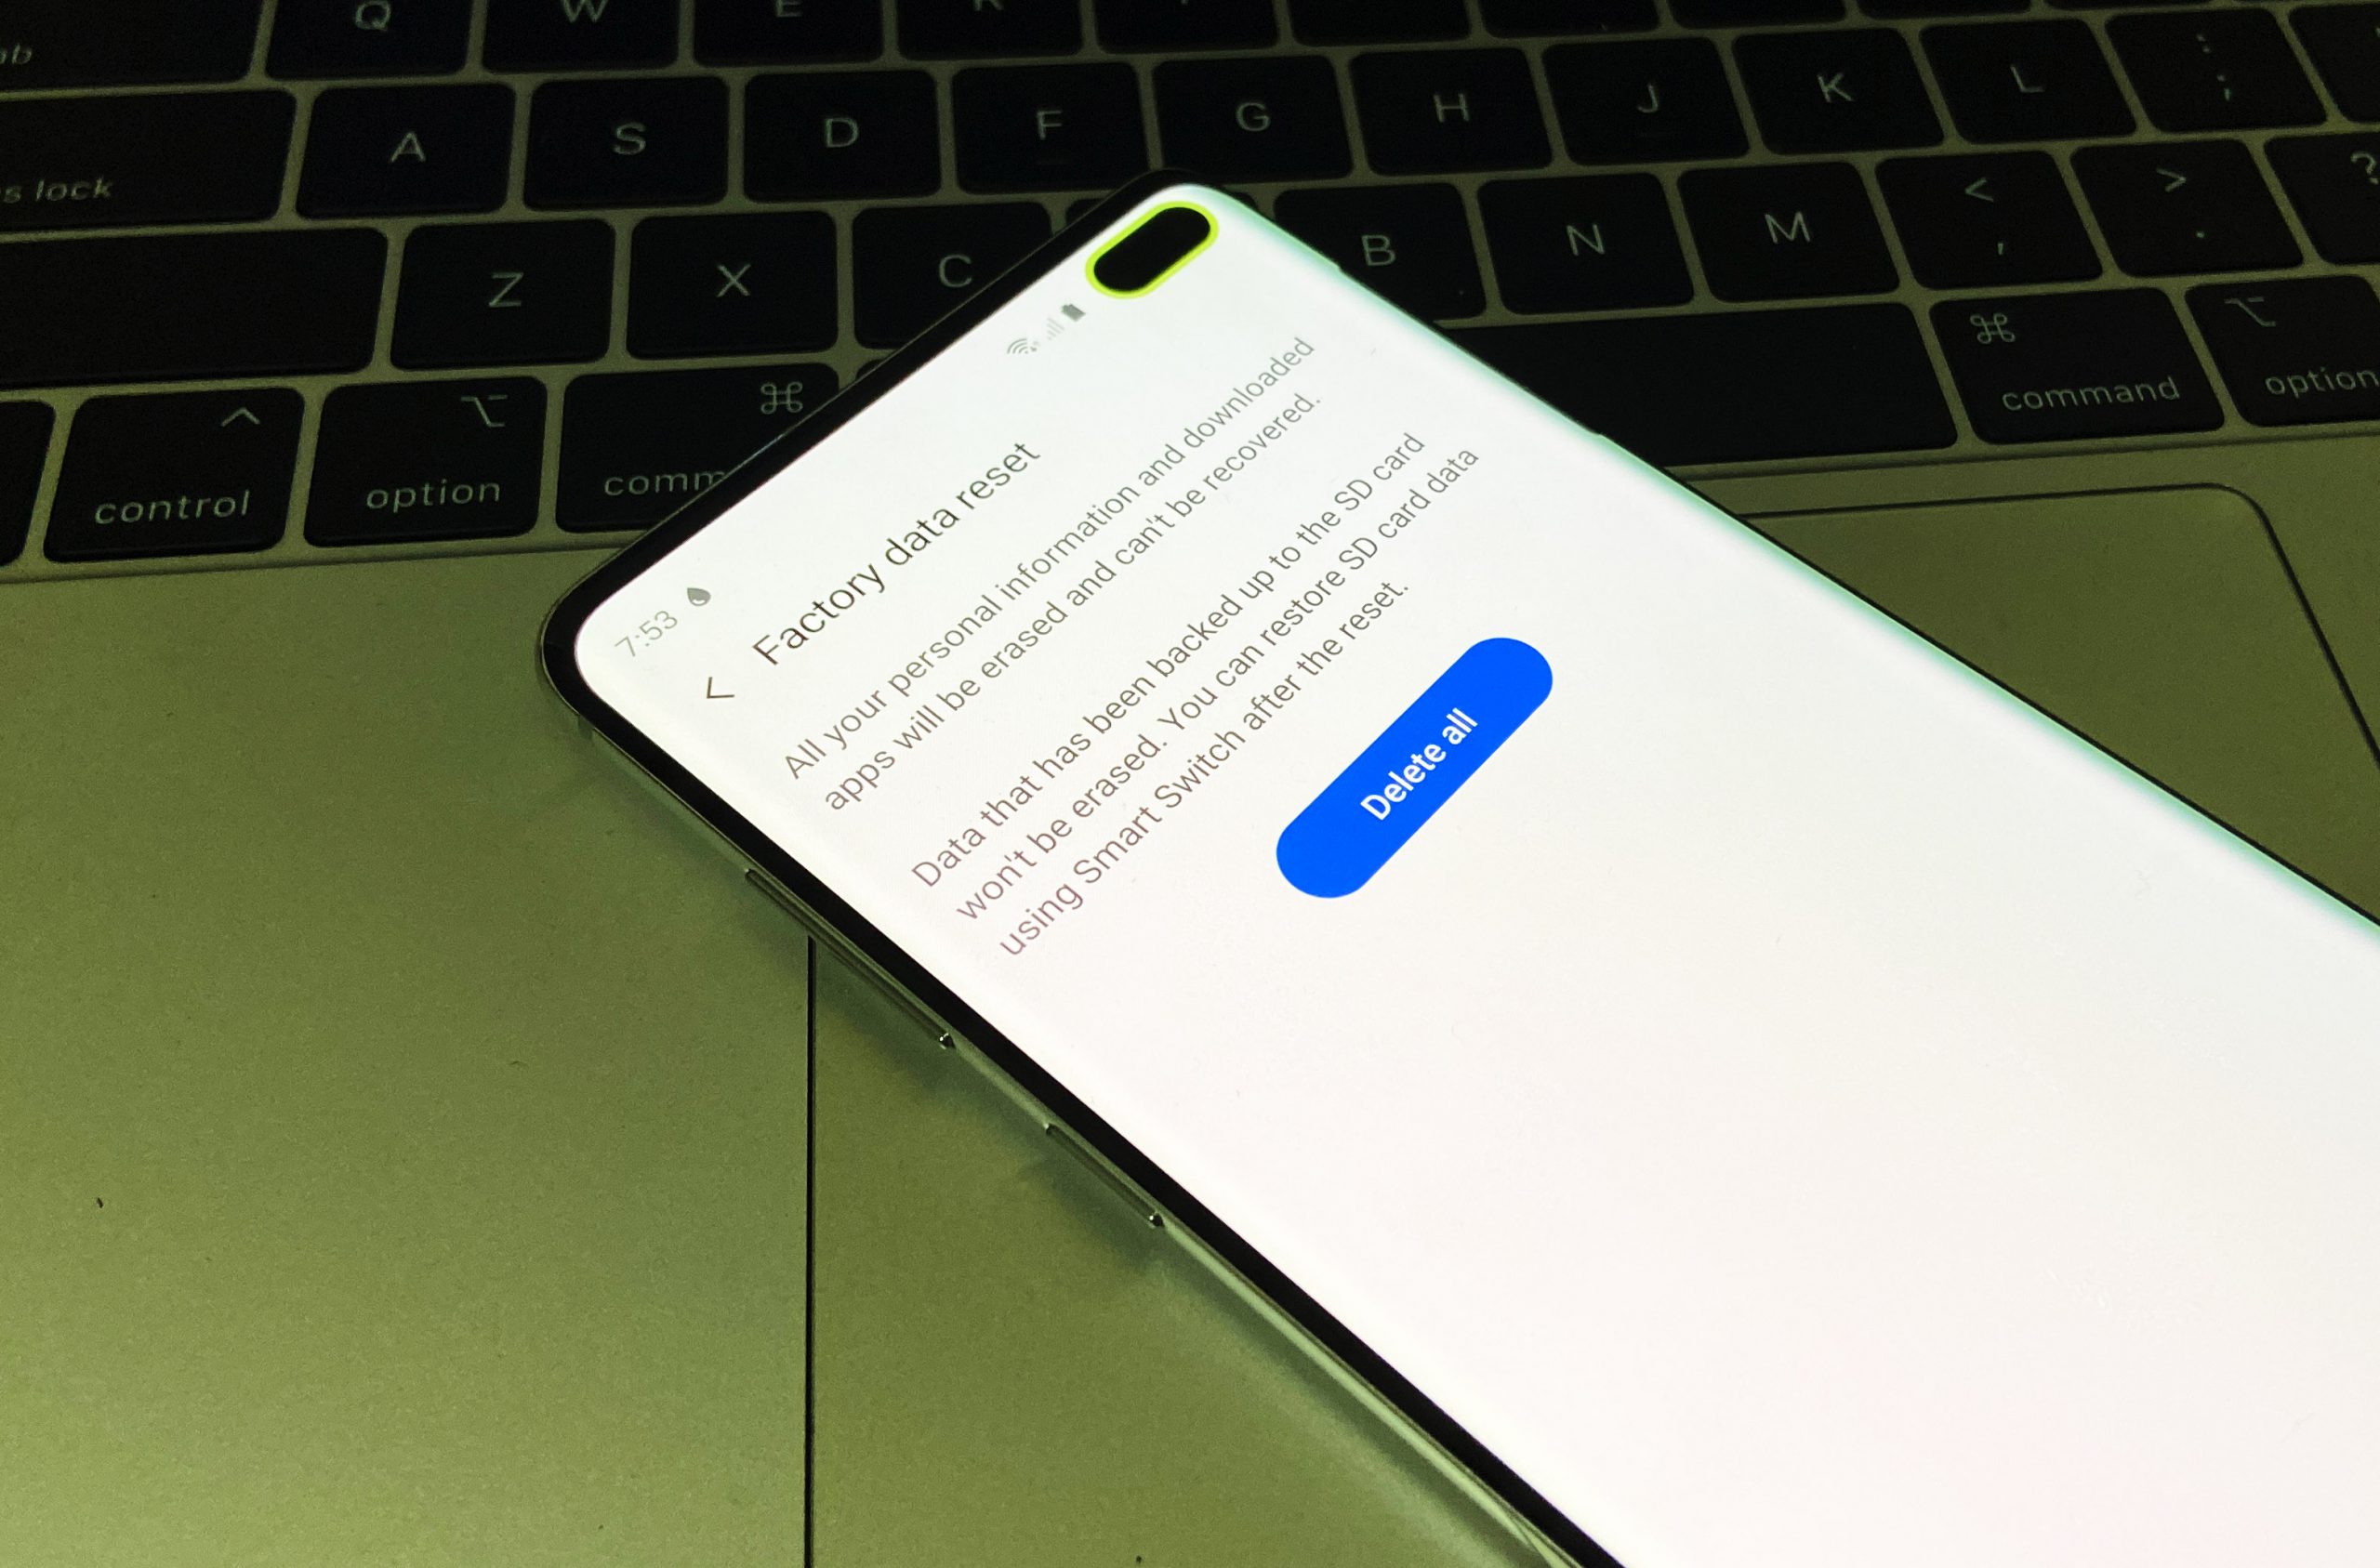
If you take care of your device and it was not dropped or physically impacted, the reason for your charging problem might be software-related. This means that you might be able to fix the problem at your level by wiping the software and returning its settings to their defaults via factory reset. This procedure will delete your data so be sure to back them up ahead of time. You can use Samsung Smart Switch to back your personal data up.
Once you’ve taken care of your files, follow the steps below to factory reset your phone:
- Create a backup of your personal data.
- Turn off the device.
- Press and hold the Volume Up key and the Bixby key, then press and hold the Power key.
- When the green Android logo displays, release all keys (‘Installing system update’ will show for about 30 – 60 seconds before showing the Android system recovery menu options).
- Press the Volume down key several times to highlight ‘wipe data / factory reset’.
- Press Power button to select.
- Press the Volume down key until ‘Yes , delete all user data’ is highlighted.
- Press Power button to select and start the master reset.
- When the master reset is complete, ‘Reboot system now’ is highlighted.
- Press the Power key to restart the device.
Sixth solution: Repair
If the issue remains after a factory reset, the cause must be beyond your ability to fix. It can be a bad battery or something within the hardware. In this case, you want to contact Samsung so they can run hardware diagnostics. If the problem is not fixable, or not economical for them, they may offer a unit replacement. Talk to your local Samsung representative so you know what your repair options are. In some regions, Samsung Service Center may offer to send a replacement phone right away before sending your defective device to them.
Seventh solution: Use wireless charger
If your Galaxy S10 still charges wirelessly, then you can use this functionality to delay your repair option. Keep in mind though that even fast wireless charging is slower compared to cable charging. If that’s okay with you, then you can do this setup for as long as you can. However, we recommend that you have the device repaired as soon as possible to fix the issue permanently.
I hope that this article can help you if your Galaxy S10 won’t charge. Please support us by subscribing to our YouTube Channel.
Thanks for reading!
