How to Create Facebook Reels on an Android Device
Facebook Reels provides you with the platform to display your creative skills and share engaging, brief videos with your network. Whether you want to flaunt your talents, spread humor, or market your offerings, Facebook Reels offers an array of opportunities to do so. This tutorial will teach you how to create Facebook Reels on an Android smartphone. Just follow these steps whenever you’re all set to start.
Step 1: Open the Facebook App
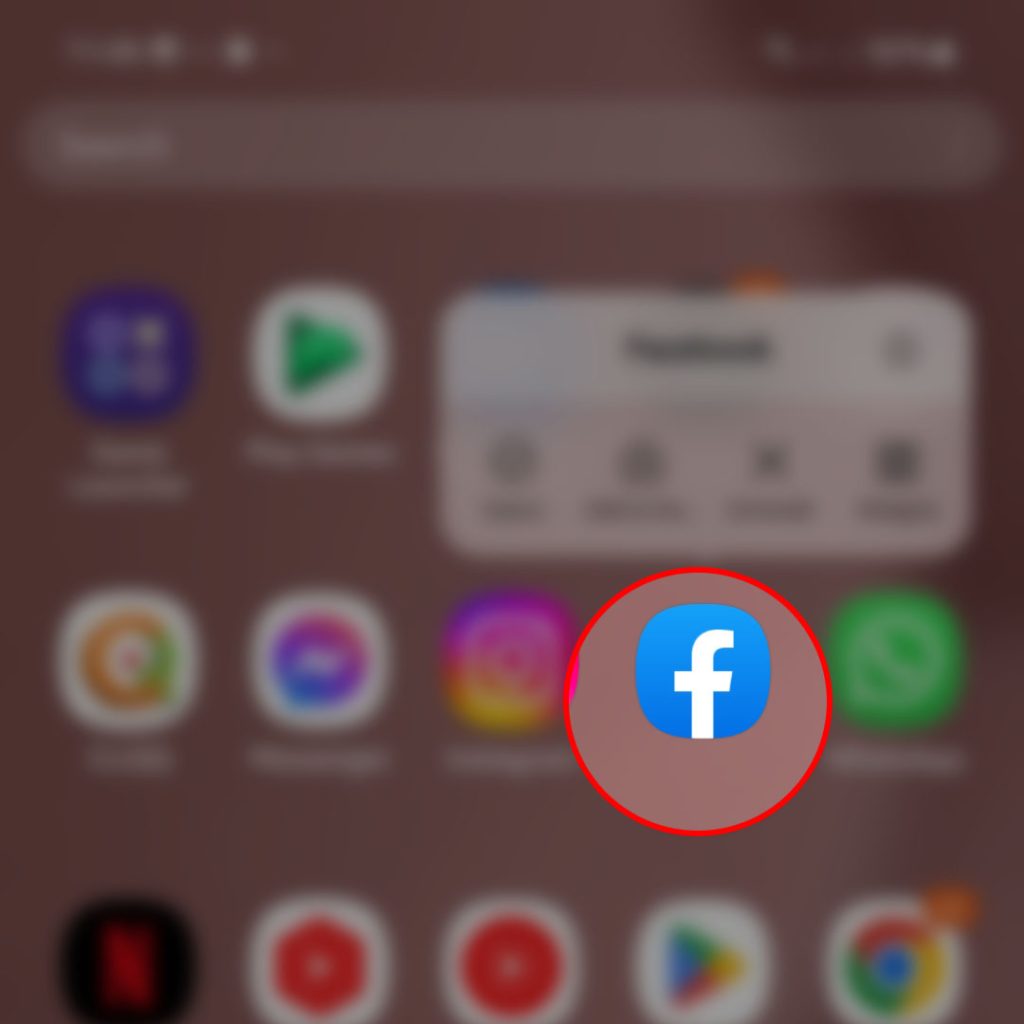
The first step in creating a Facebook Reel is to open the Facebook app on your Android smartphone. If you do not have the app installed on your device, then you can download it from the Google Play Store. Once you have opened the Facebook app, log in to your account or sign up for a new one. Just follow the onscreen instructions to log in successfully.
Step 2: Access the Reels Feature
Once you have logged in to your Facebook account, you need to access the Reels feature.
- To do this, tap on the “Create” button located at the upper-right corner (or bottom) of the screen in other devices. From the dropdown menu, select “Reels.” This will open the Reels camera, allowing you to start creating your video.
In newer Android smartphones, creating a reel is usually done by logging into your Facebook account and then proceed with these steps:
- Once you’ve logged into the account, tap on the Create Post icon on the upper-right side of your Facebook account’s main screen.
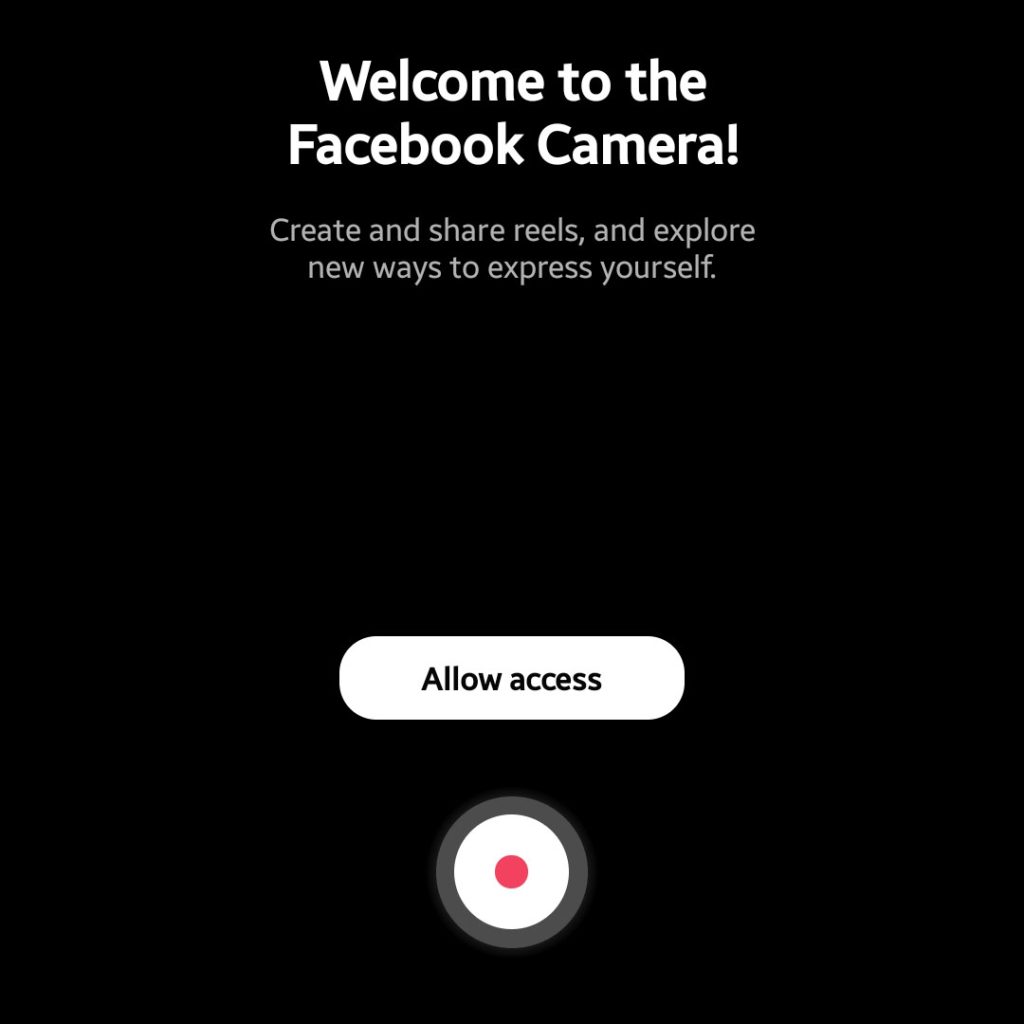
- On the next screen, tap on the Camera icon located on the top-rightmost corner then follow the rest of the onscreen prompts to record a video to edit and share.
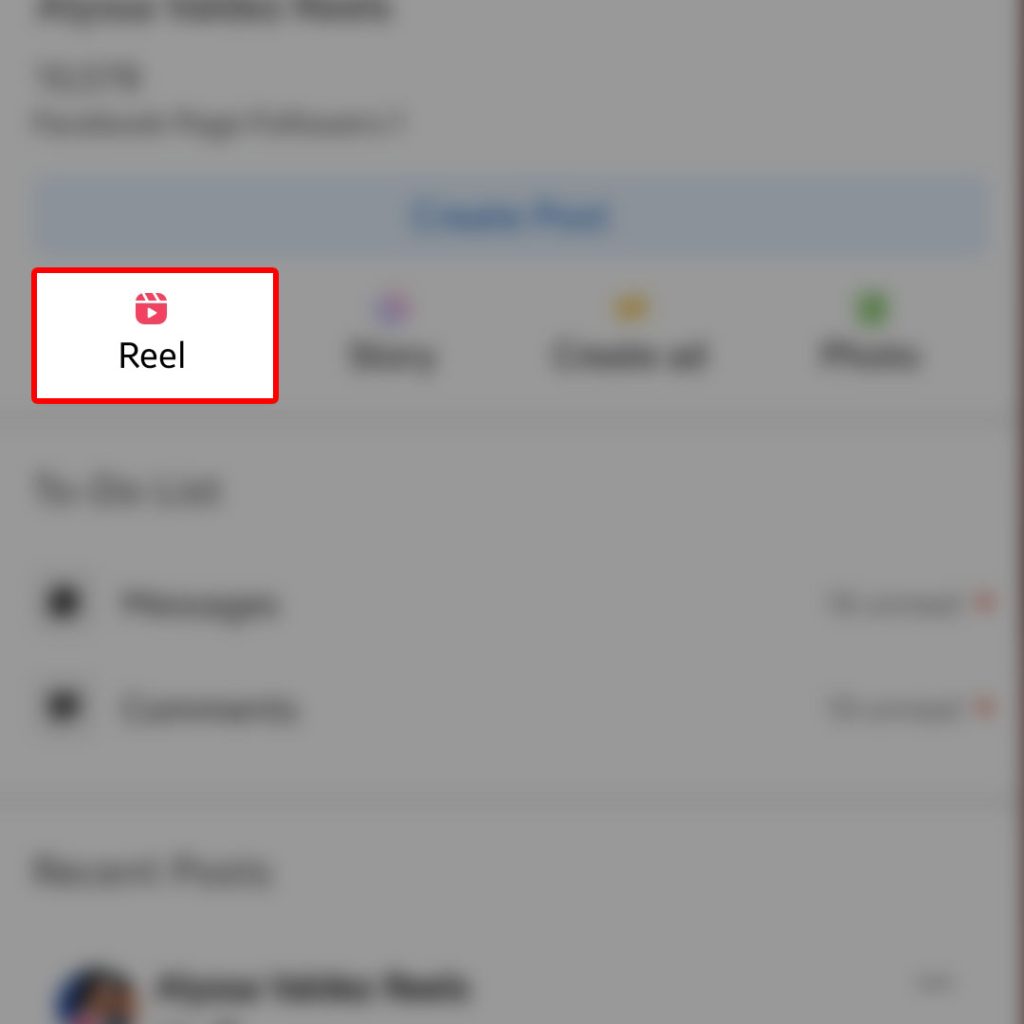
If you want to create a reel on any of your Facebook pages, just navigate to the Pages section from your main Facebook account.
- Once you’re in the desired page, select the page that you’d like to Manage. In the selected page’s main screen, find and then tap Reel from the given options. Doing so will take you to another window where you can create a new reel.
- On the next screen, tap the Camera icon then follow the rest of the onscreen instructions to record, edit and share your video.
There is also an option for you to add music if you want. To do so, simply tap Music on the Create a reel window then select the music or audio track that you’d like to use for your reel.
Step 3: Record Your Video
Recording a video is pretty straightforward. You can record a video straight from the Facebook app on your Android device.
- To record your video, simply tap on the red “Record or Camera” button. You can record up to 15 seconds of video.
- If you want to record multiple clips, simply tap the “Record” button again to stop recording, and then tap it again to start recording the next clip.
- When you are finished recording, tap the “Done” button to stop recording.
The recorded video will then be saved.
Step 4: Edit Your Video
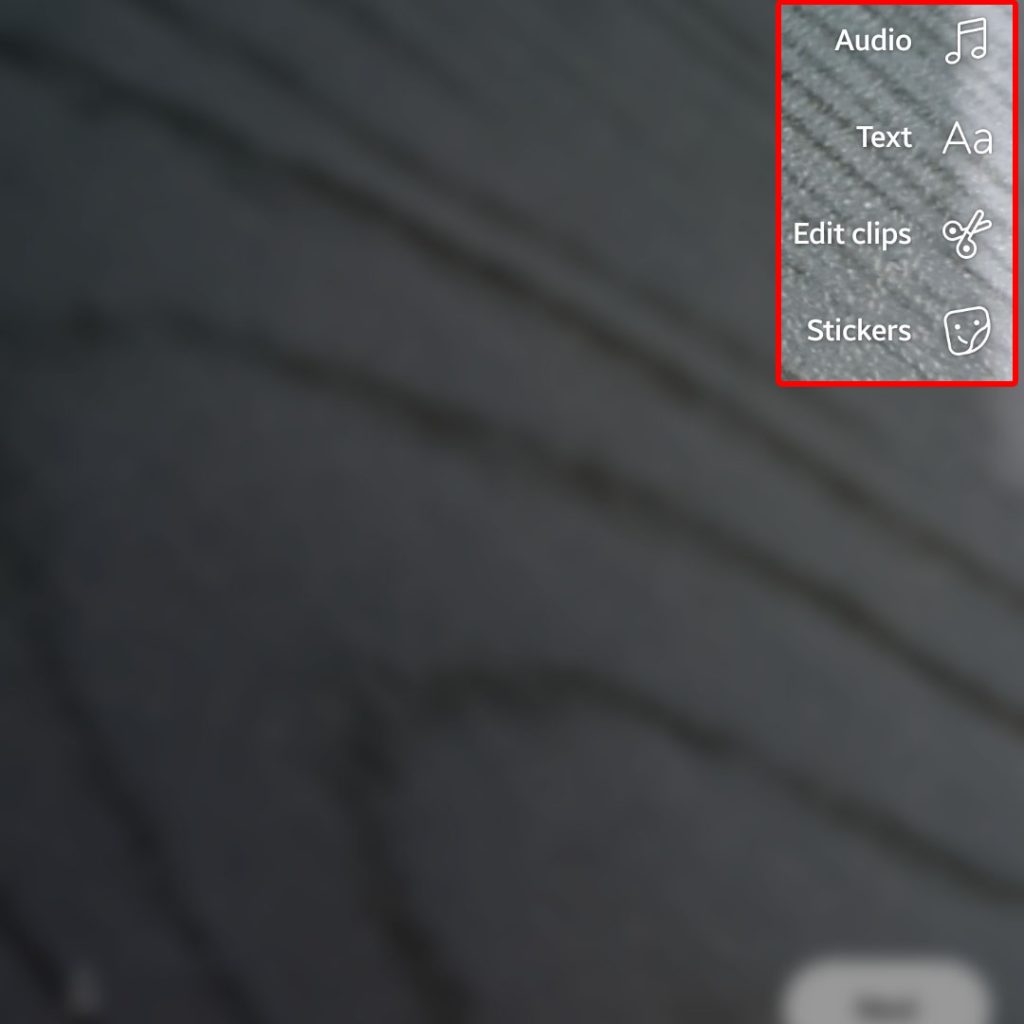
Once you have recorded your video, you can edit it to make it even better. Facebook Reels offers several editing tools, such as the ability to add music, change the speed of your video, and apply filters.
- To access the editing tools, tap on the “Edit” button.
You can then use the editing tools to enhance your video.
Step 5: Share Your Video
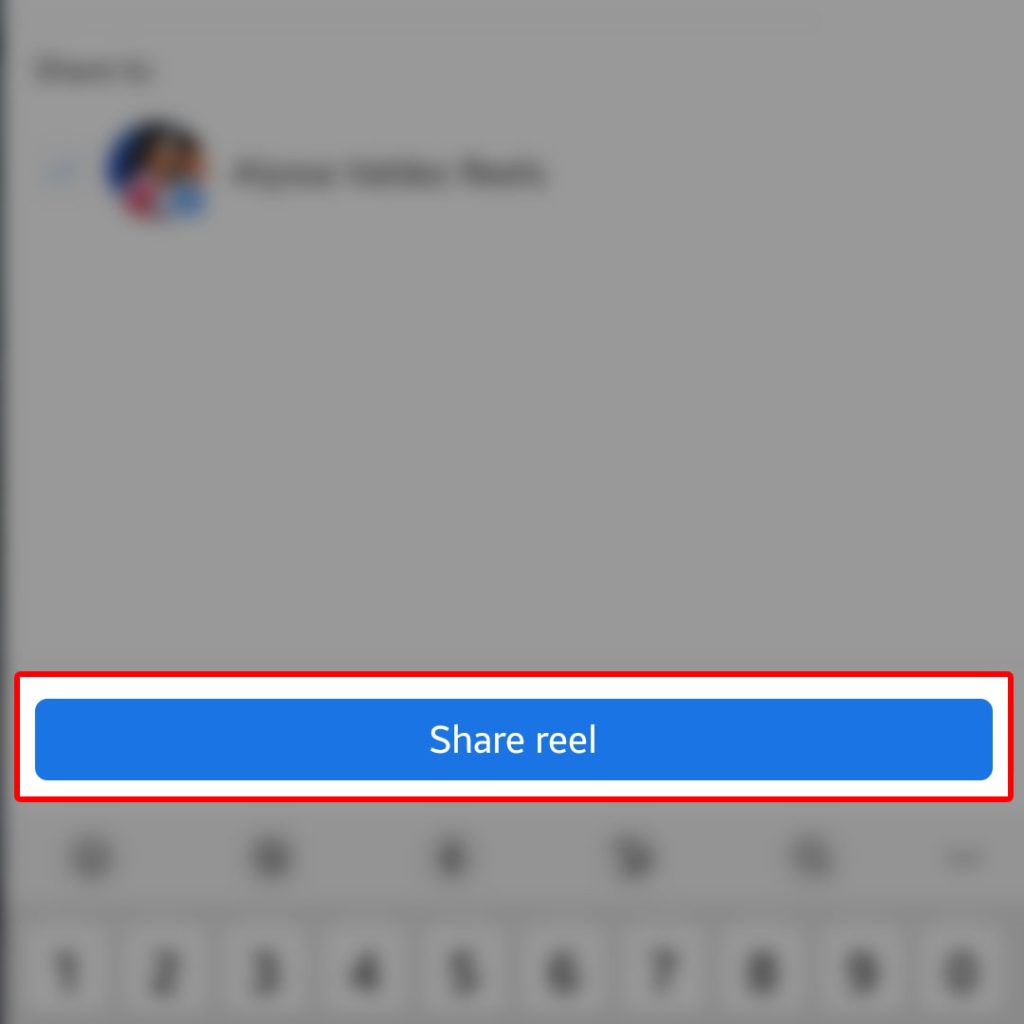
Once you are satisfied with your video, you can share it with your friends and followers.
- To do this, tap on the “Share” button.
You can choose to share your video on your Facebook timeline, in a Facebook group, or with specific friends. You can also add a caption and hashtags to your video to help it reach more people.
Aside from fresh recordings, you can also create a reel that comprises multiple images from the Gallery app or other relevant storage on your Android smartphone.
Creating and posting more interesting reels on Facebook will increase the chance of your account to get monetized and start earning funds.
Hope this helps!