How to Enable and Set Up Secure Folder on Samsung Galaxy Note 20
This post will help you enable and set up a secure folder on Samsung Galaxy Note 20. Read on if you need help setting up a dedicated folder where you can store confidential contents on the same Galaxy device.
Samsung Secure Folder
Recent Samsung Galaxy devices are schemed to provide more advanced security features from screen unlock to storage. Among them is the so-called Samsung Folder.
Samsung Folder is a dedicated folder that’s mainly designed for storing various files such as photos, videos, apps and other private information. The fact that this folder is protected by the defense-grade Samsung Knox security platform guarantees that the information is kept safe from any unauthorized access and malicious attacks. The security can also be augmented by adding a biometric lock or passcode.
Given the fact that Samsung Folder is a built-in feature, a requisite to using it is to activate the feature then set it up on your device.
If you’re new to the Android platform and need help setting up a Secure Folder on your Galaxy Note 20, then this post will help you get started.
Steps to Set Up a Secure Folder on the new Galaxy Note
This is how you set up a secure folder on the new Note through the settings menu. Before you proceed, you will need to be signed into your Samsung Account on your device. If you have no Samsung Account yet, then you should create one first.
1. When ready, go to the Home screen and then swipe up from the bottom of the display.
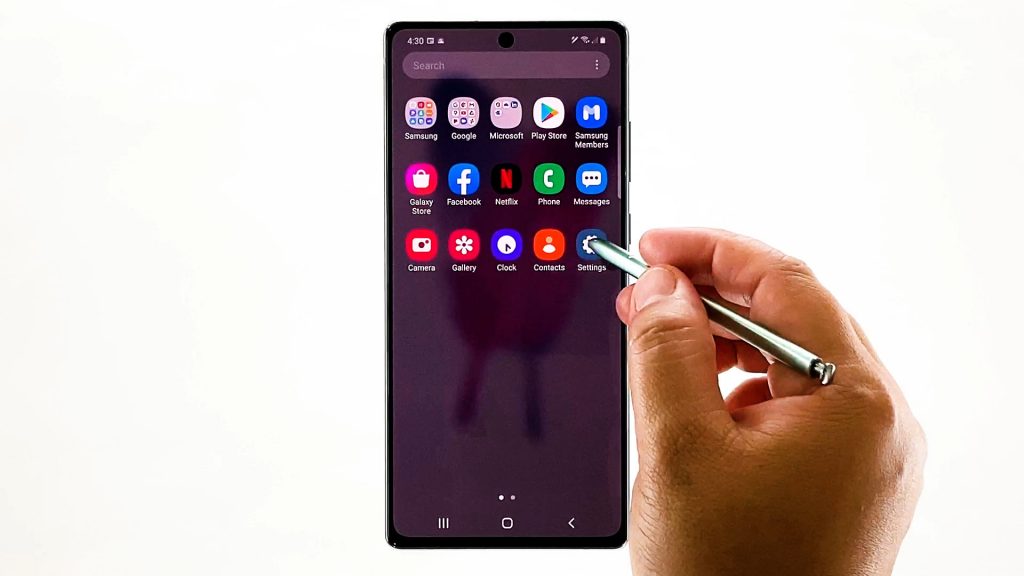
Doing so will let you access the Apps viewer, wherein different app icons or shortcut controls are lined up.
2. Tap the Settings icon to proceed.
The main settings menu will load up on the next screen. Here, you will see a list of all Android features that you can manage and use on your device.
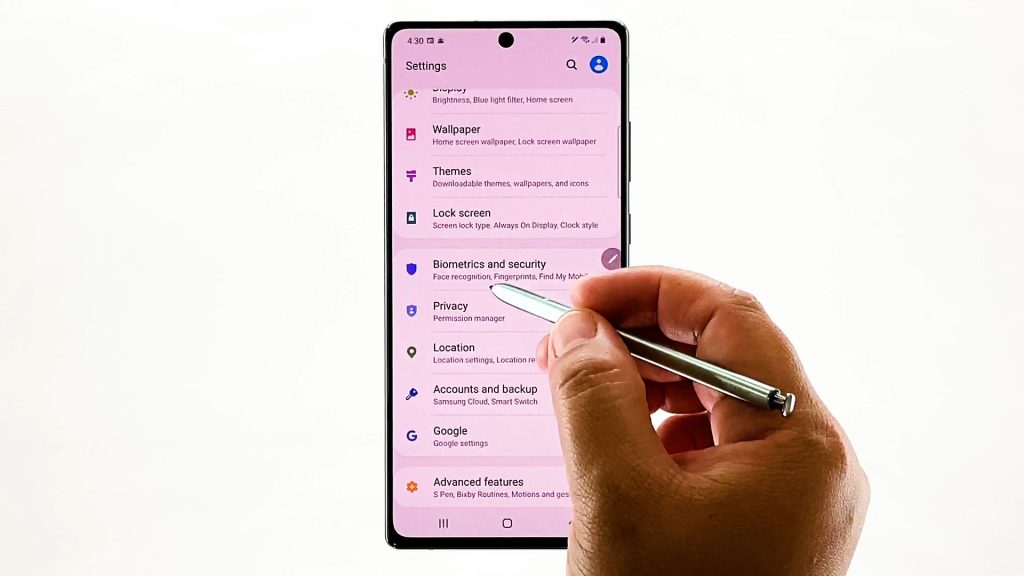
3. Locate and then tap Biometrics and security.
Advanced security features including face recognition, fingerprints and other relevant features will populate the next display.
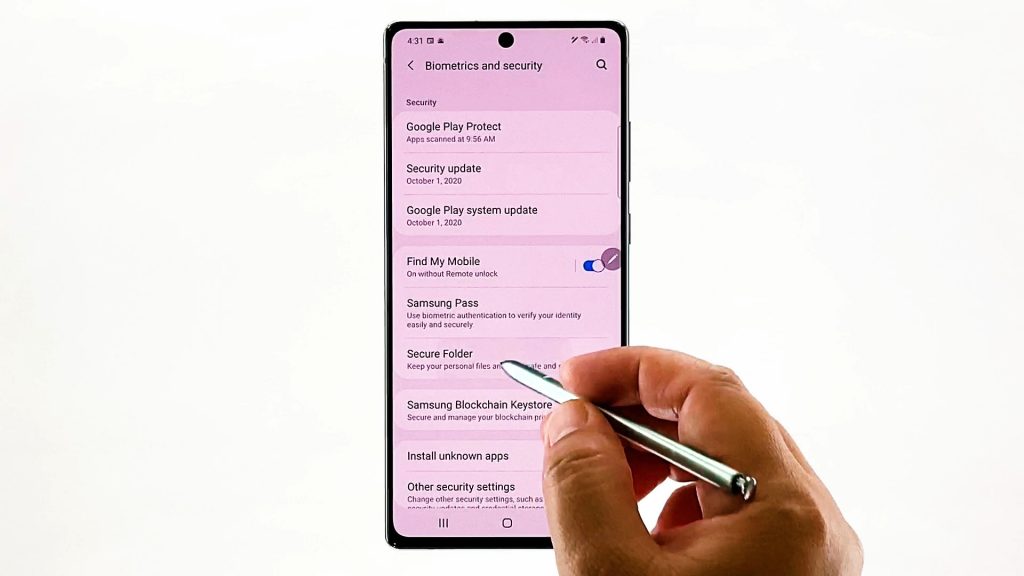
4. Scroll down to view more items. Then tap Secure Folder.
The setup wizard will launch.
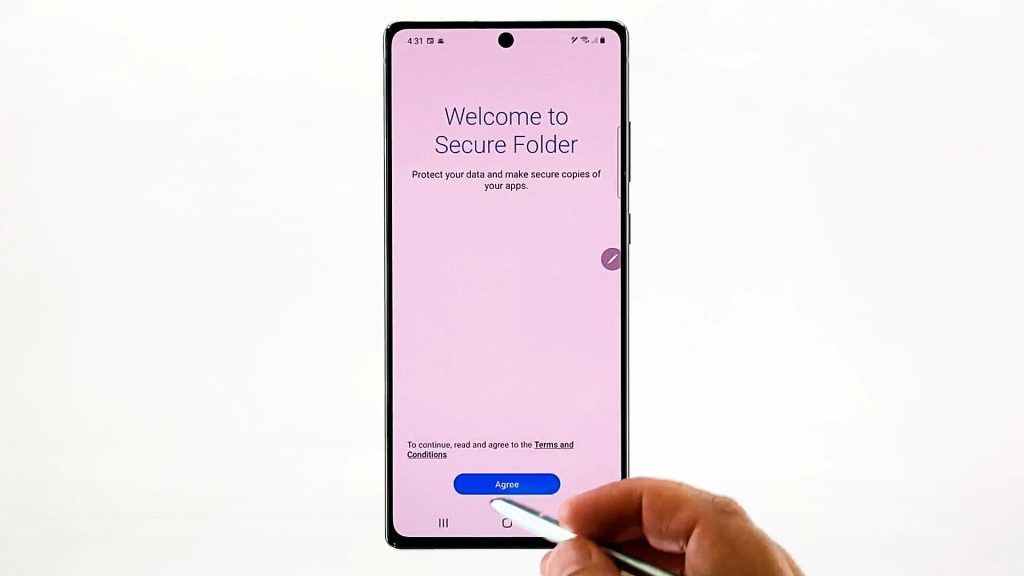
5. Read and review the information then tap the Agree button beneath the welcome screen.
A pop-up window will display, asking you to enter the password for your Samsung account.
6. Type the correct password into the provided text field and then tap OK to proceed.
If the password you’ve entered is correct, you will be routed to the creating secure folder menu.
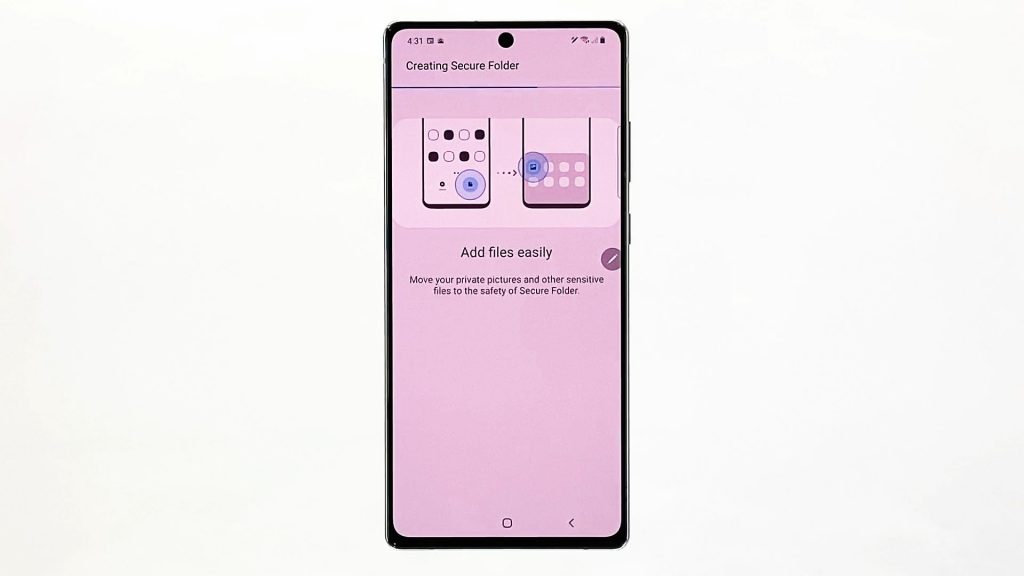
Just wait for the phone to finish creating the secure folder.
7. When the folder is created, you will be asked to choose your preferred lock type.
Among the given options are pattern, PIN and password. Just tap the radio button next to your preferred lock type and then tap Next at the bottom right corner.
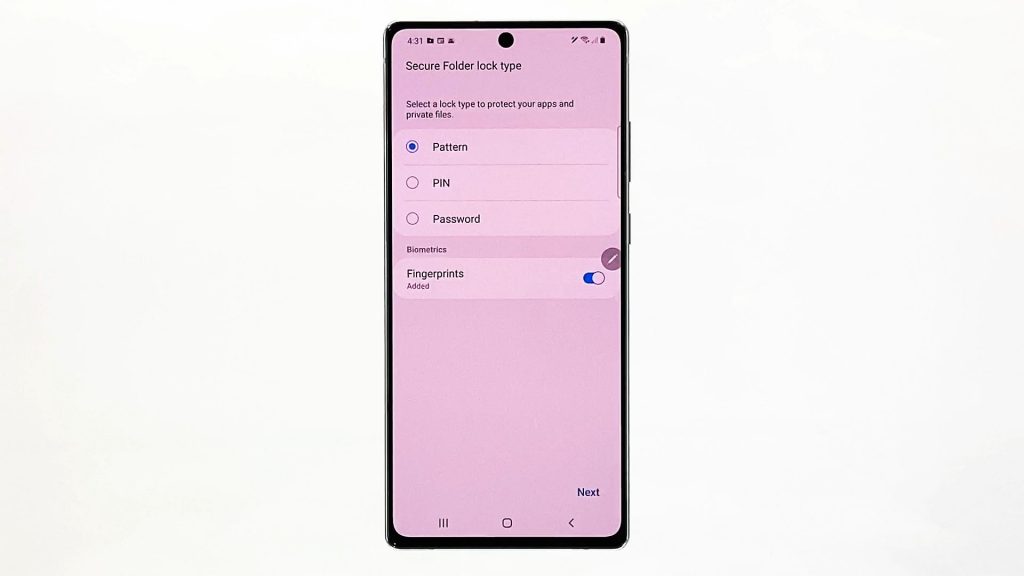
Let’s just use pattern as an example. If you choose the same lock type, draw your unlock pattern on the next screen, then tap Continue.
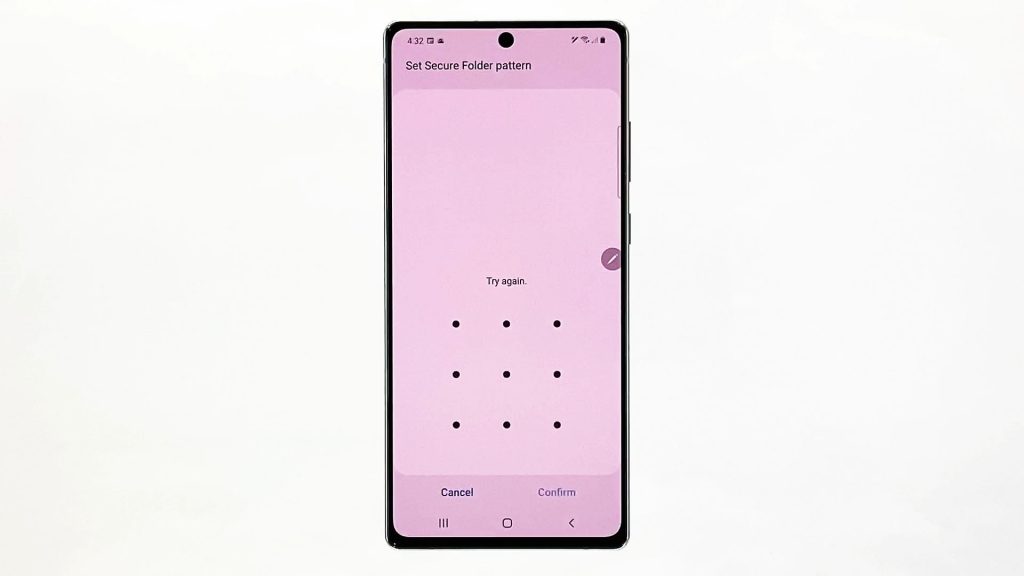
8. When asked to confirm the pattern, draw the same pattern and then tap Confirm to proceed.
If the patterns matched, the secure folder will be created.
At this point, it should be all set to store new files from another folder or directory on your device.
9. Simply tap the Add files button beneath the screen if you wish to add files to the folder right away. If you want to store apps in the secure folder, then you should tap the Add apps command instead.
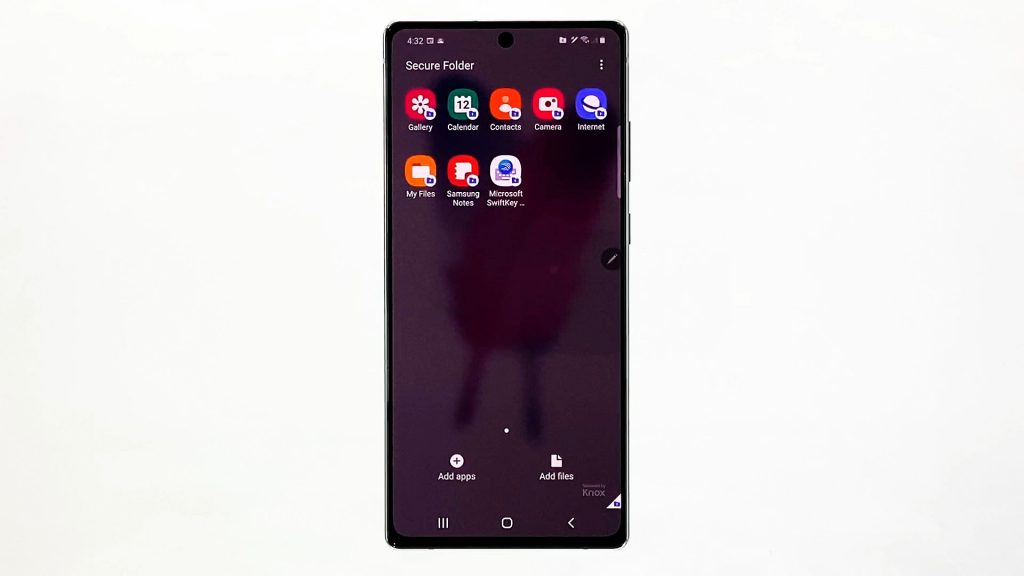
Follow the rest of the onscreen instructions until you’re finished adding files and apps to your recently created secure folder.
10. Let’s just go for the first option so tap Add files, open the folder where the files are stored, select the file that you’d like to add and then copy or move them to the recently created secure folder.
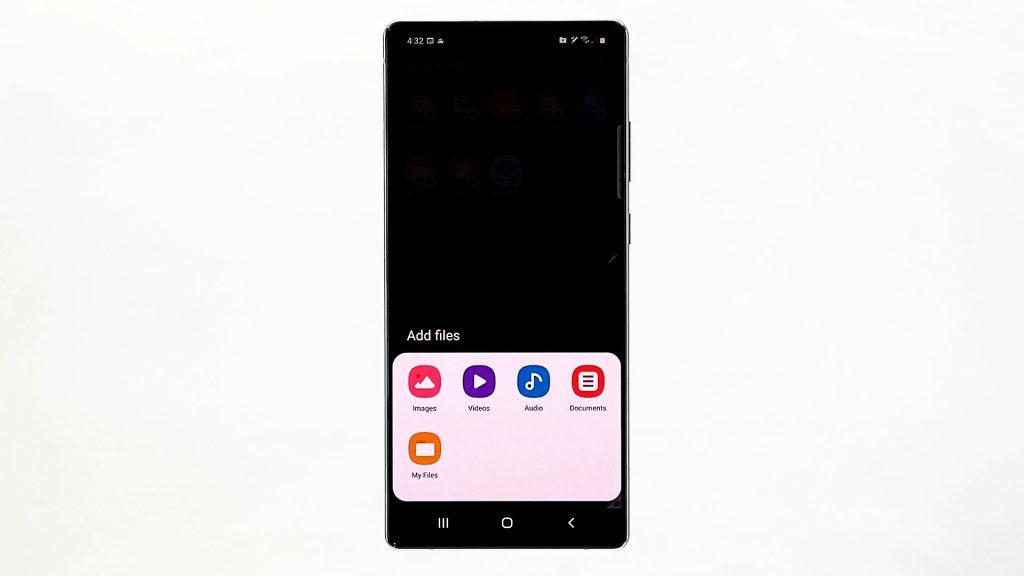
Copying means you will create a duplicate of the files to the secure folder while moving means you will transfer the files to the secure folder completely.
The main difference between these two commands is that the original files remain in the source folder when you copy them. If you move the files, the original files from the source folder will be removed and then transferred to the destination folder, which is the secure folder.
Since you’re aiming to secure the files, you should choose the Move command so they will be removed from the source folder and therefore safe from any unauthorized access.
Secure Folder Nowhere to Find?
If the Secure Folder does not appear on your Home or Apps screen, then it’s likely hidden. To show it, you will need to enable the show secure folder option on your phone settings.
- Simply go to Settings-> Biometrics and security-> Secure Folder menu and then tap to turn on the switch next to Show Secure Folder.
The Secure Folder will then appear on your Apps screen.
If you wish to hide it again, just go back to the same menu until you get to the Secure Folder settings. Turn off the Show Secure Folder switch then tap HIDE to confirm. The folder will again disappear on your Home or Apps screen and stay hidden until you change its visibility.
Secure Folder Not Working?
In the case where you couldn’t get the folder to work as intended or it is somehow erratic or corrupted, re-installing it often helps. This means you will need to uninstall the folder beforehand.
- To uninstall the Secure Folder on your Galaxy Note, you will need to go to Settings-> Biometrics and security-> Secure Folder menu.
If you see a triple-dot icon or quick menu icon, tap on it and then select More settings from the given options. Additional settings will load up on the next display. Tap Uninstall from the given options and then tap Uninstall from the pop-up message to confirm.
Before uninstalling, you can move your files out of the folder by checking the option to do so. Be sure not to turn off your phone while the folder is being uninstalled.
When it’s done uninstalling, reboot your phone to clear out all minor system glitches and then you can set up the Secure Folder again from scratch.
Hope this helps!
More Video Tutorials
To view more comprehensive tutorials and troubleshooting clips on different mobile phones and tablets, feel free to visit The Droid Guy channel on YouTube anytime.
You might also want to read: