How To Set Up DMZ On Xbox Series S
In this tutorial, we will show you how to make your Xbox Series S IP Address static and set up DMZ, so that it will get an open NAT. This will allow your console to have full access to all network and online features. Continue reading to learn more.
The DMZ, or Demilitarized Zone, is a separate zone on your router where you can place your console or other devices into so that they’ll be allowed to bypass firewall filtering. You will only need to set it up if you’re getting a strict NAT on your console.
We have already published an article that guides gamers how to get an Open NAT on their Xbox Series S and the DMZ is one of the options we suggested. Setting it up is pretty straightforward but we’ll go a little deeper into making sure your Xbox gets a static IP address so that it will always be placed in the DMZ.
Setting Up DMZ on Xbox Series S
Basically, there are just a couple of things we want to do here. First, we will make sure that your Xbox is assigned an IP address that won’t change. And then we’ll place that IP Address in the DMZ in your router. Here’s how you do those things:
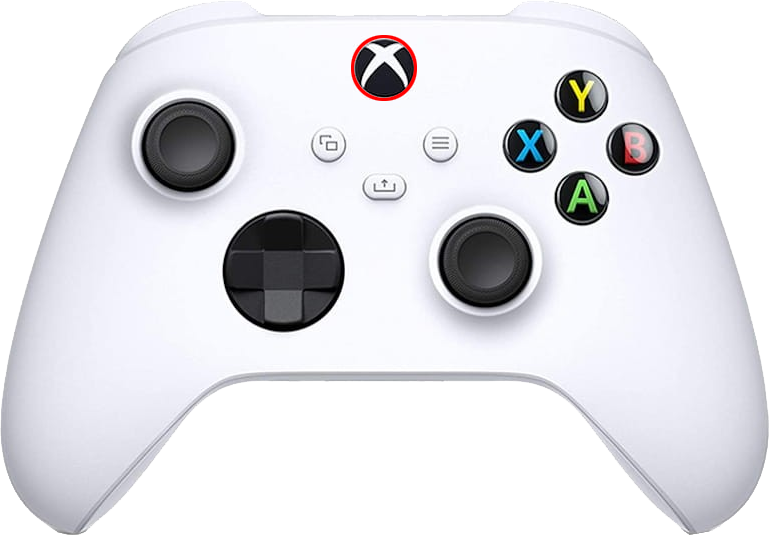
- Press the Xbox button on your controller.
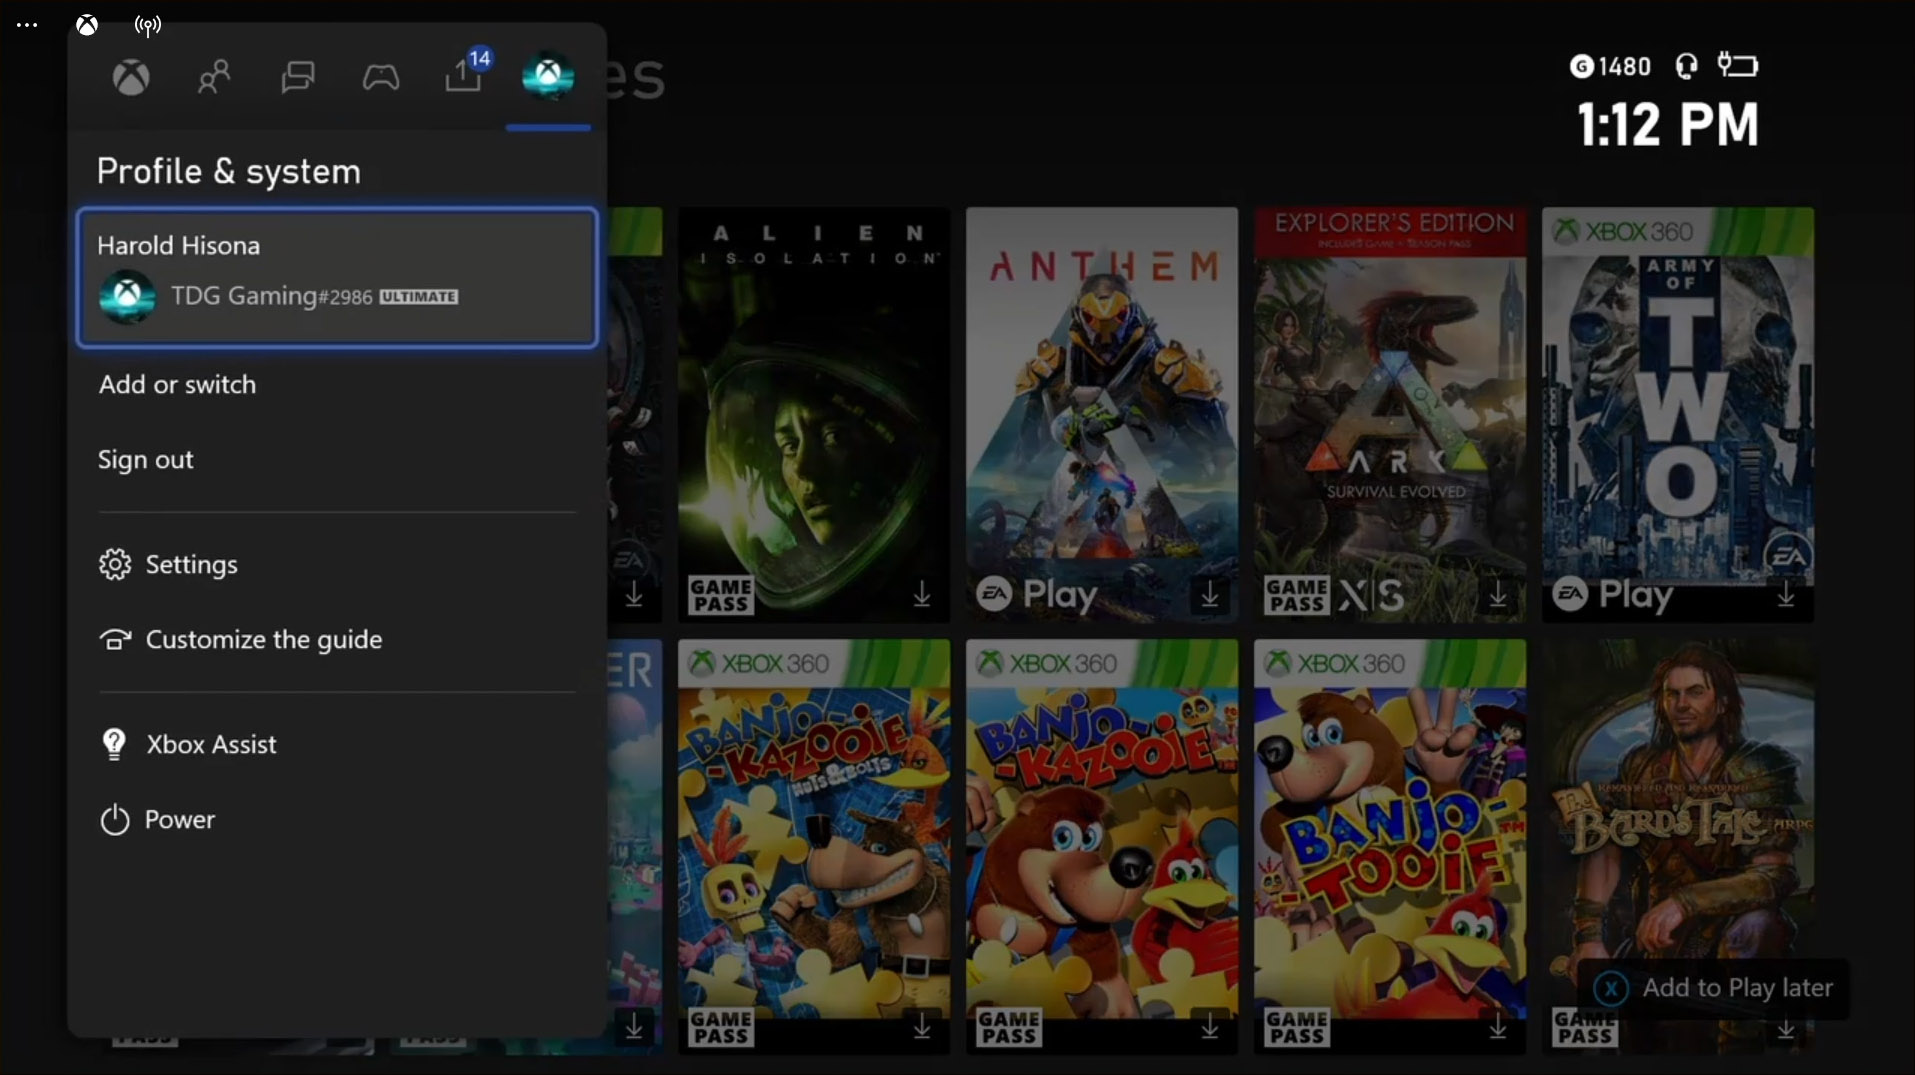
This will bring up the Side menu.

- Press RB a few times to select Profile & system.
It’s the last tab and often reflects your profile thumbnail.

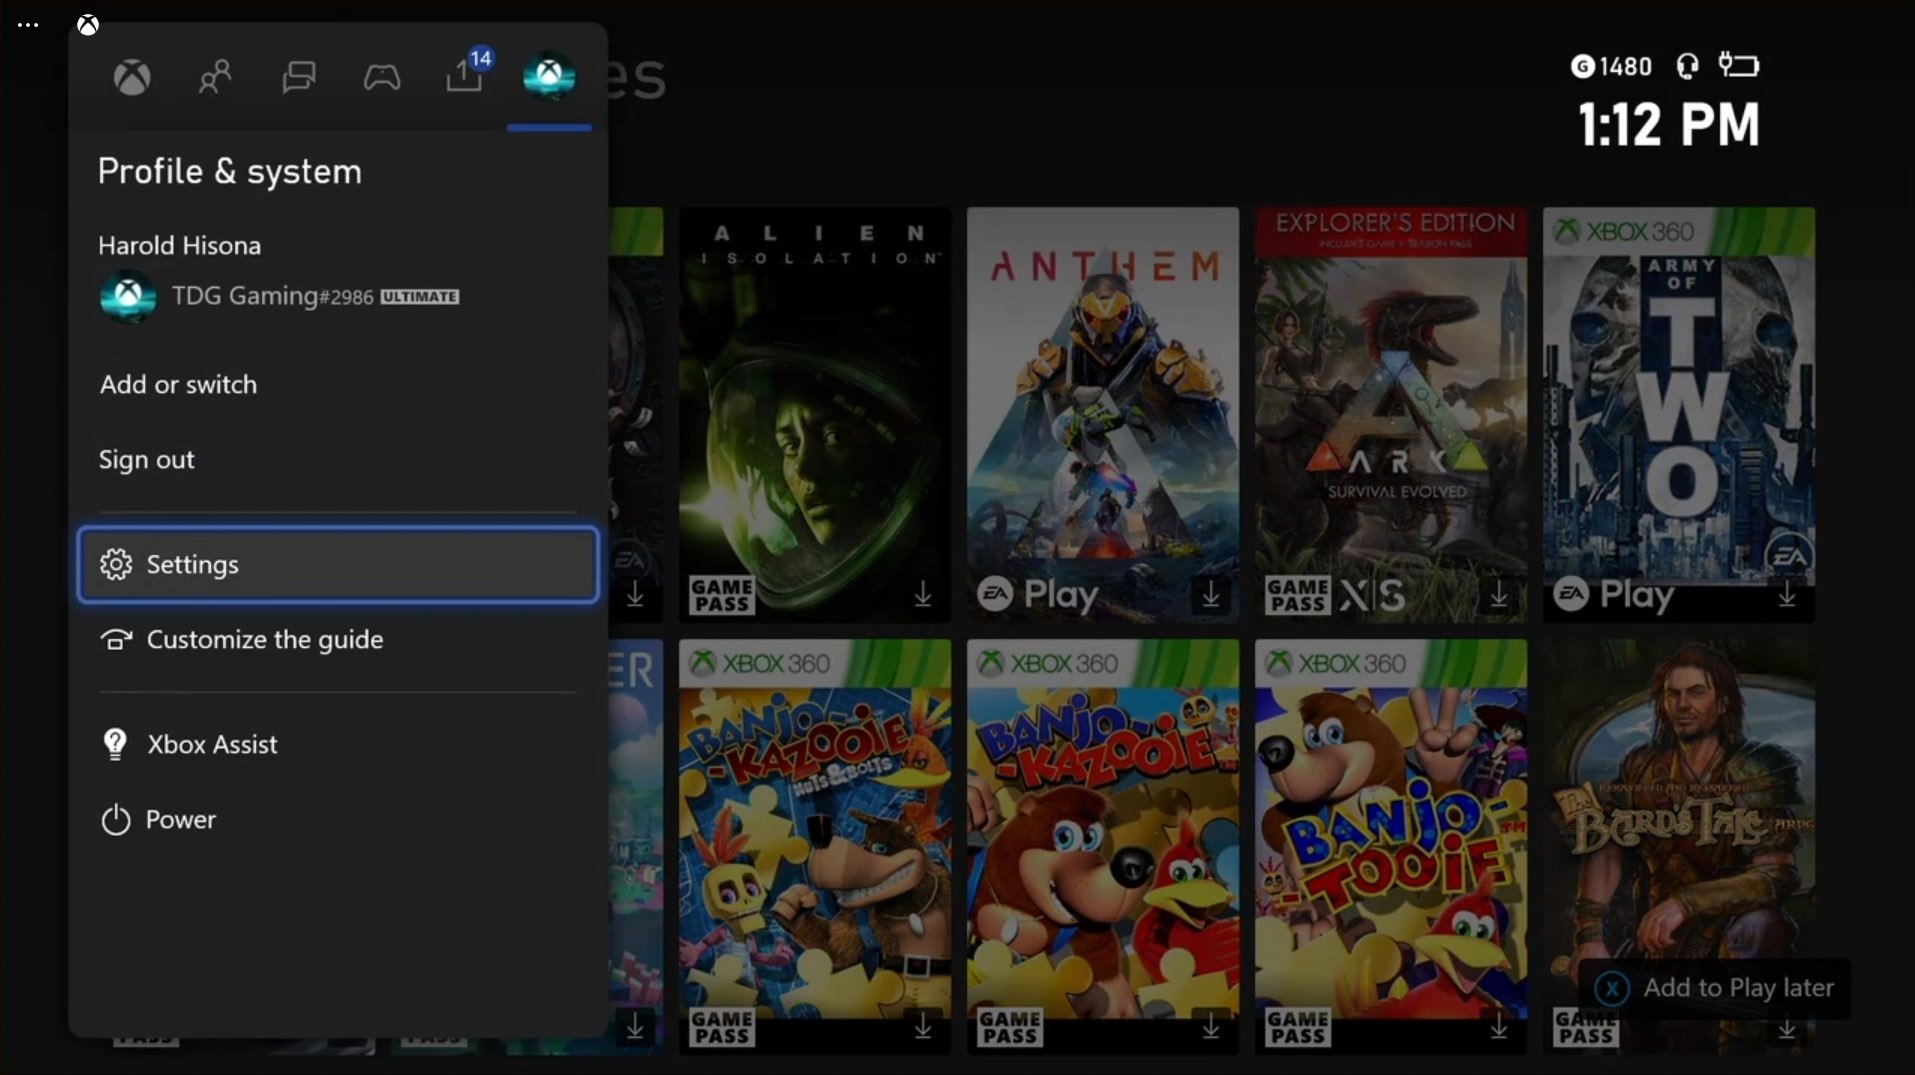
- Highlight Settings and press A to open it.
It contains all settings you can change to make your Xbox work the way you want.

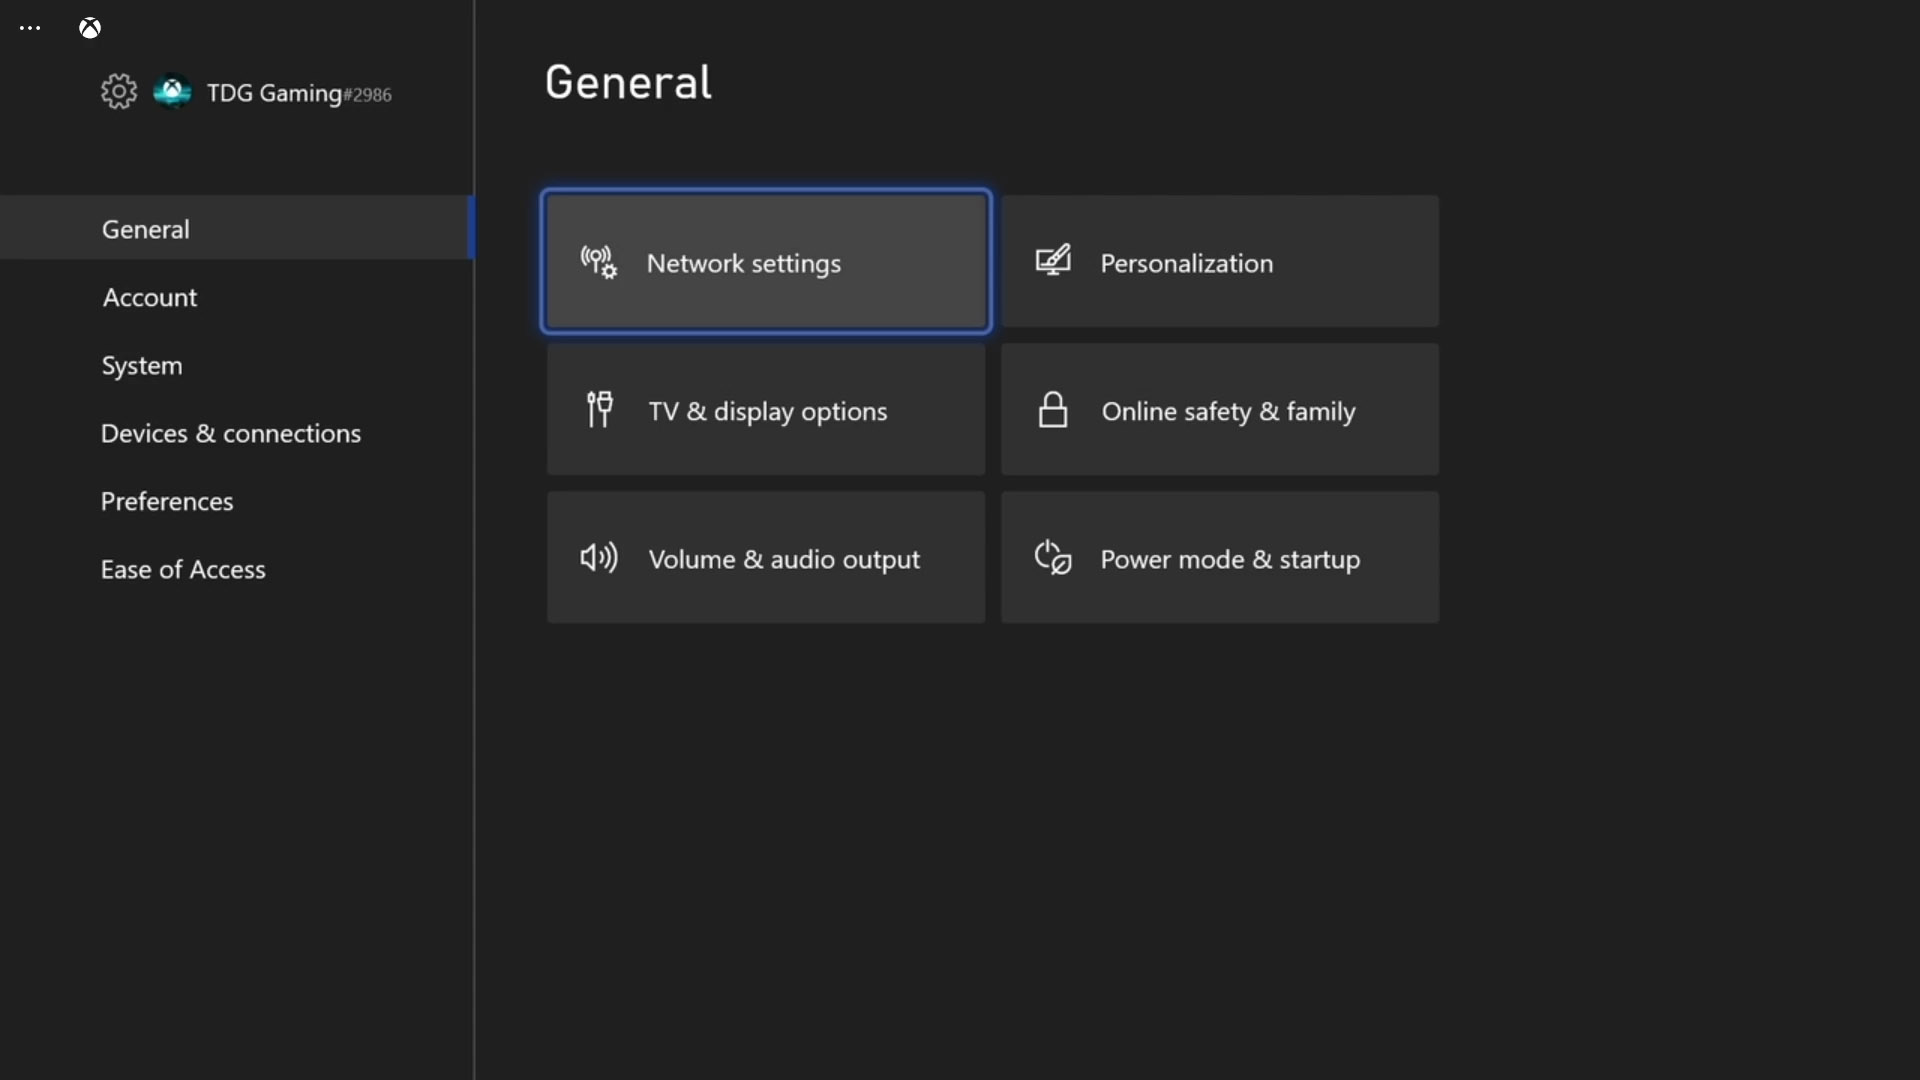
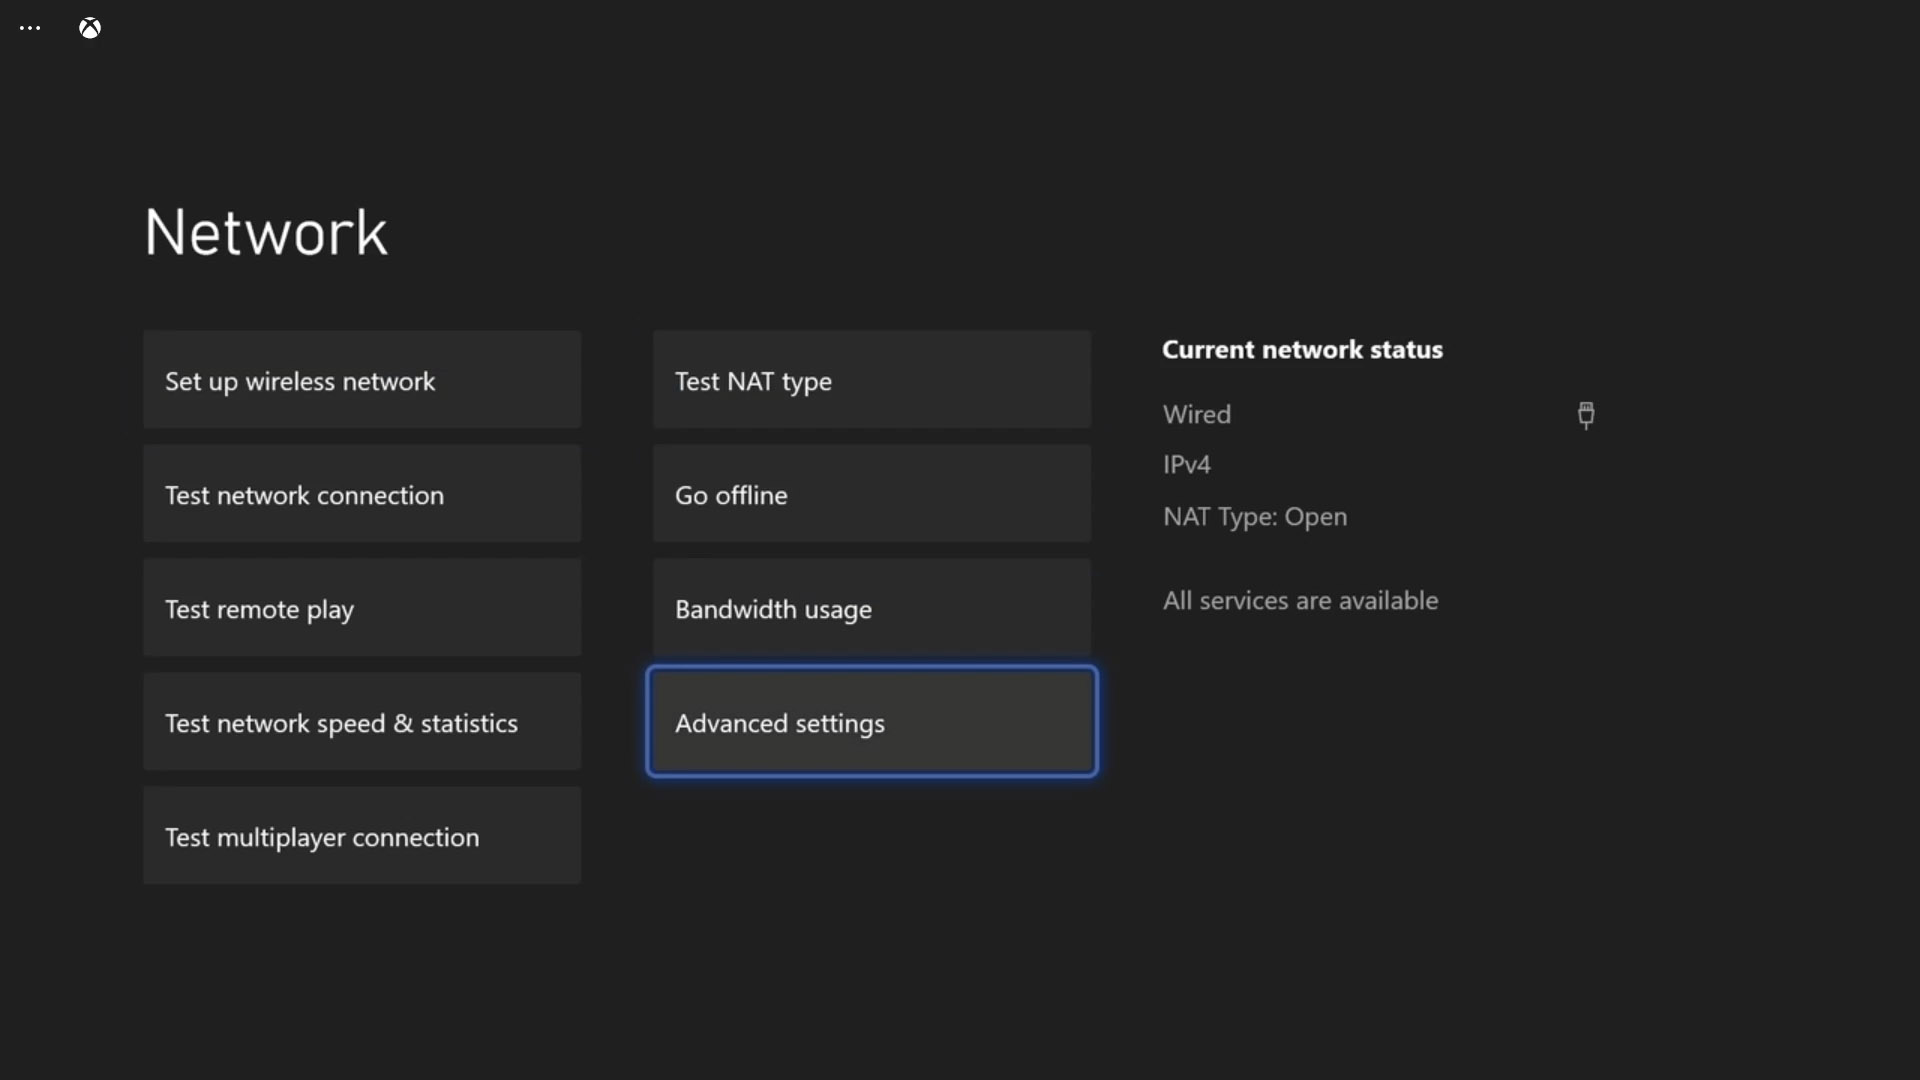
- Choose General if it’s not selected yet, and then select Network settings.
This will show you all the settings for your console’s network and connection.

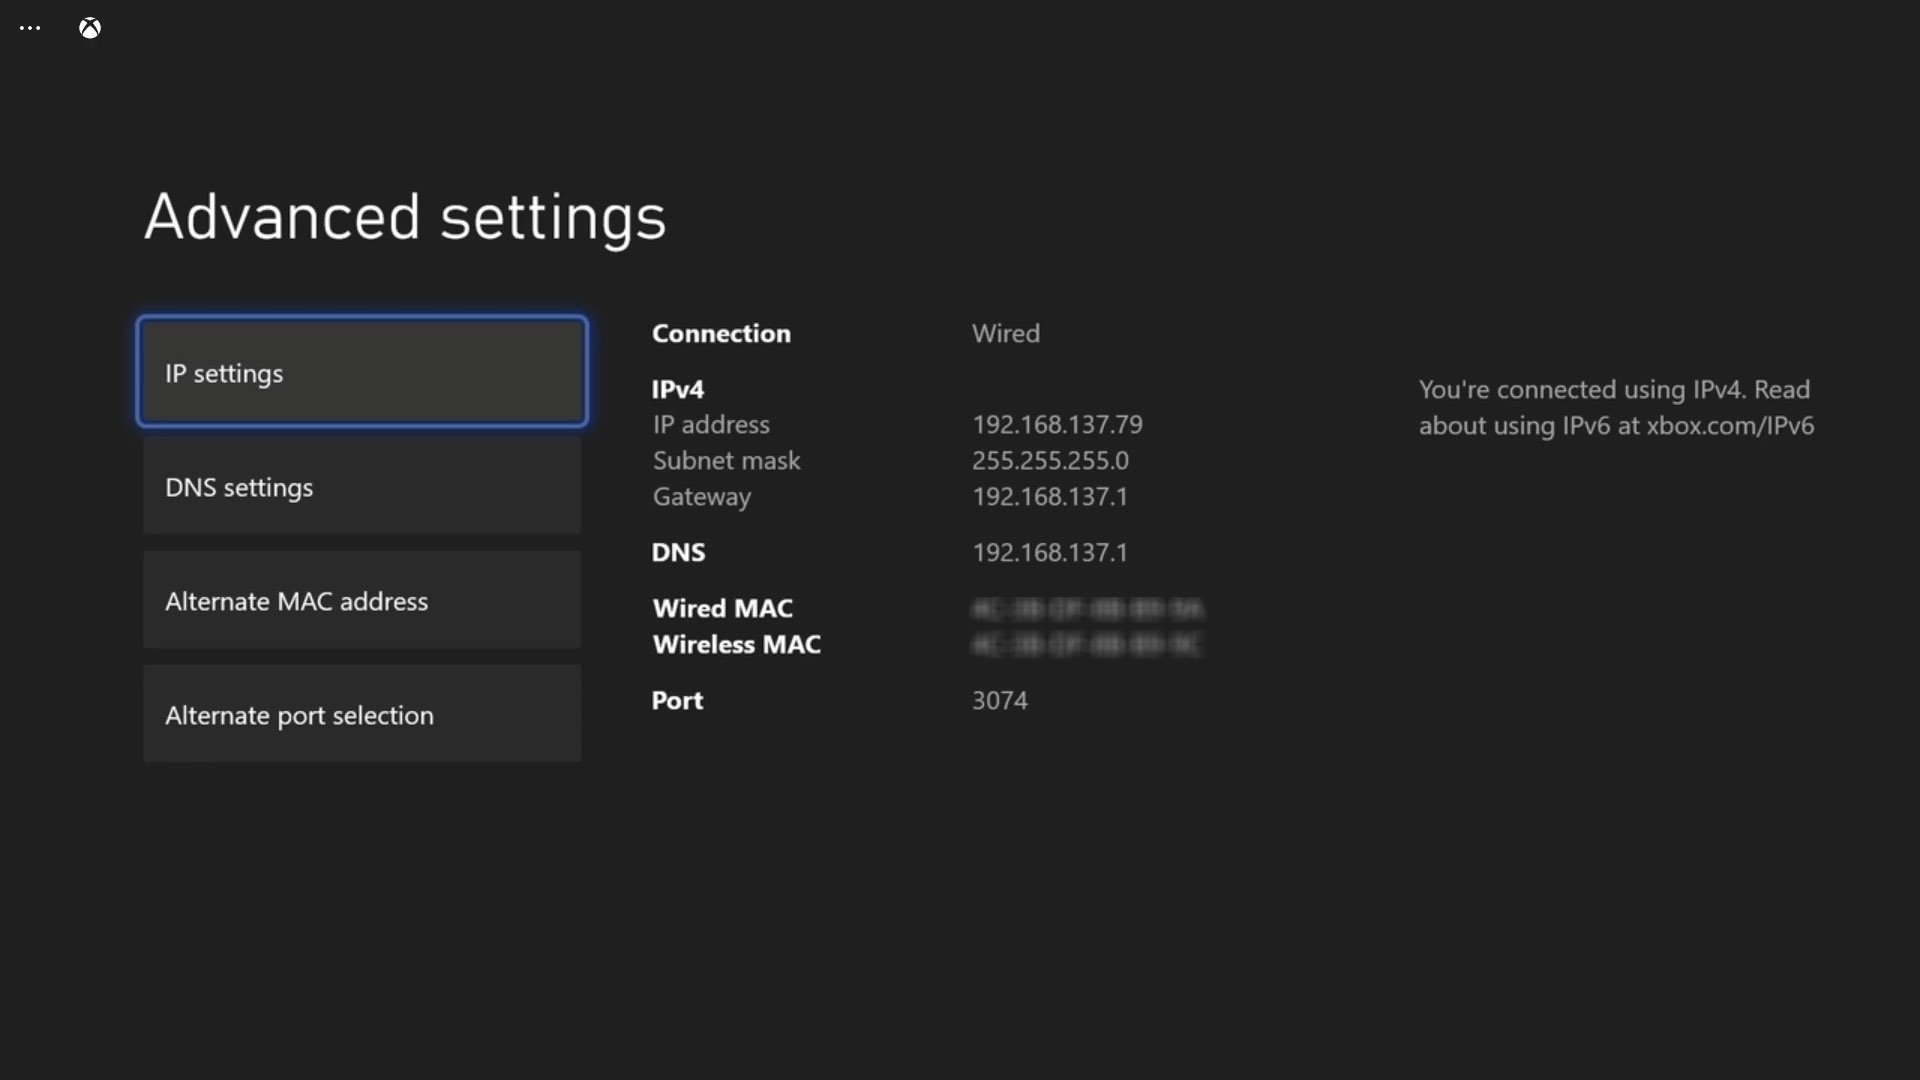
- Highlight Advanced settings and press A.
Now take note of the IP Address, Subnet mask and Gateway. Actually, you can use this IP address for the DMZ, however, it may change the next time you power on the console. That’s why we strongly suggest you make it static so that it will be assigned for your Xbox until such time you change it.

- Select IP settings, and choose Manual.
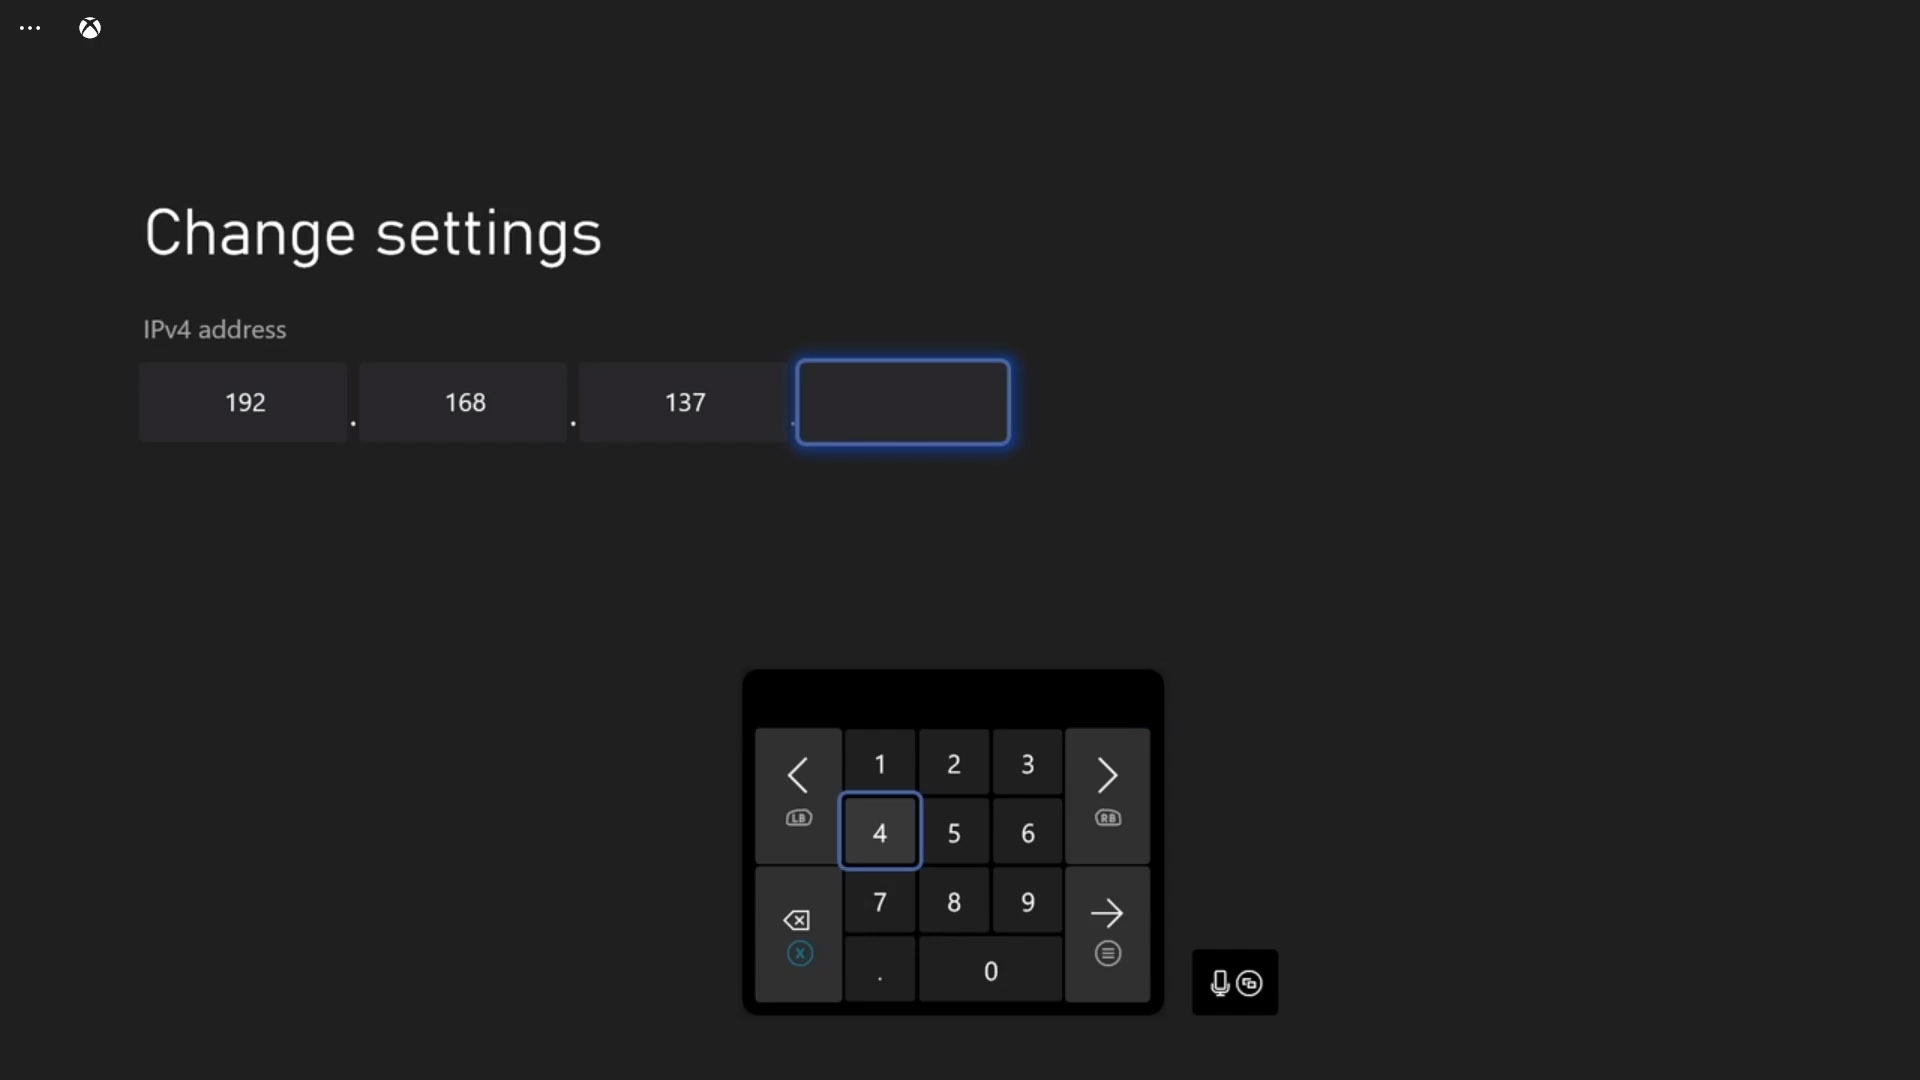
Choosing manual will prompt you to enter the IP Address you want to assign to your Xbox and it will become static.

- Now enter the IP address, subnet mask and the Gateway correctly.
Just enter the ones you’ve copied in the previous page.

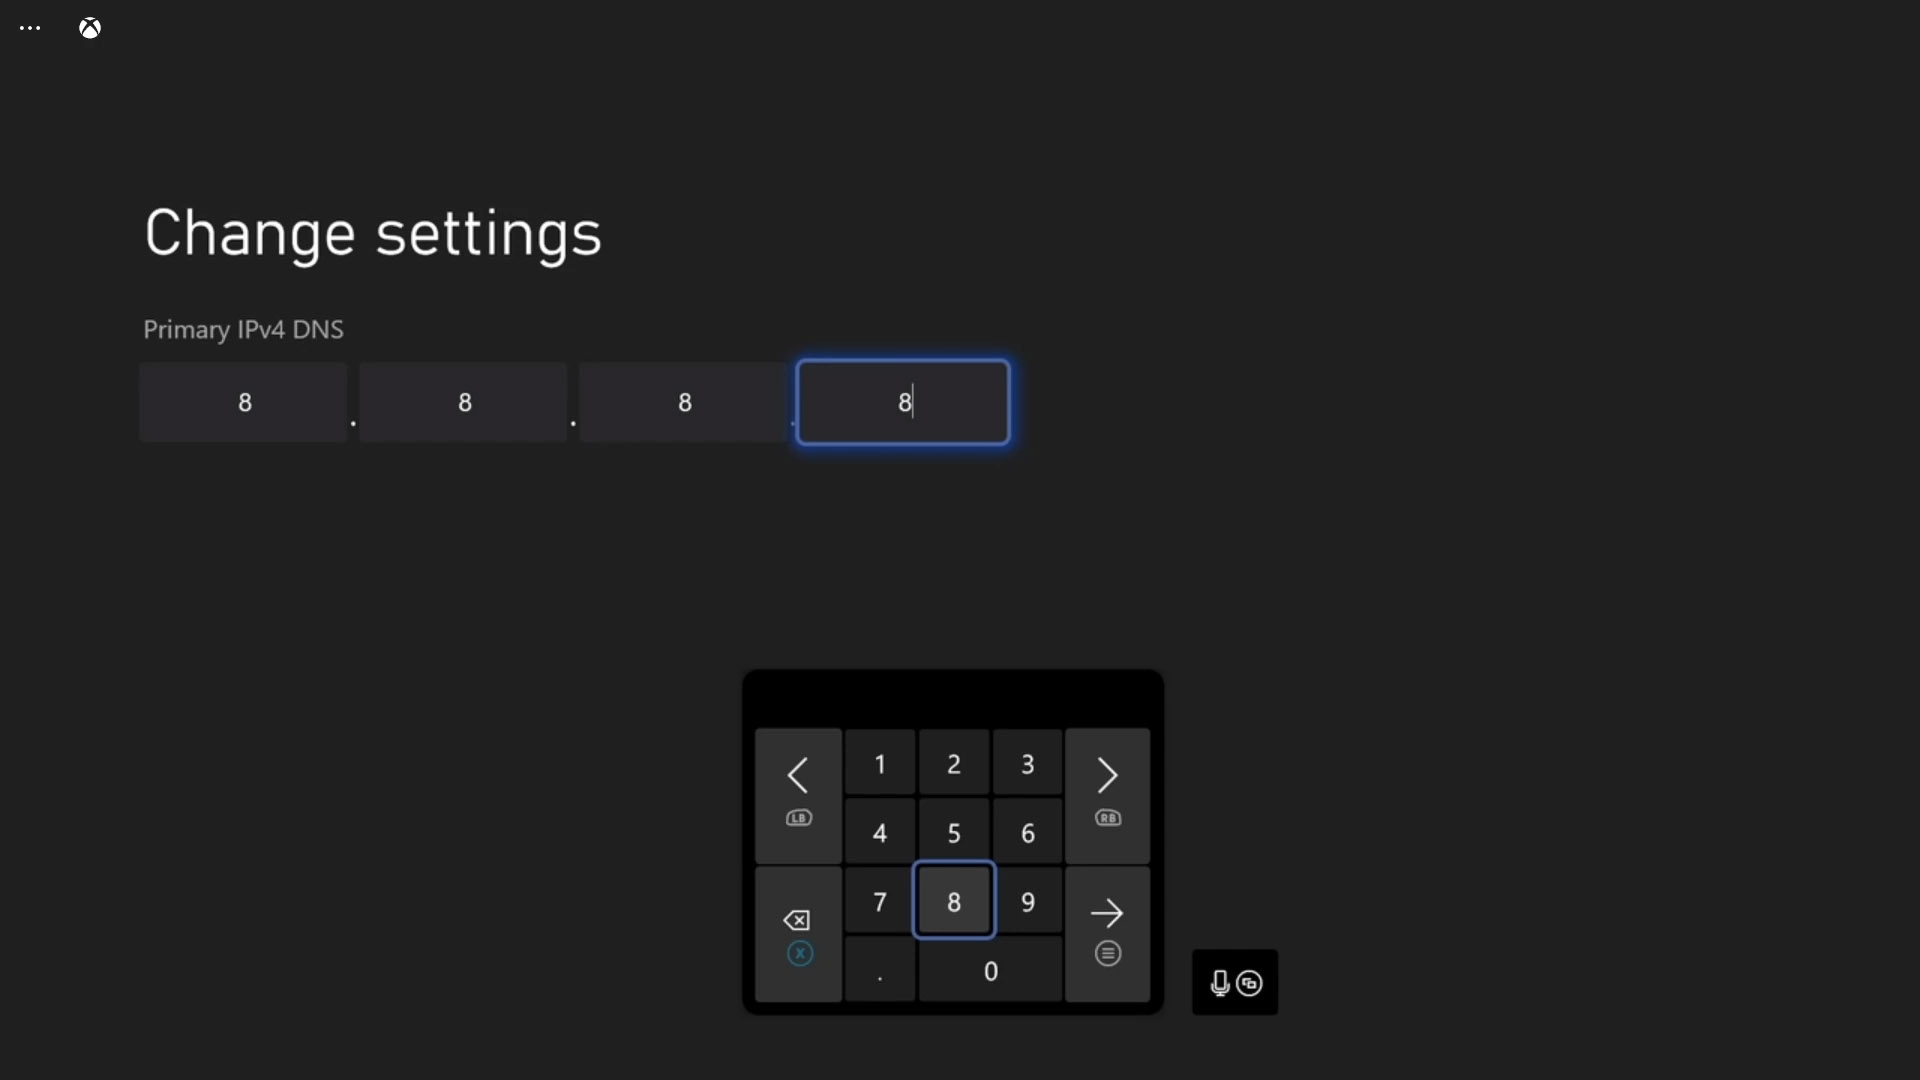
- If asked for DNS, enter Google’s Public DNS.
Most of the time, the DNS server is also the gateway, but using Google Public DNS has good advantages including speed, reliability and performance.

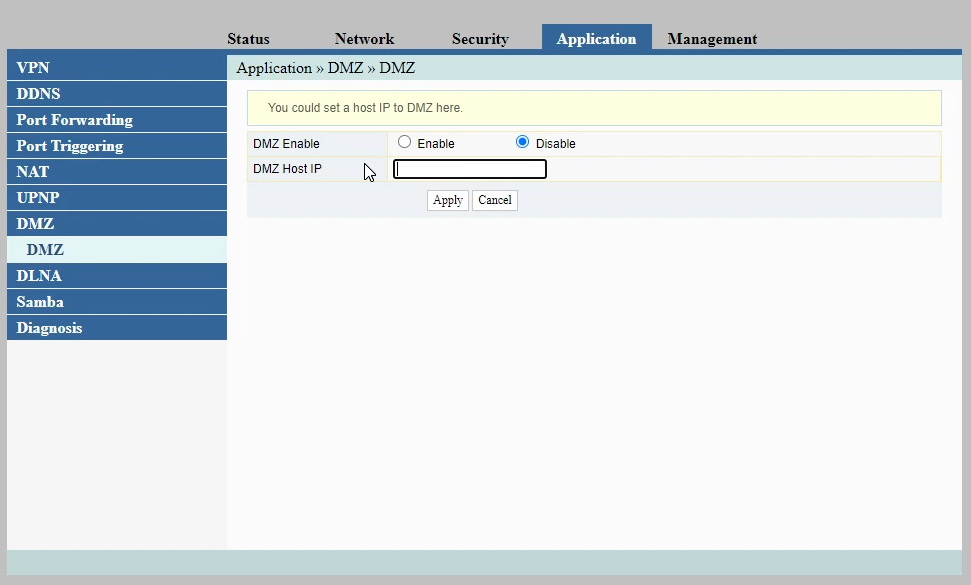
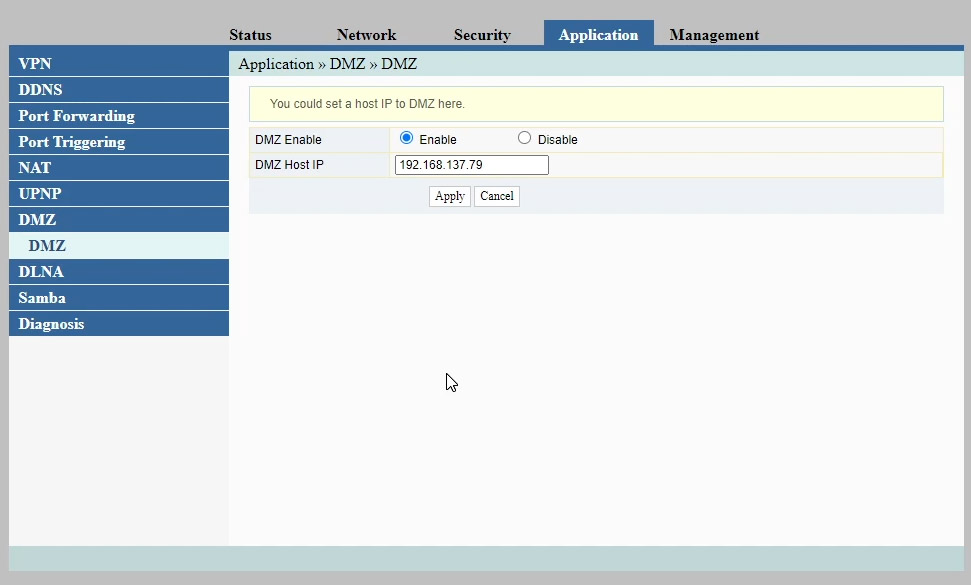
- Now, on your router’s settings page, look for DMZ and click on it.
We assume that you already know how to access your router’s settings page. If not, then take note of your router’s brand and model and google it. The login credentials can often be found on the sticker at the back or underneath the device.

- Enter the IP Address of your Xbox, and then save the change you made.
Your Xbox Series S is now placed in the DMZ and it’s NAT type should be changed to Open from either Strict or Moderate.

We hope that this tutorial can help you one way or the other.
Please support us by subscribing to our YouTube channel. Thanks for reading!
ALSO READ:
