How To Record Screen on Windows 11 (5 Easy & Free Ways)
- Xbox Game Bar: Windows key + G and click the Record button.
- GeForce Overlay: Alt + F9 to start recording.
- PowerPoint: Click Recording > Screen Recording and click the Record button.
- ShareX: Click Capture > Screen recording.
- OBS: Add scene > Add source (Display capture) > click Start Recording.
In this article, we will show you how to record your screen on Windows 11 using a built-in screen recorder called Xbox Game Bar, Nvidia GeForce Experience, PowerPoint, ShareX and OBS.
All of these tools are free except for PowerPoint which you may have to pay for. However, if you already have it on your PC, then you can definitely use it to record your
Record Your Screen Using Xbox Game Bar
The first on the list is the Xbox Game Bar simply because it comes as a built-in feature in Windows 11. Screen recording will be a lot easier using this feature and it’s free.
You don’t have to download anything to be able to use it, so your main concern will be how to access it. Well here’s how you record your screen using the Xbox Game Bar:
Step 1: Open the screen or application you want to record.
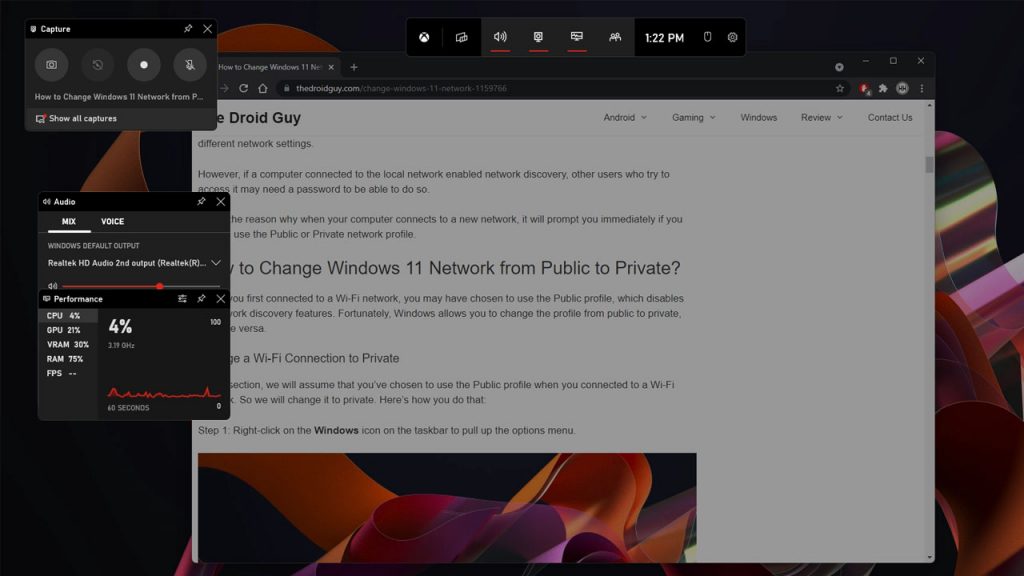
Step 2: Press the Windows logo key + G to open the Game Bar over your app or game.
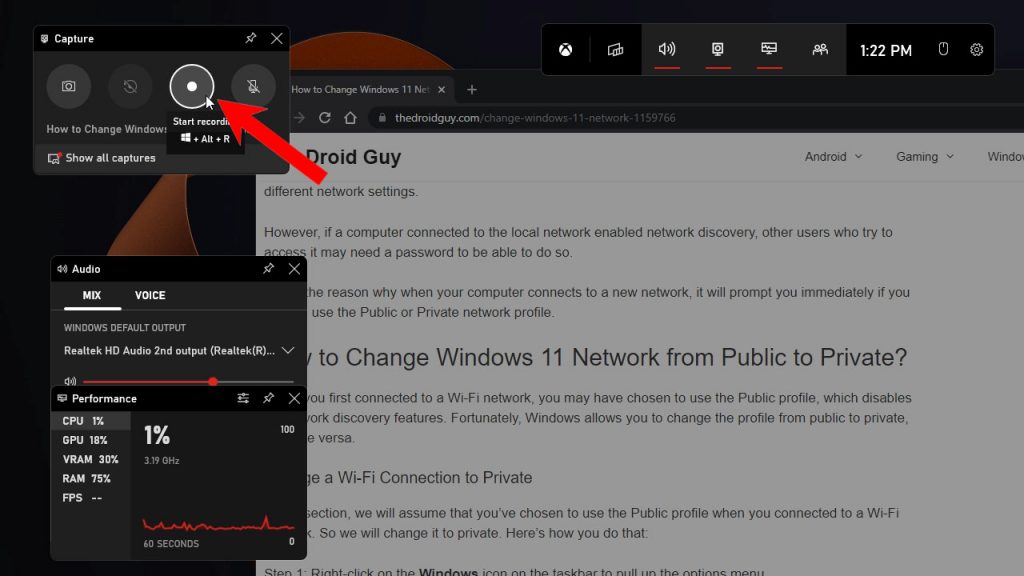
Step 3: When you’re ready to record, click Start recording. You may also just press Windows key + Alt + R.
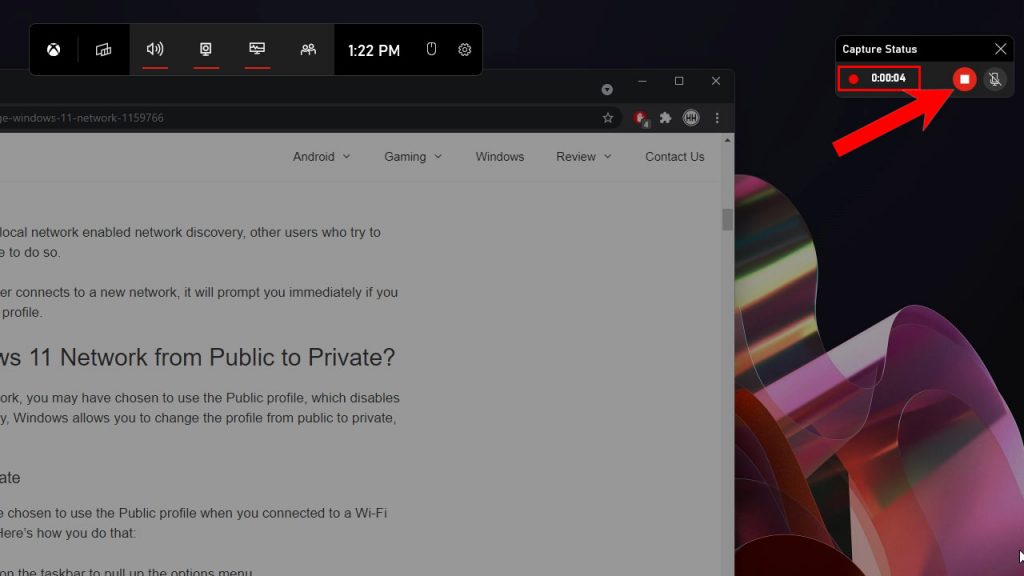
Step 4: You can monitor the time by looking at the small pop-up window at the upper-right corner of the screen. Once you’ve recorded your content, click Stop Recording.
Where to find the recording?
Depending on how long the video recording is, the Xbox Game Bar may take several minutes to encode the video. Once finished, you will find it in its default save location.
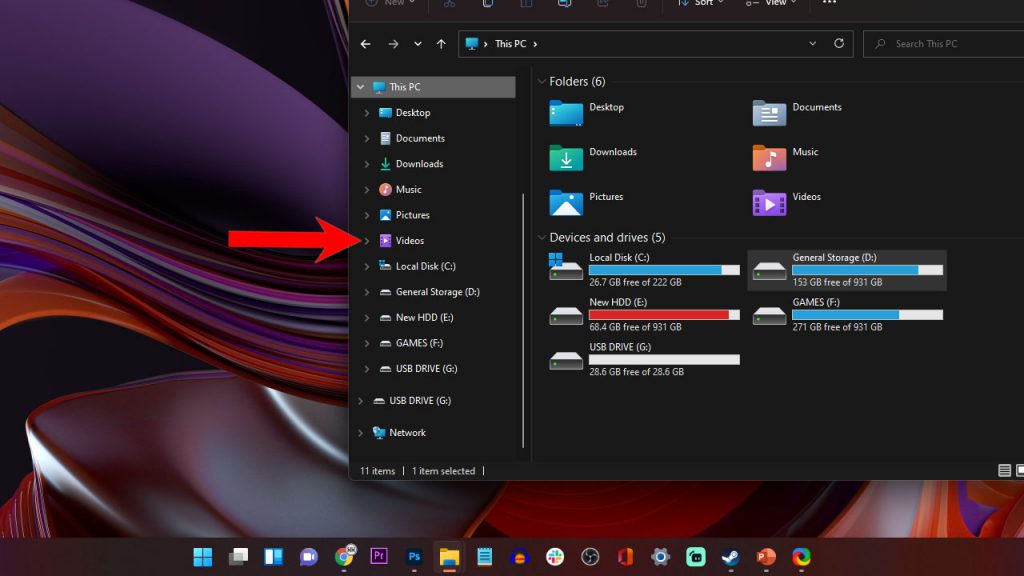
Step 1: Launch a File explorer.
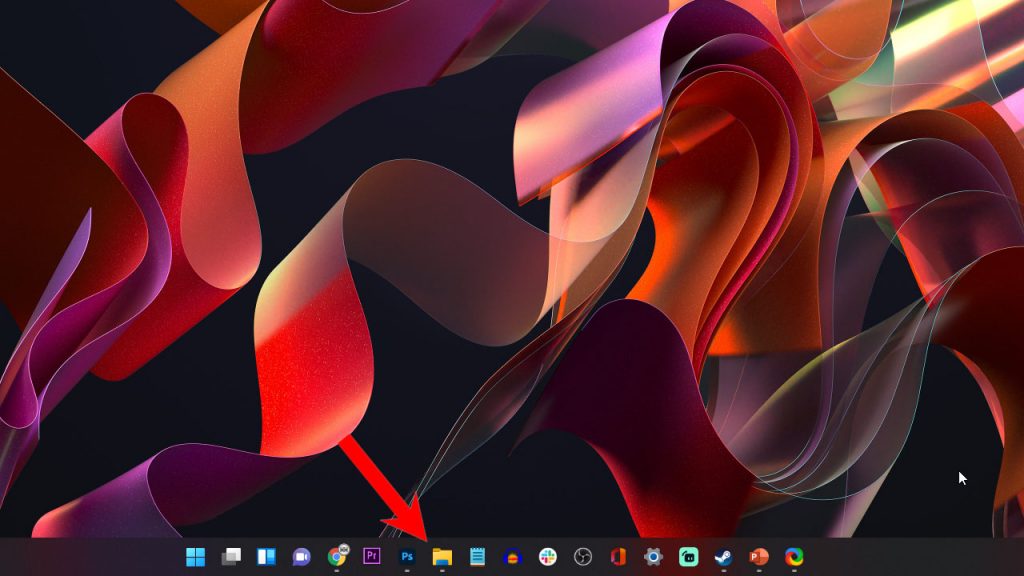
Step 2: On the left panel, under This PC, look for the folder named Videos and click on it.
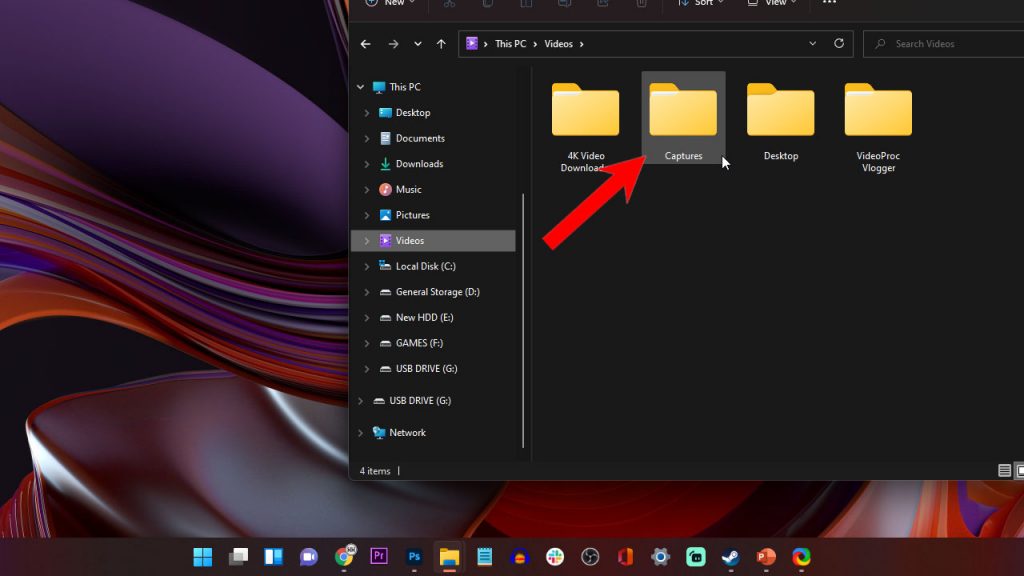
Step 3: Your recording is saved in Captures folder, so open it.
Can I change the Xbox Game Bar settings?
Yes, you can but you need to access Windows Settings for it. By default, the Xbox Game Bar is set to record your screen for 2 hours only.
It’s a long video already if you’re recording stuff from the Internet, but if you want to record gameplay, it might not be enough.
It is also set to record at Full HD resolution at 30fps frame rate, provided that the window or application you’re recording is set to full screen. You can change it to record at higher frame rate and quality.
Here’s how you can access the Xbox Game Bar settings:
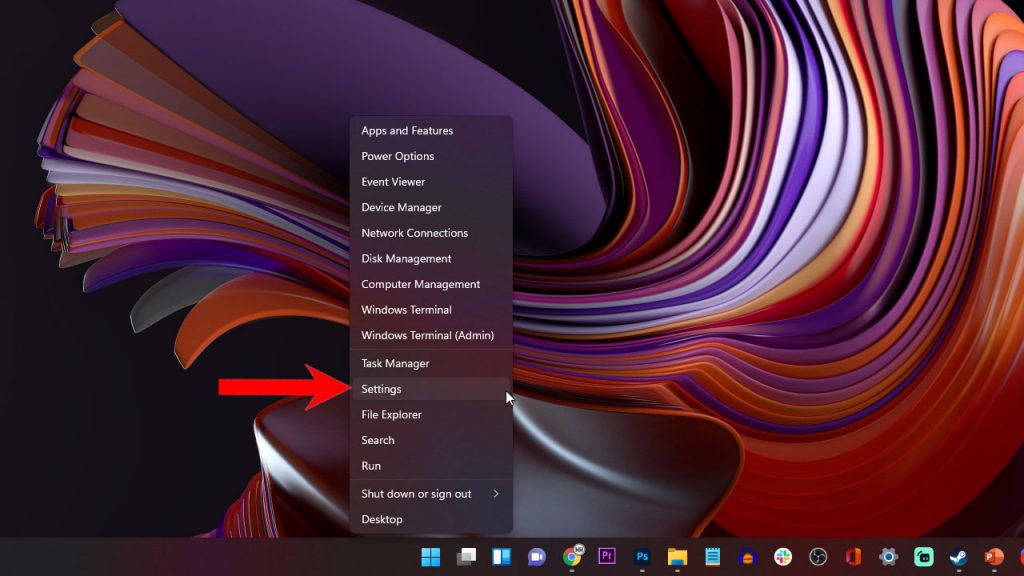
Step 1: Right-click on the Windows key to pull up the options menu.

Step 2: Look for and click Settings to open the Settings app.
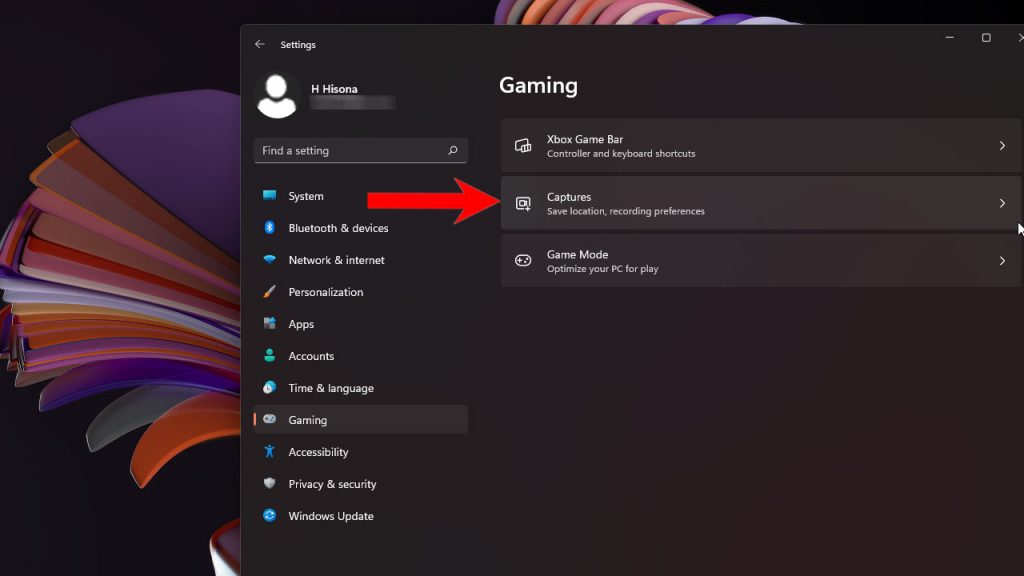
Step 3: On the left part of the window, look for Gaming and click on it.
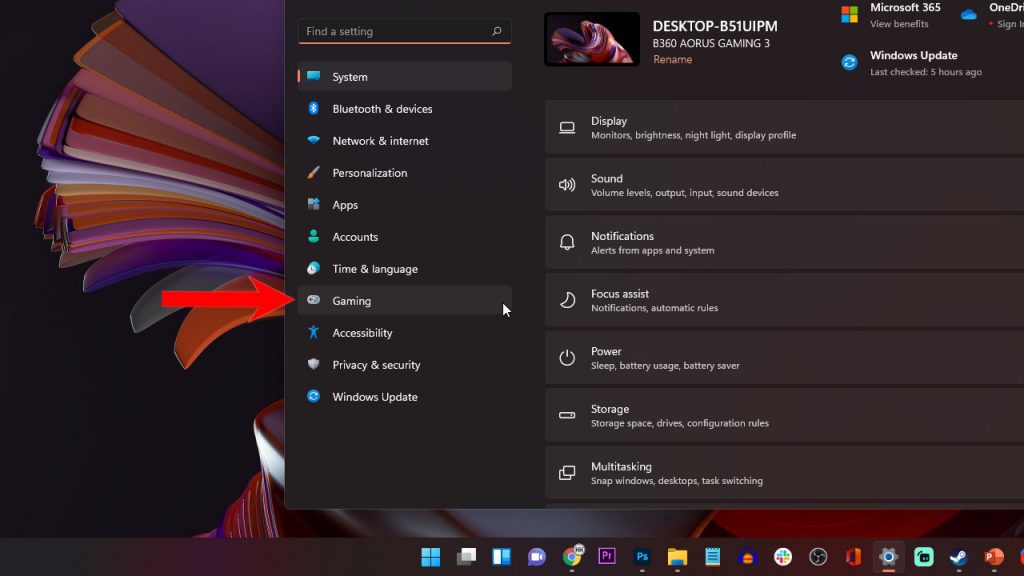
Step 4: Now click Captures and change the Xbox Game Bar settings to your liking.
And that’s how you record the screen on your Windows 11 with the Xbox Game Bar.
Record Windows 11 Screen Using Nvidia GeForce Experience (Optional)
Another screen recording feature that might come pre-installed on your Windows 11 computer is the Nvidia GeForce Experience software that’s usually installed on your machine together with the GPU drivers.
However, this is only optional simply because other users might be using other brands of graphics cards. But even if you do, you’ll still be able to record your entire screen using the software that comes with your GPU.
But in this case, we will show you how to record using the GeForce Experience screen recorder. Here’s how:
Step 1: Prepare the screen, app or content you want to record.
Step 2: Press Alt + Z to open the GeForce Experience overlay.
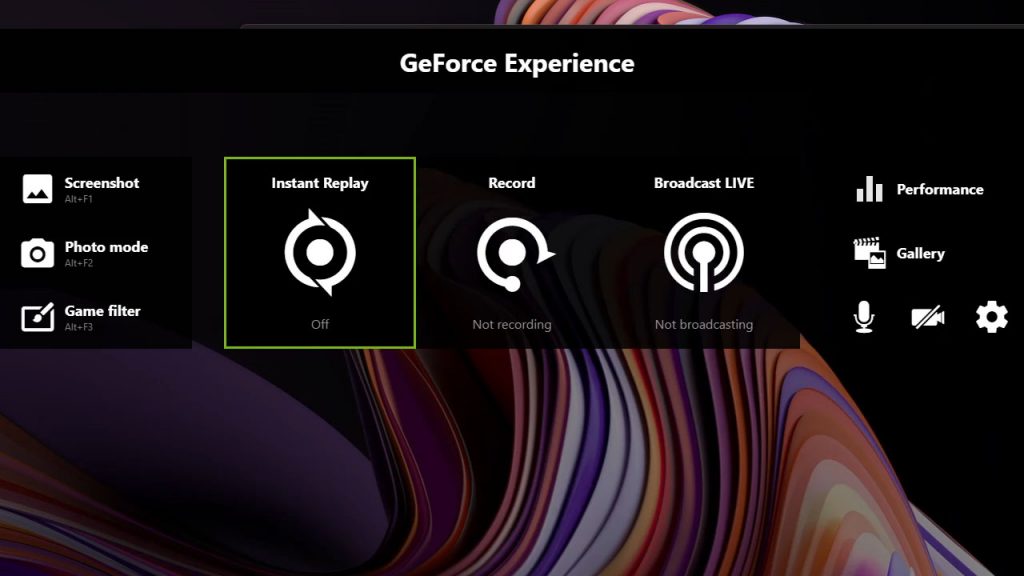
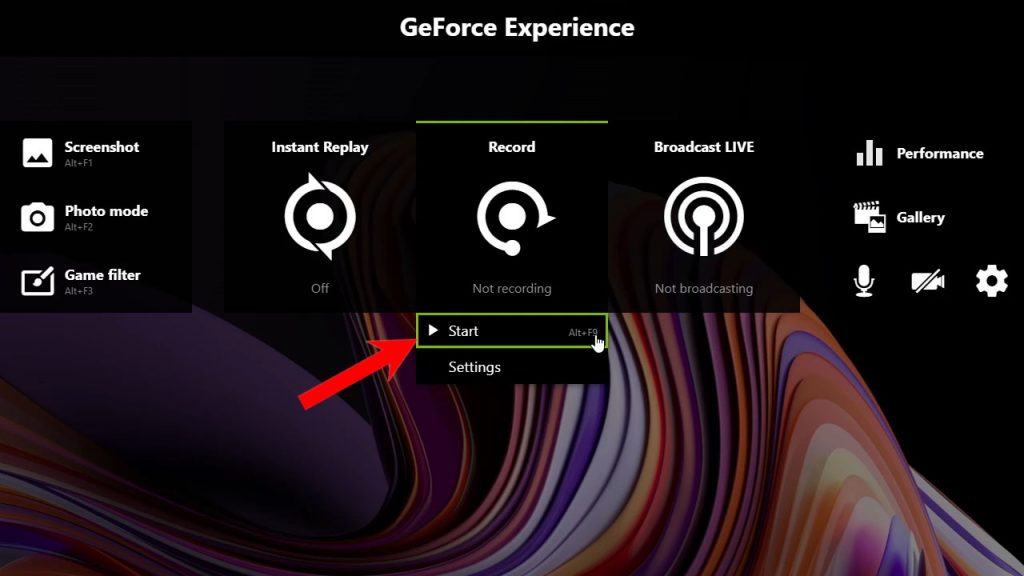
Step 3: Click Record, and then click Start to begin recording. Alternatively, you can just press Alt + F9 to begin the screen recording, and then press the same key combination again to stop recording.
Where to find the recording?
Just like the Xbox Game Bar, the recordings are saved in the Videos folder under Documents. However, we recommend you change it into the drive that has sufficient storage space.
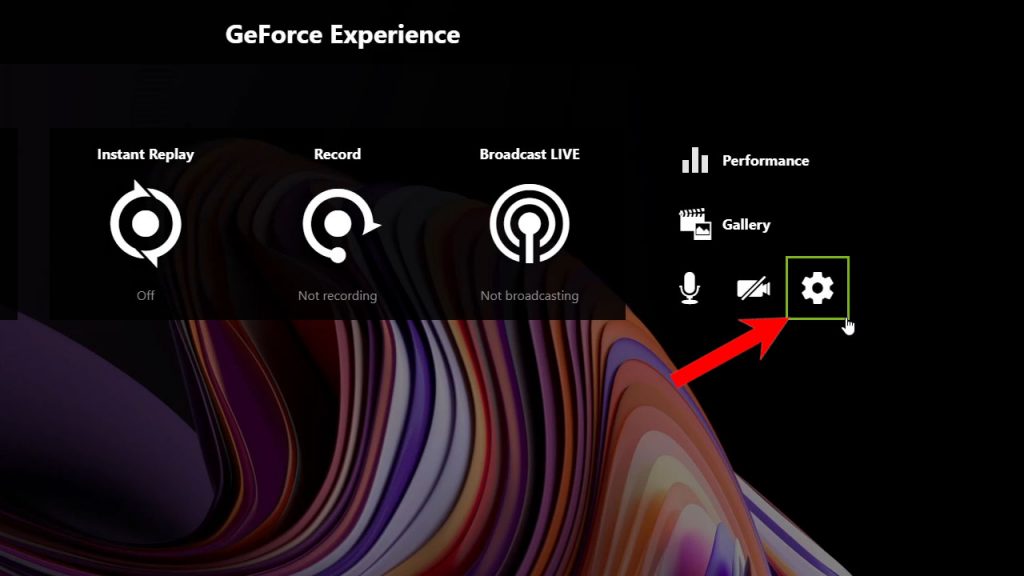
Step 1: To do so, press Alt + Z to open the overlay.
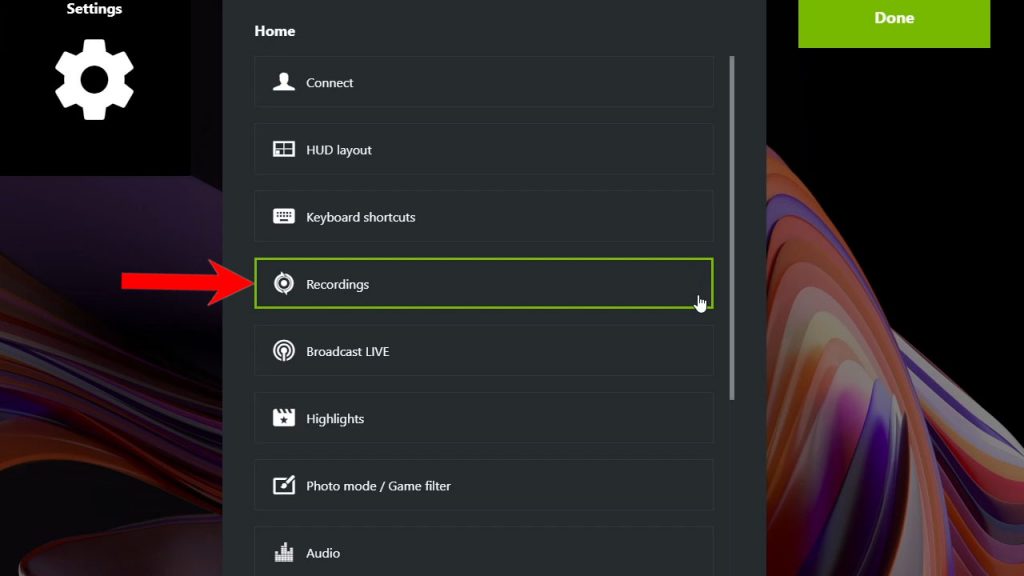
Step 2: Click the Settings icon.
Step 3: Click Recordings.
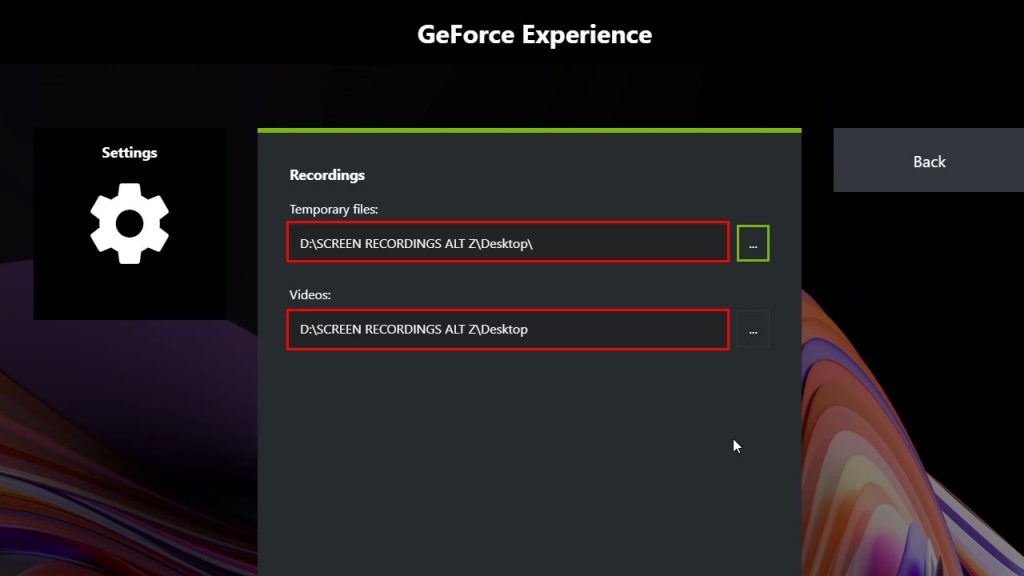
Step 4: Now change the location of Temporary files and Videos. It’s better to use the same directory for both so that it will be easier for you to find your screen recording videos.
Can I change the GeForce Experience settings?
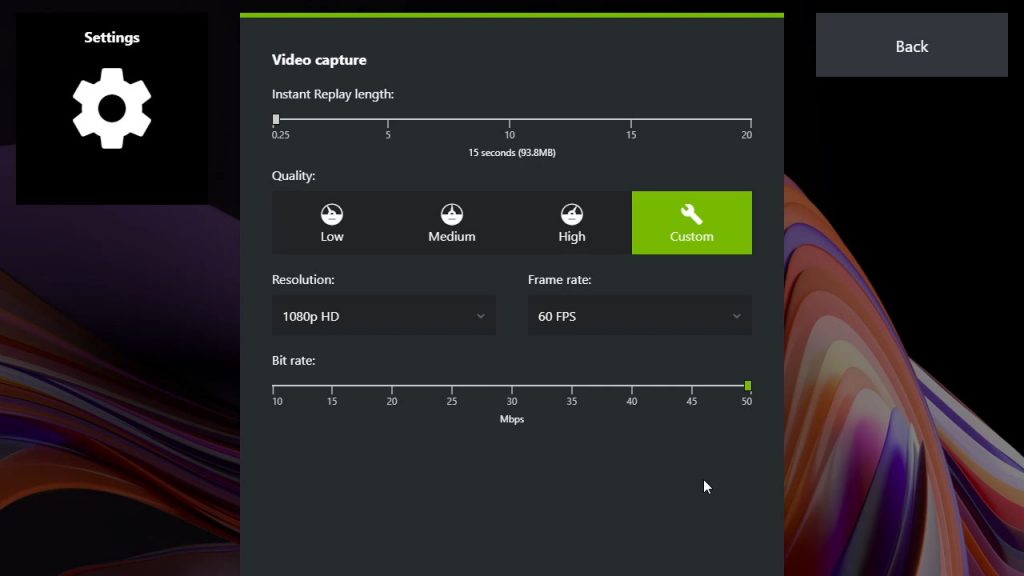
You will be able to change the default settings of the GeForce Experience screen recorder to fit your needs. It will even allow you to record 4K screen recordings at 60fps if your monitor is capable.
Step 1: Open the overlay by pressing Alt + Z.
Step 2: Click the Settings icon.
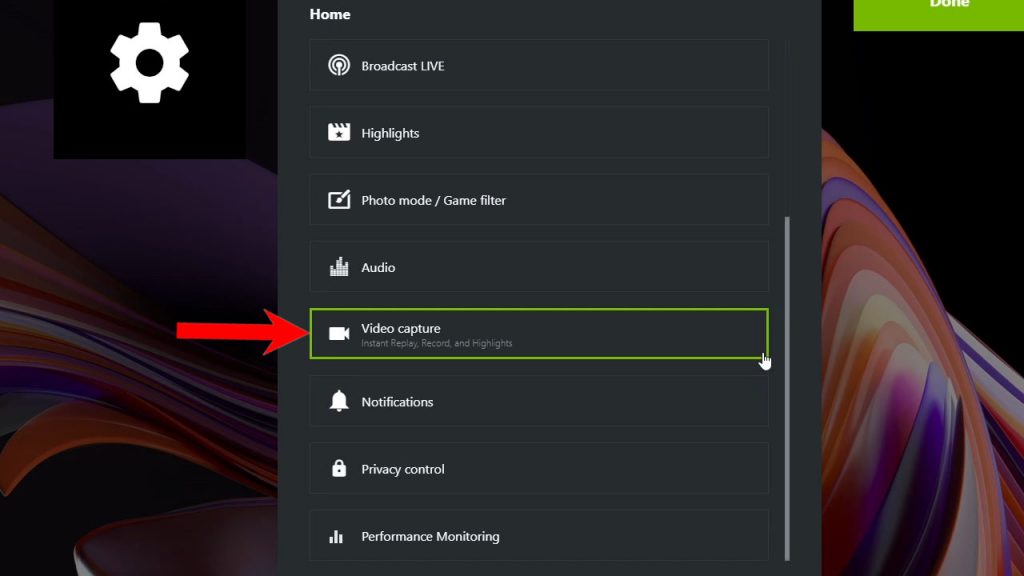
Step 3: Scroll down a bit and click Video capture.
Step 4: Now change the settings to your liking.
That’s pretty much it! If you have an Nvidia graphics card and have installed the GeForce Experience, then screen recording will be a lot easier.
Screen Recording Using Microsoft PowerPoint
If you have a Windows computer you use for work, then you probably have Microsoft Office installed on it. And did you know you can also record screen using the PowerPoint?
Here’s how it’s done:
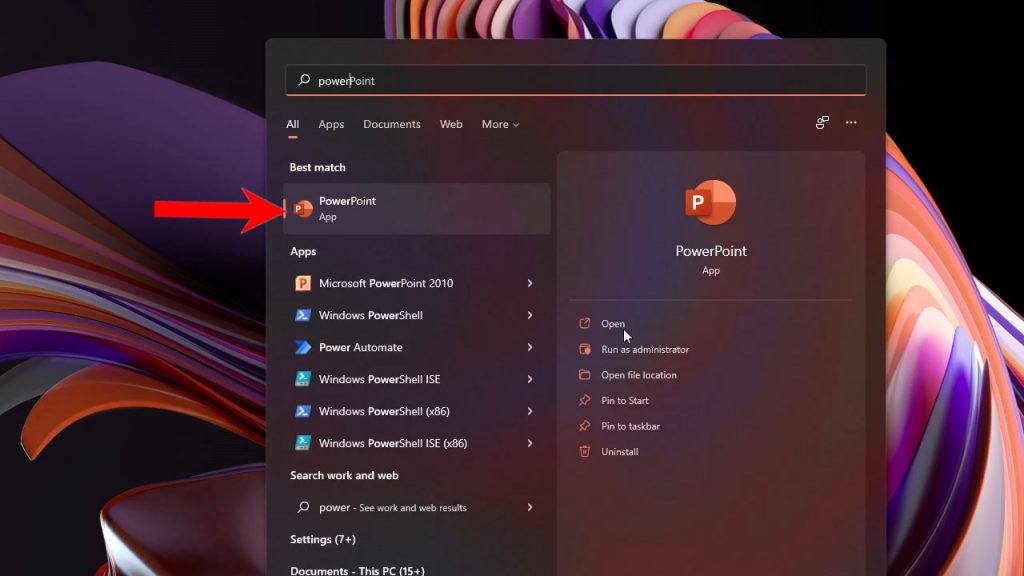
Step 1: Launch the Microsoft PowerPoint.
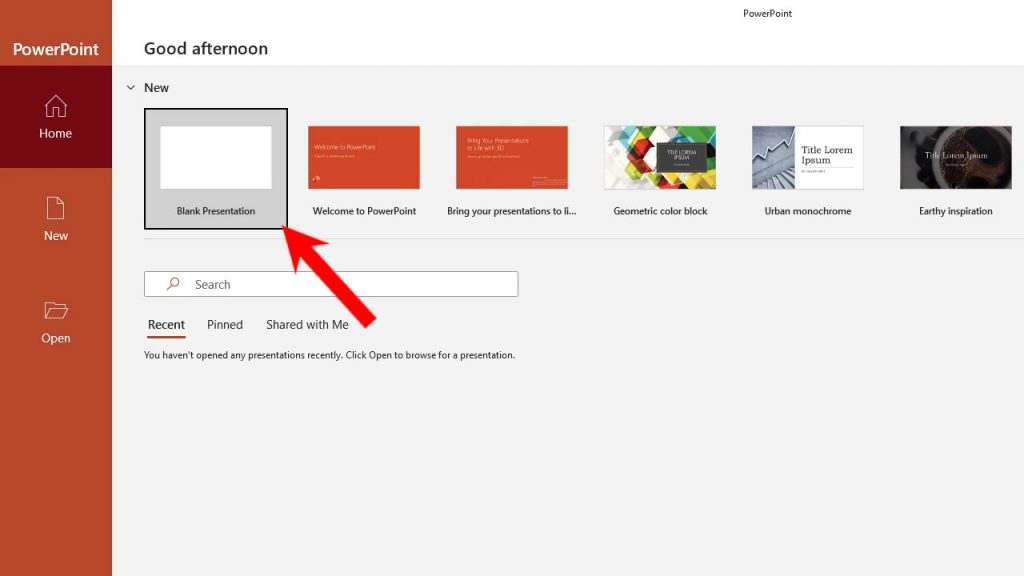
Step 2: Select Black Presentation.
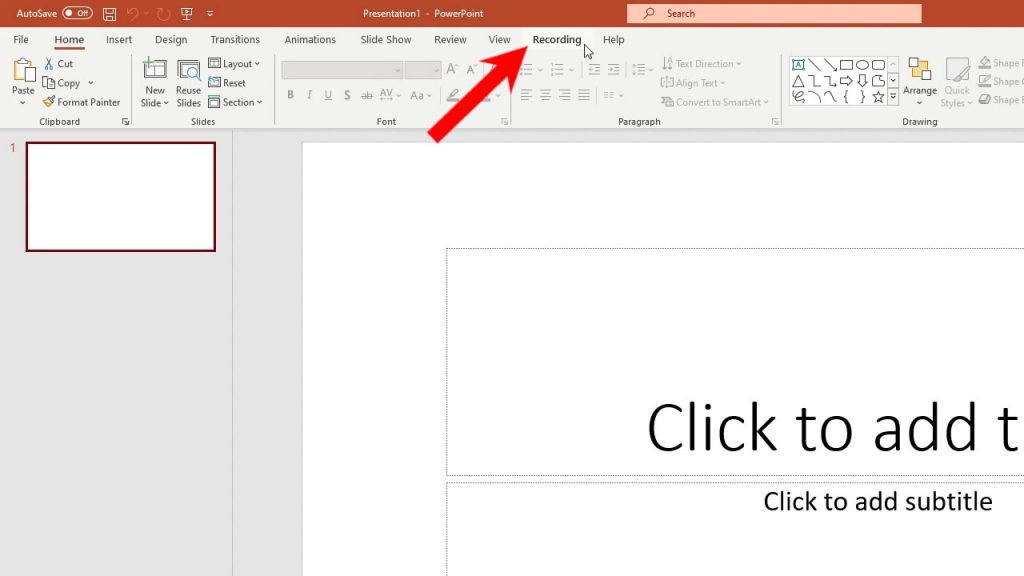
Step 3: In the menu bar, click Recording.
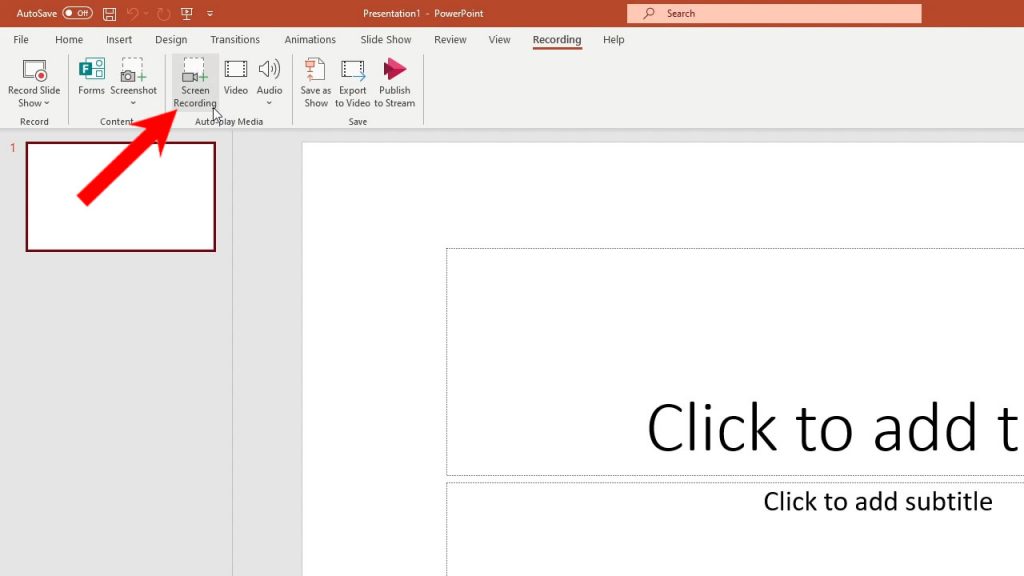
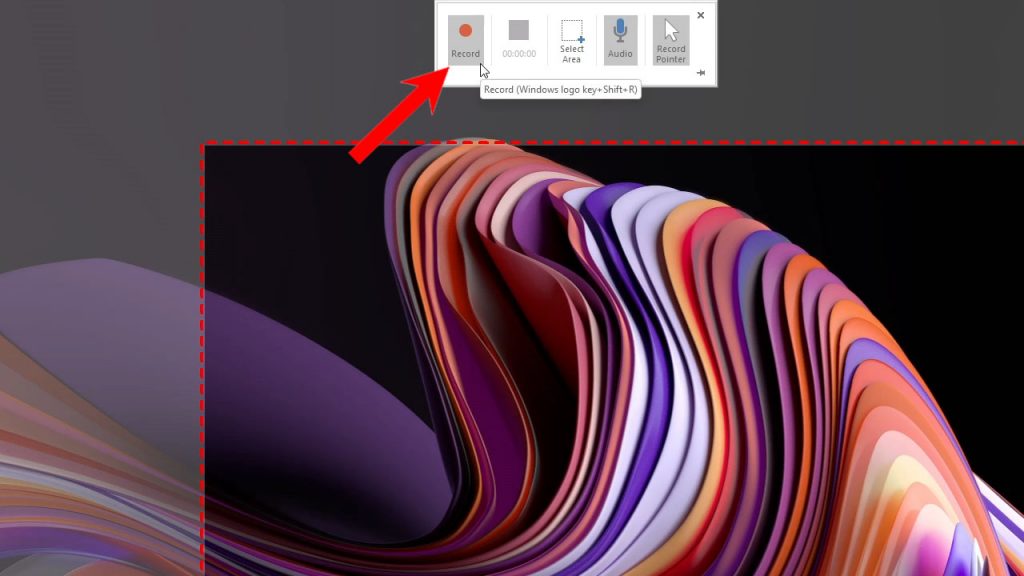
Step 4: Click Screen Recording and PowerPoint will be minimized, leaving the controls at the top of the screen, which allows you to record the screen.
Step 5: Select the area of the screen you want to record, or select the entire screen and then click the Record button.
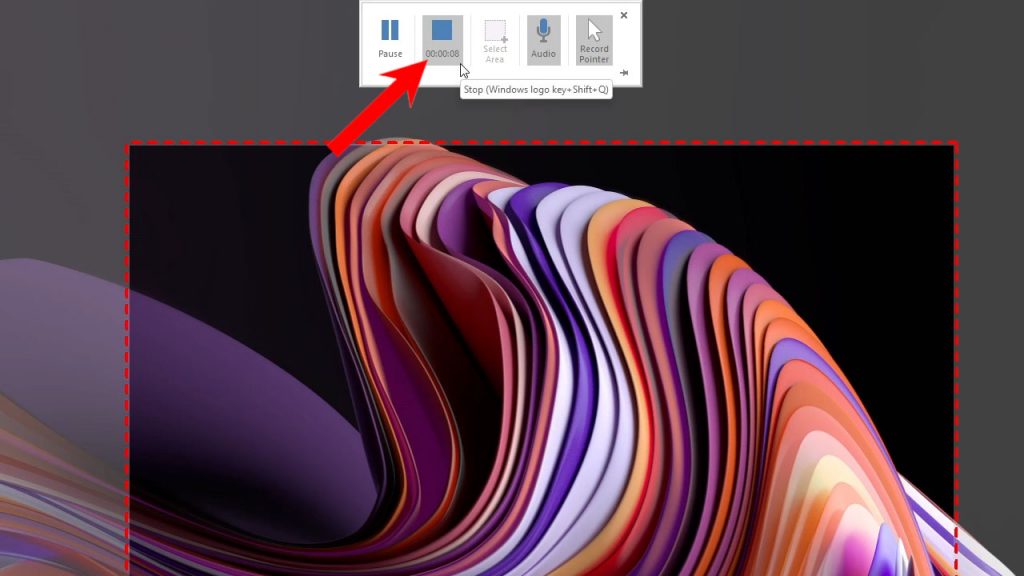
Step 6: Once you’ve recorded the content, hover your cursor at the top-center of the screen to pull down the controls, and then click Stop.
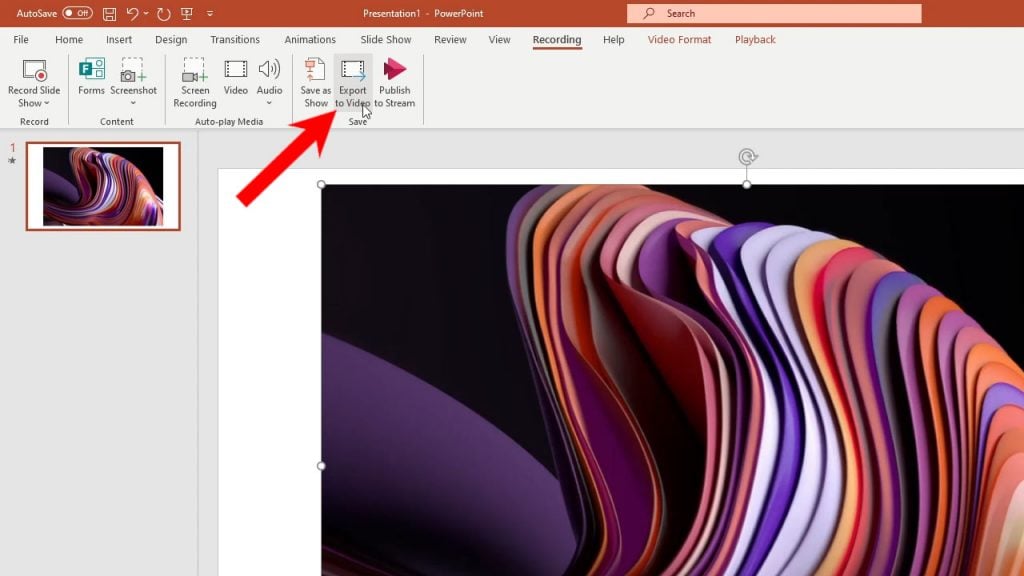
Step 7: The recording will automatically be inserted into the PowerPoint document.

Step 8: To export the video, click Recording in the menu bar again and click Export to video.
Step 9: Change the settings if you want and click Create Video.
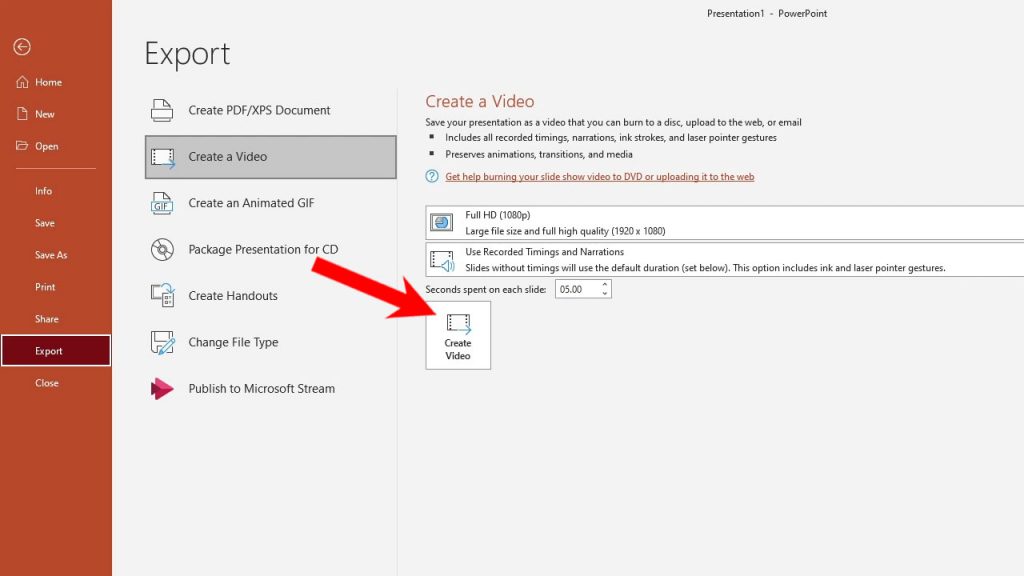
It might take several minutes to complete depending on how long the recording is, but once it’s finished, you can play the video file without a problem. PowerPoint also capture audio automatically.
Record Your Screen With ShareX
ShareX is a third-party application you can use for screen recording. It’s open source so you can download it from the Internet for free. Here’s how you use it to record your screen:
Step 1: Download and install ShareX first. (link)
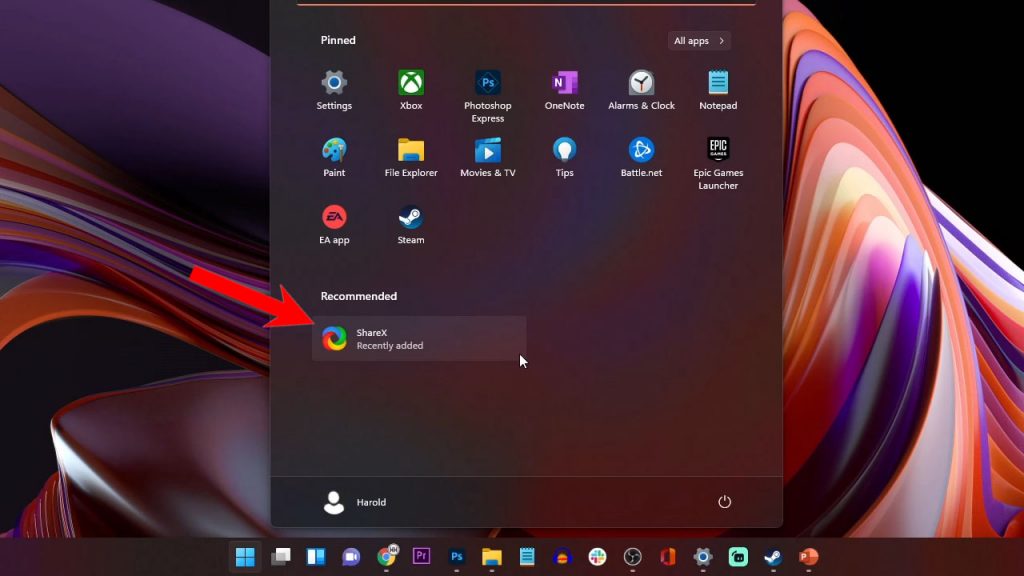
Step 2: Launch the app.
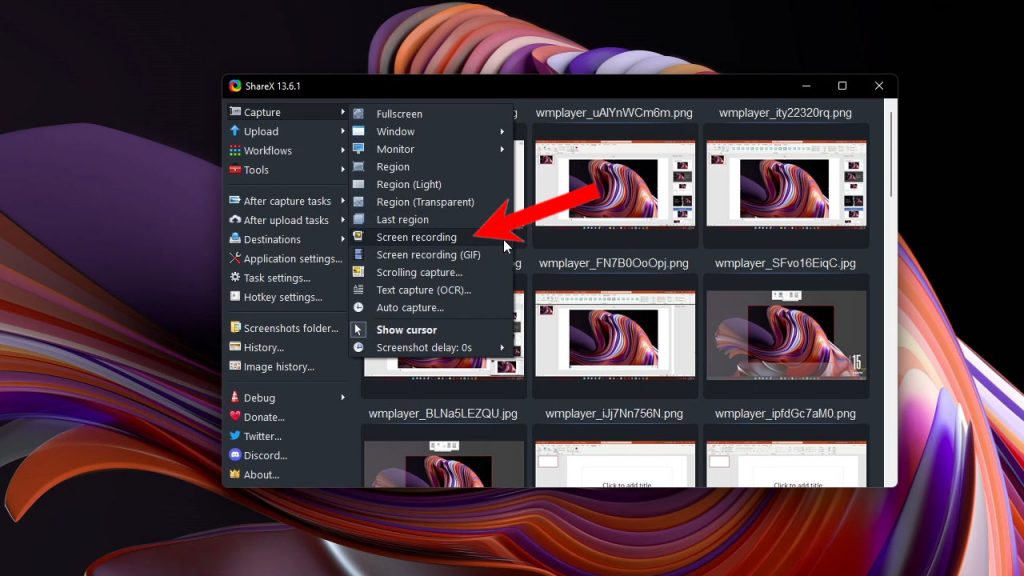
Step 3: Click Capture, and then click Screen recording.
Step 4: Select the area of the screen you want to record and click to start recording. There’s no screen recording button for ShareX.
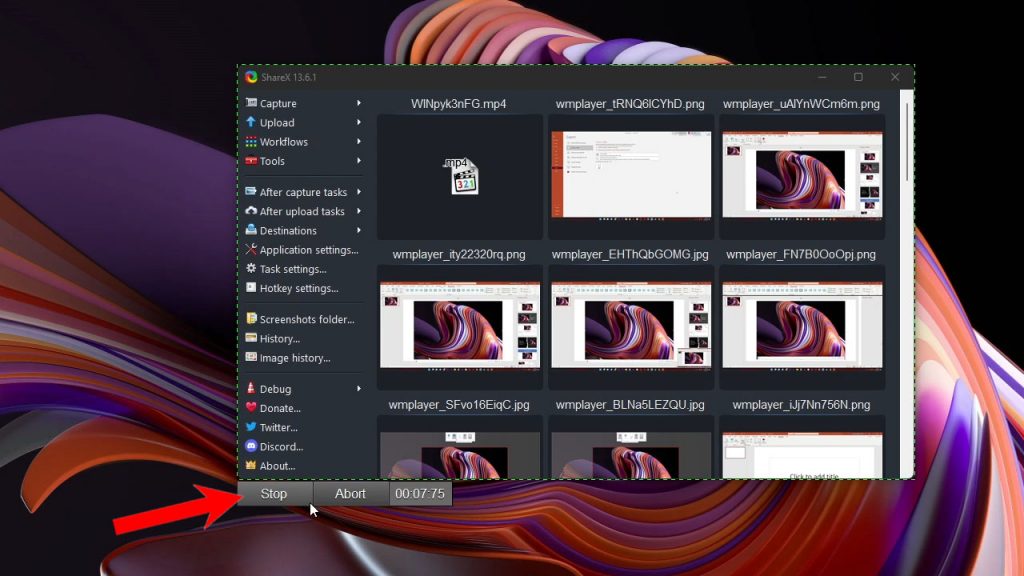
Step 5: The controls can be found in the lower-left part of the screen, so when you’re done recording, click Stop.
The video will automatically be saved in the default location and you’re gonna get a notification for it. ShareX doesn’t have a max recording length so you can record all you want, and it can do audio recording.
How To Screen Record Using OBS
One of the best and free screen recording and streaming tool out there is the OBS. In fact, many YouTubers use this tool in streaming their gameplays, so you can expect it to work properly, although you may have to spend a little time learning the controls. Here’s how you record your screen with it:
Step 1: Download and install OBS first. (link)
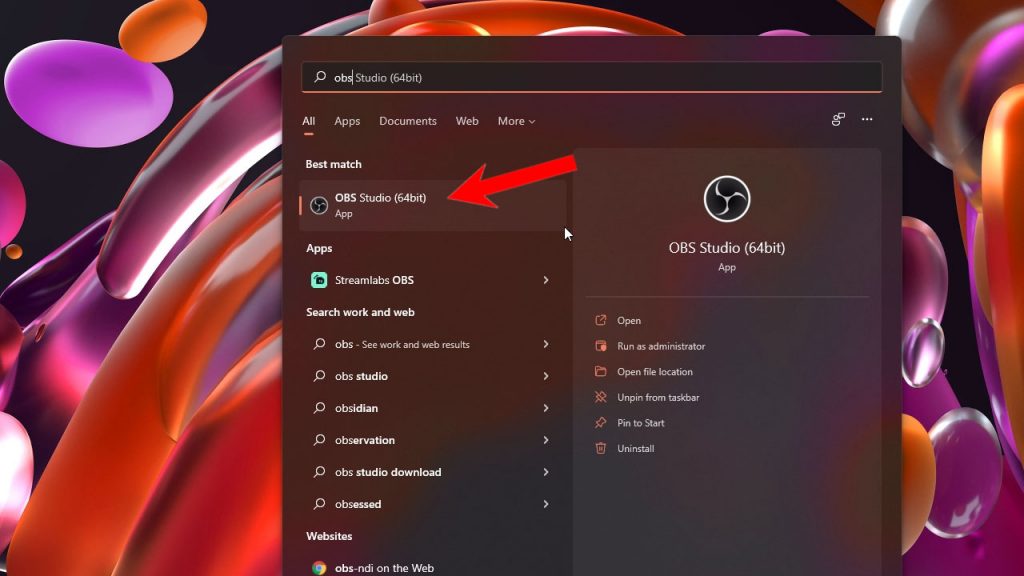
Step 2: Once the installation is finished, launch the application.
Step 3: In the lower-right corner of the screen, under Scenes, click the plus sign (+) to create a scene and name it appropriately.
Step 4: Just beside the Scenes section is Sources, click the plus sign (+) as well to add a source.
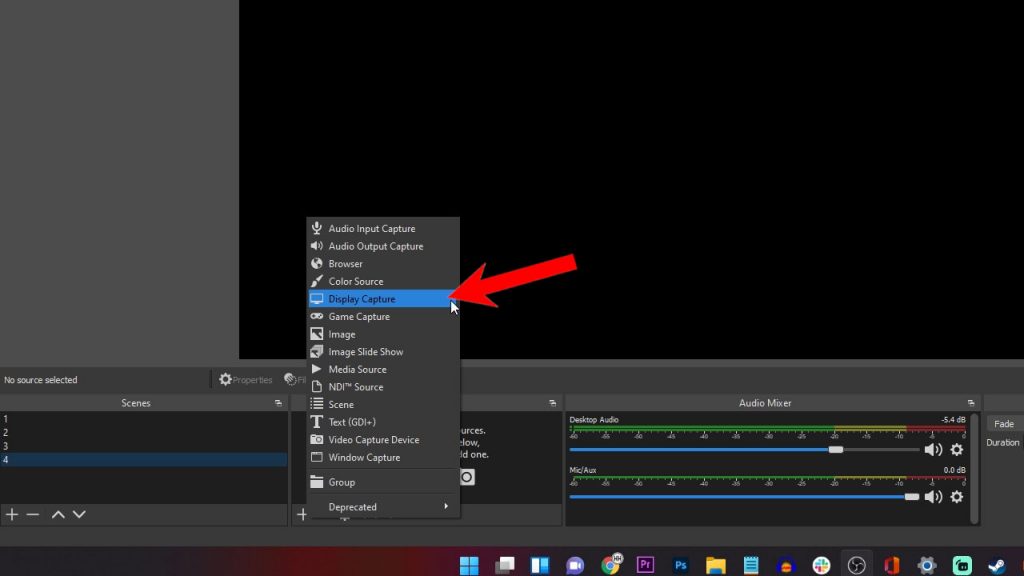
Step 5: Click Display capture and name it appropriately.
Step 6: Leave the Capture method and Display to their default values, but if you don’t want to capture the cursor, uncheck Capture Cursor. After making the changes, click OK.
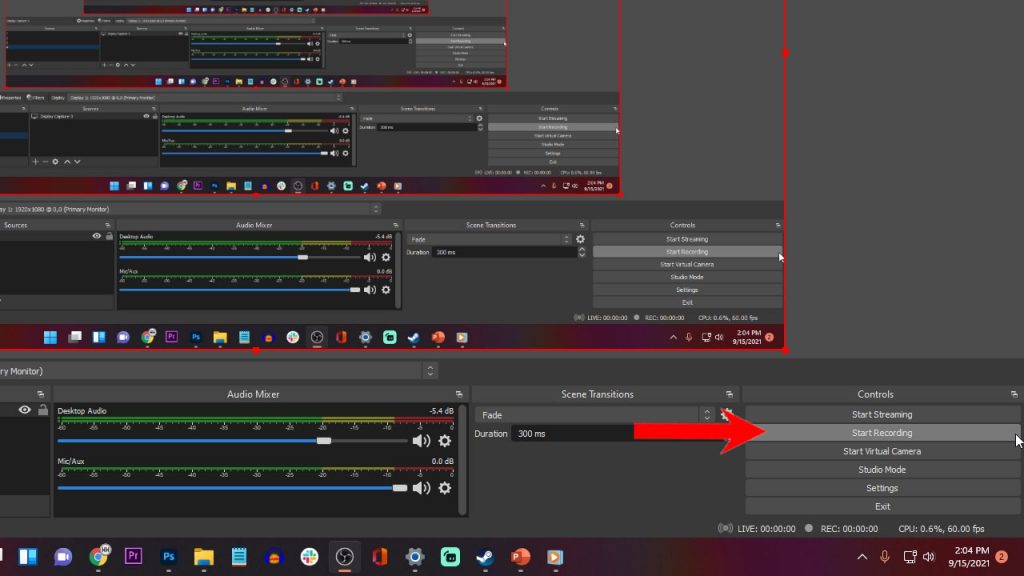
Step 7: Now click Start Recording at the lower-right corner of the screen.
Step 8: Once finished, click Stop Recording and the recorded video will automatically be saved.
OBS is a pretty powerful tool and screen recording is just one of its many features. In fact, it can also do audio recording so you can actually record system sounds if you want to.
If you’re still looking for a tool you can use to record the whole screen or just part of it, then we suggest trying the tools we listed here starting with the Game Bar that comes pre-installed on your Windows 11 computer.