How To Fix Nintendo Switch 2160-8006 Error | NEW in 2026
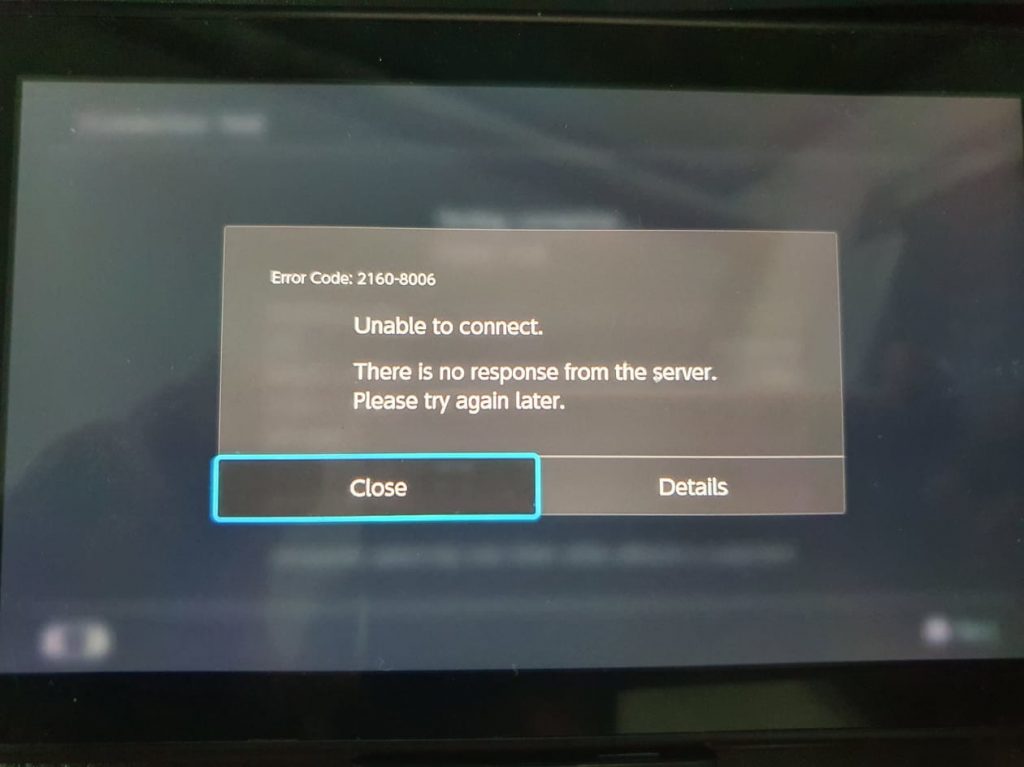
Are you getting the error code 2160-8006 on your Nintendo Switch console? This error is usually accompanied by the following message: “Unable to connect. There is no response from the server. Please try again later.” If you are experiencing this error and you have no idea how to fix it, this article should help you.
What does error code 2160-8006 mean?
If you’re getting the error code 2160-8006 on your Nintendo Switch, this means that the console is unable to establish a stable communication with Nintendo servers during a connection test.
This error does not only appear solely when you cannot complete a connection test though as some Switch users have reported also getting the same error while browsing the eShop, or when trying to play an online game such as Animal Crossing New Horizons.
2160-8006 is a general network error and can be caused by several factors.
Causes of 2160-8006 error code on Nintendo Switch
There are a number of known reasons why your Nintendo Switch may be getting the 2160-8006 error code. Let’s talk about each of these factors below.
Server issues.
Any on-going server outage or maintenance in your region may impact the connectivity performance of your Nintendo Switch. Make sure that you check if there’s a server problem as your first step in fixing this error.
Unresponsive router.
Your home router may become frozen or unresponsive if left running for an extended period. If you have a slow network, unable to connect to the internet, or if your connection keeps cutting out on top of the 2160-8006 error code that you’re getting, be sure check if the router has been refreshed recently.
DNS server glitch.
By default, your Nintendo Switch will use whatever DNS server your ISP provides. While this is fine most of the time, ISP DNS servers are less reliable than other third party DNS servers like the ones from Google. To check if the 2160-8006 error code you’re getting is due to an issue with the DNS servers you’re using, you can manually change them to different ones.
Low bandwidth or slow connection (network congestion).
If you have slow internet connection at home, router keeps cutting out, or if the network is always busy due to a high number of devices using it, your Nintendo Switch console may not be able to connect to the servers.
Wifi signal interference.
Another reason why your Nintendo Switch cannot connect to the servers and shows the 2160-8006 error may poor wifi signal due to interruptions. Other wireless devices such as cordless phones, routers of neighbors, baby monitor, wireless CCTVs, among others broadcast in the same wireless band as any regular router and they can potentially cause signal interference.
Other stuff in your house like metal filing cabinets, thick, reinforced concrete walls, glass, and other home accessory that might have metal or glass can degrade your network environment as well.
Weak wifi signal.
Having weak wifi signals on your Nintendo Switch may also cause slow or intermittent connection. Try to check the wifi signal indicator on your Nintendo Switch console at the top and see how strong the signal is. If you rely on wifi when playing online, you should always ensure that you have full signal all the time.
How to fix Nintendo Switch 2160-8006 error
Below are the potential solutions that you can try to fix 2160-8006 error. Before doing anything though, make sure that you restart your Nintendo Switch by pressing and holding the power button for about 3 seconds. Then, select Restart under Power Options to reboot it.
Fix #1: Check the Nintendo server status.
One of the first troubleshooting steps that you want to do is to check whether 2160-8006 error may be caused by a server outage or maintenance. Visit the Nintendo server status website to see if there’s any server problems at the moment.
Fix #2: Power cycle the router.
Refreshing your router may fix the internet connection problem in your home network, which may be the main reason for this error. To do that, simply turn the router off normally and unplug it from the power strips or outlet for 30 seconds. Afterwards, turn it back on and check for the error again.
Fix #3: Use different DNS servers.
A non-working DNS server may also be the reason for this problem. To check if that’s the case, try to go into your console’s network settings and change the DNS servers manually.
Fix #4: Use Nintendo Switch closer to the router
The nearer your console is to your wireless router, the better. Keep in mind that the optimal signal range from a typical router is only about 15-30 feet. If your Nintendo Switch is located farther than that, you may have a significantly degraded wireless signal.
Fix #5: Check for signal interference.
Error code 2160-8006 may also occur if your Nintendo Switch is experiencing poor wifi signal due to interference. As mentioned above, signal interference may happen due to other wireless devices, or if there’s material that blocks the signal from reaching the console consistently.
If you live in an apartment and there are other routers in range, make sure that you check if your Switch is connected to your own network.
You can also try to see if using a different wifi channel will help fix your problem. If you have no idea how to do this, refer to your router documentation or get help from your Internet Service Provider (ISP).
Also, be sure to remove anything between your Nintendo Switch console and router that might block the signal such as an aquarium, glass accessory, or metal objects. If you can’t remove these objects, you should consider positioning the console instead near the router so it has a direct line of sight.
Fix #6: Use 5GHz instead of 2.4GHz frequency band.
Some routers are capable of broadcasting in both 2.4GHz and 5GHz. The former is the common band being used by a lot of wireless devices so it’s prone to signal interference. If your router has 5GHz capability, use it to connect your Switch to the internet.
Again, refer to your router documentation or get help from your ISP if you don’t know how to go into your router settings.
FURTHER READING:
- How To Check Nintendo Switch Error History | NEW & Updated 2021
- How To Fix PS5 WS-116439-4 Error Code | NEW & Updated 2021
- How To Fix PS4 SU-30696-4 Error Code| NEW & Updated 2021
- How To Fix Nintendo Switch 2101-0001 Error Code | NEW 2021
Visit our TheDroidGuy Youtube Channel for more troubleshooting videos and tutorials.