Samsung Galaxy A40 Not Charging Issue: Everything You Need to Know (6 Quick Fixes)
Is your Samsung Galaxy A40 refusing to charge? Don’t panic – this is a common problem that can often be fixed with some simple troubleshooting steps. In this guide, we’ll outline the top reasons your Galaxy A40 may not be charging and provide step-by-step instructions to get it powering up again. With a few quick tests and resets, you can diagnose and resolve the Samsung Galaxy A40 not charging issue.
1. Clean the Charging Port
One of the most common reasons a Galaxy A40 won’t charge is due to dirt or debris in the charging port. Try the following:
- Use a toothpick or other small, non-metallic object to gently clean out the charging port. Be very careful not to damage the port.
- Use compressed air to blow out any dust or lint. Make sure the port is completely dry afterward.
- Inspect the port with a flashlight to check for any obstructions.
Cleaning the charging port is an easy first step and often resolves Galaxy A40 charging issues.
2. Check Your Charger and Cable
Problems with the charger or cable are another top reason a Galaxy A40 may not charge. Try these troubleshooting tips:
- Test your charger and cable with another device like a phone or tablet. If they don’t work, replace them.
- Try charging your A40 with an alternate charger and cable. Use original Samsung equipment if possible.
- Inspect your charger and cable for any damage. Frayed cords, bent prongs, and broken housings can prevent proper functioning.
- Secure cables at both ends. Loose connections can interrupt charging.
If another device charges fine with your setup, the issue lies with your Galaxy A40. But if your charger and cable don’t work, they likely need replacing.
3. Reset Your Galaxy A40
An underlying software issue may also be preventing your A40 from charging properly. Try restarting your phone:
- Press and hold the Power button to turn off your Galaxy A40.
- Once it’s fully powered down, press and hold the Power button to turn it back on.
This simple reboot clears out any software glitches that could be interfering with charging. If the problem persists, you can try a factory reset:
- Back up your data, as it will be deleted.
- Go to Settings > General Management > Reset > Factory Data Reset.
- Follow the prompts to complete the reset.
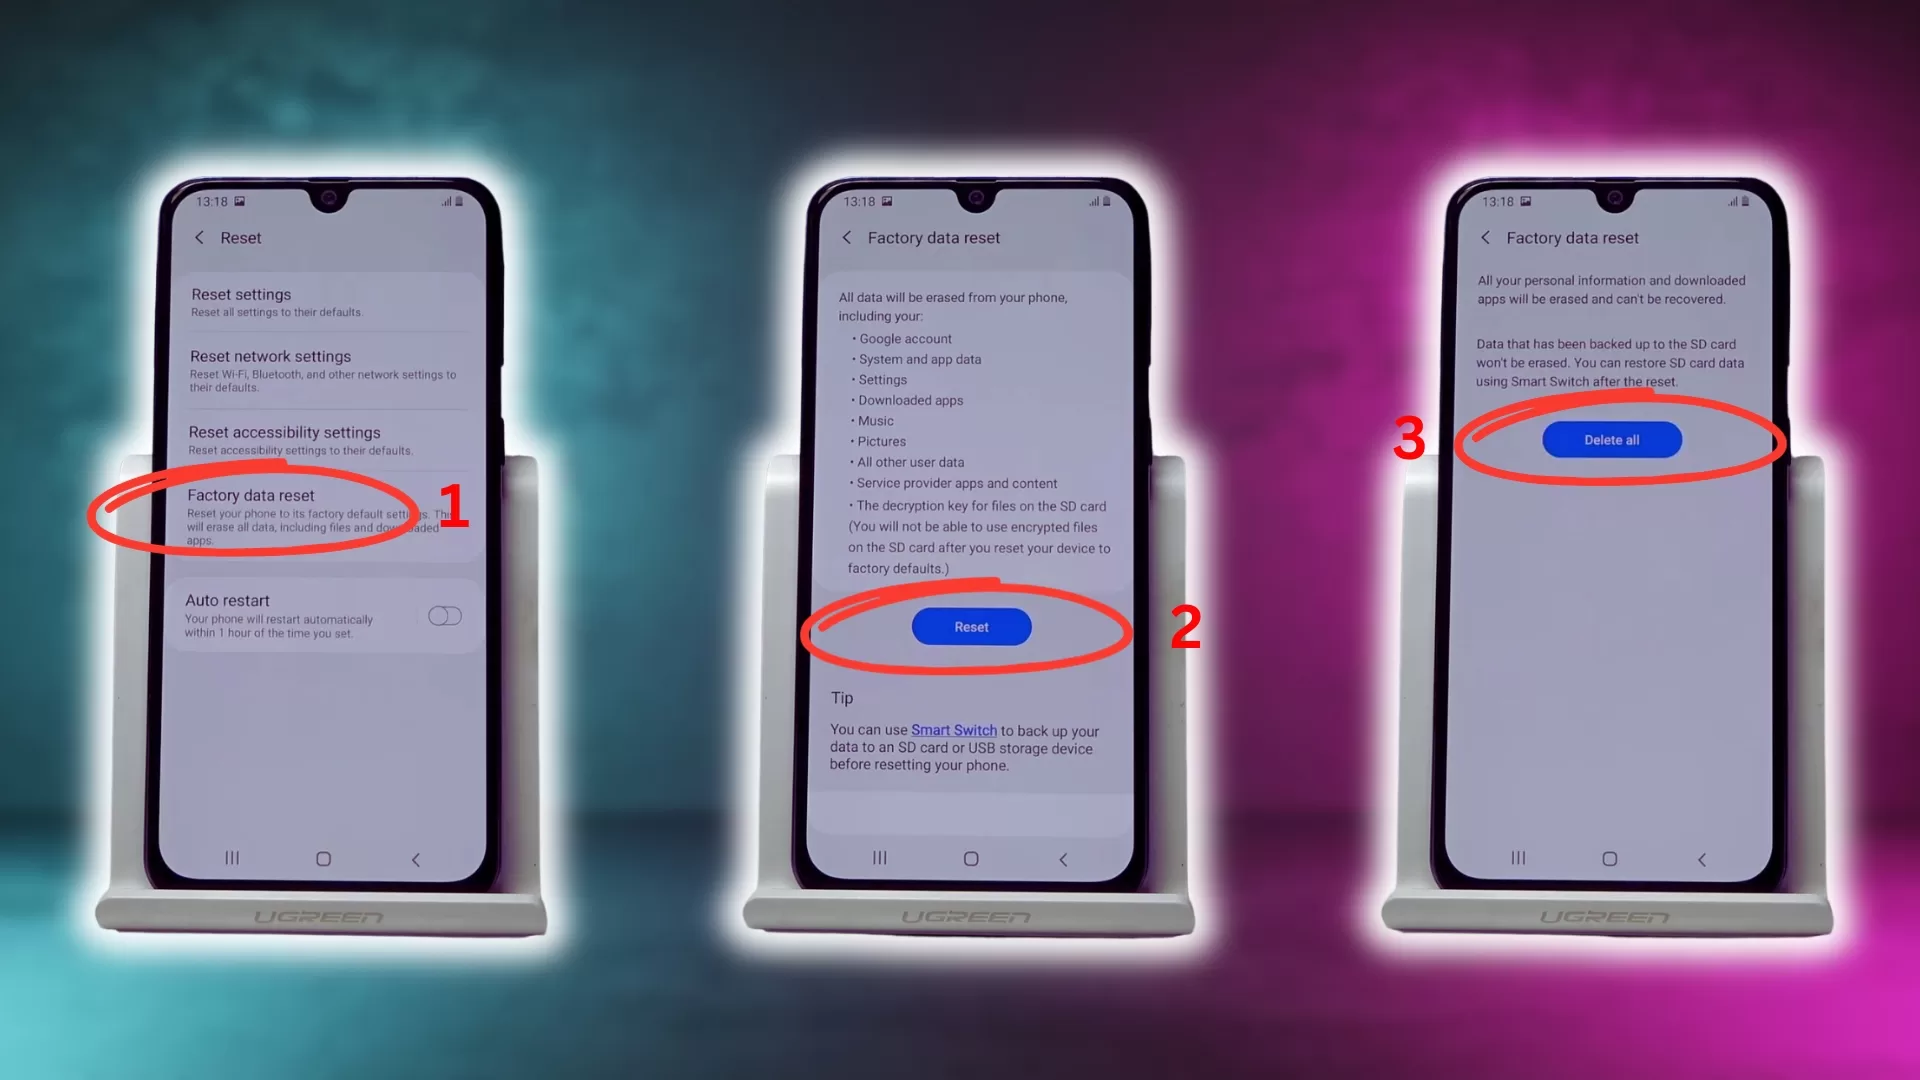
Resetting your A40 to factory settings erases any buggy software causing charging problems. Make sure to back up important data first.
4. Check for Moisture Damage
Exposure to liquids is a common cause of Galaxy A40 charging issues. If your phone has gotten wet recently, look for the following:
- Damage to the charging port – corroded, bent or missing pins
- Moisture droplets or fog under the screen
- Warning message about moisture being detected
- Unresponsiveness in certain areas of the touchscreen
If you see signs of water damage, immediately power off your device and do not try charging it. Take it to a repair shop to have the moisture cleared professionally. Attempting to charge a wet phone can cause further damage.
5. Test in Safe Mode
Booting your Galaxy A40 in safe mode starts it with default settings and only the original apps. This isolates whether any third-party apps are causing problems:
- Press and hold the Power button to turn off your phone.
- Press and hold the Volume Down button, then press and hold the Power button.
- Keep holding both buttons until you see the Samsung logo, then release.
- Your phone will boot up in safe mode. Try connecting the charger now.
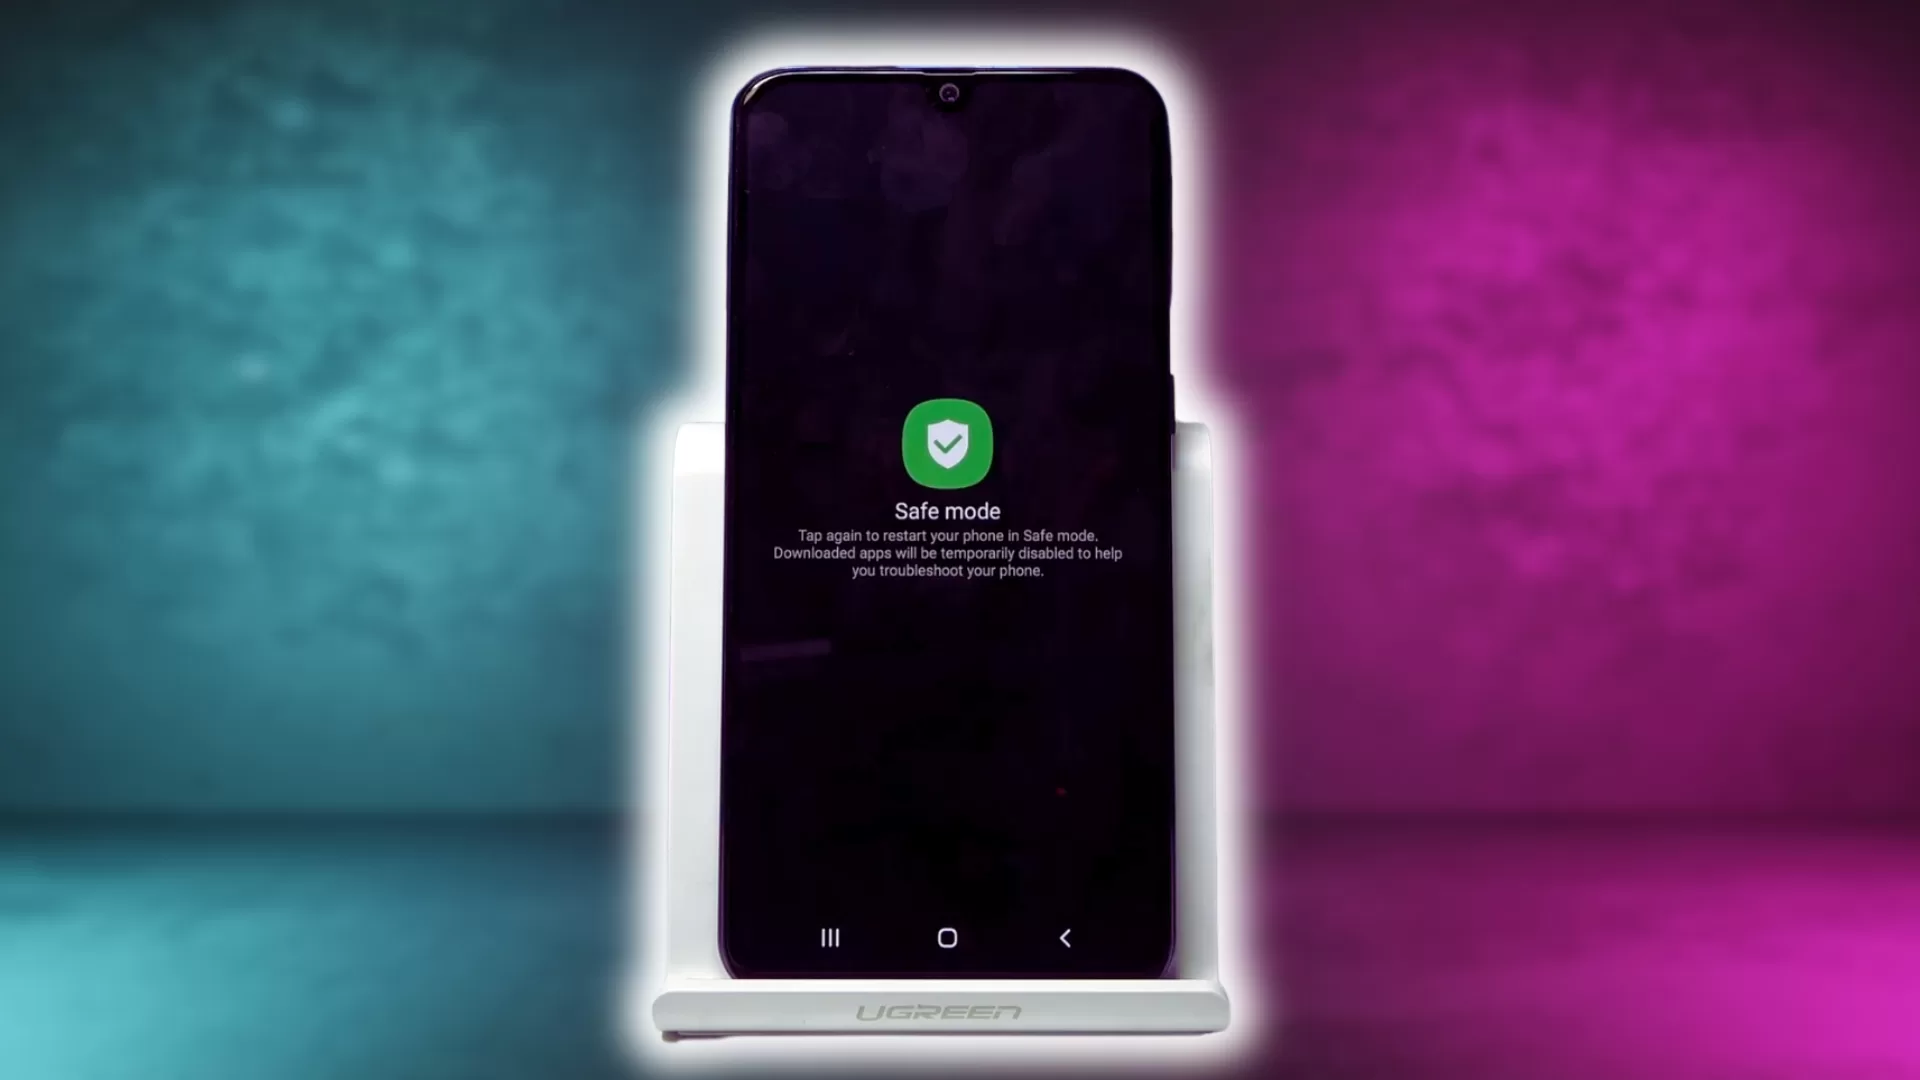
If charging works in safe mode, then a recently downloaded app is likely the issue. You’ll need to figure out which one and uninstall it. If the problem persists, there is likely a hardware fault.
6. Get a Repair Service
If you’ve tried all the steps above and your Galaxy A40 still won’t charge, the issue is likely due to a hardware malfunction that requires professional repair:
- Faulty charging port – The port itself may need to be replaced if cleaning doesn’t fix it.
- Loose or damaged charging assembly – Internal component needs re-soldering.
- Defective battery – If your battery is swollen or won’t hold a charge, it needs replacing.
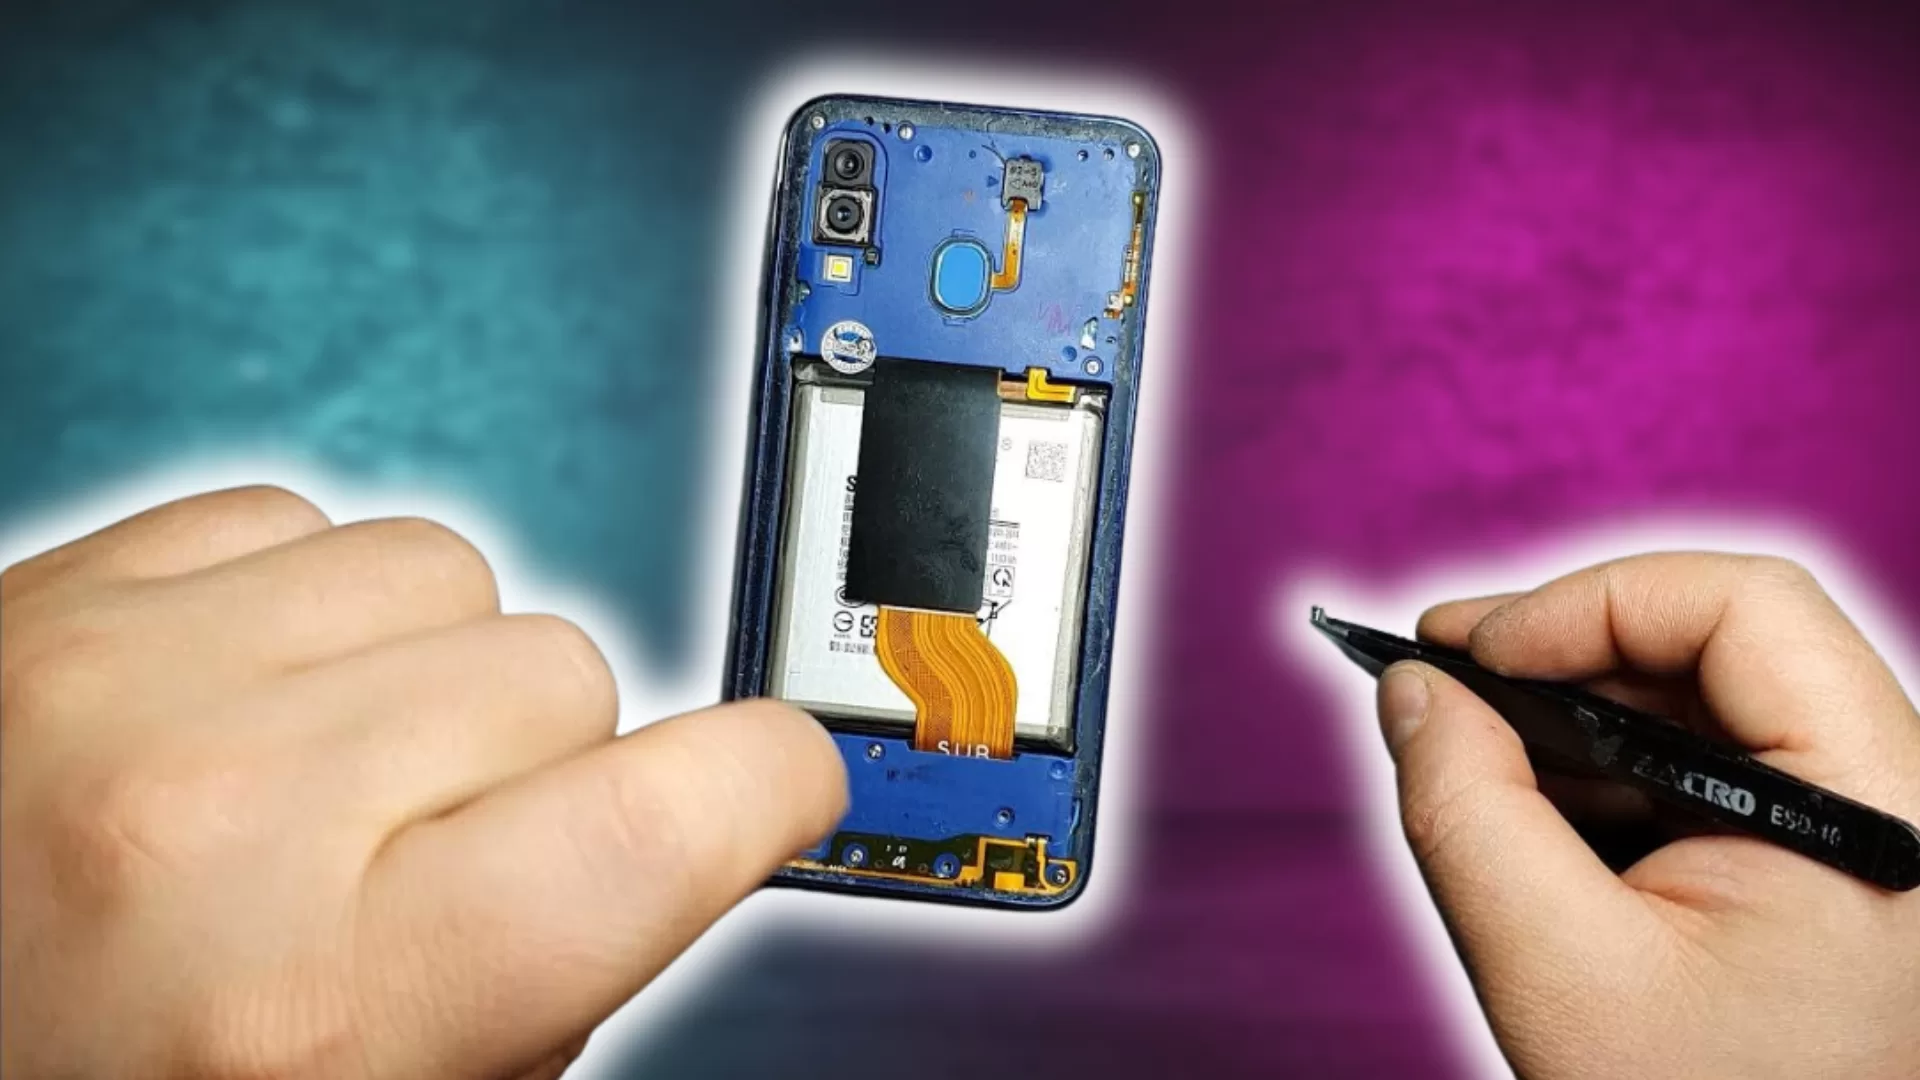
Look for a reputable repair shop that specializes in Galaxy phones. They have the parts, tools and expertise to accurately diagnose the issue and make necessary repairs. This is the best solution when DIY troubleshooting fails.
Alternatively, you can contact the Samsung support team for more troubleshooting steps to dig deeper into the issue.