How To Fix Nest Thermostat Battery Won’t Charge
The Nest thermostat battery won’t charge issue can be caused by several factors. It could be caused by a damaged battery, a software issue, or even a hardware problem. To fix this battery power issue you will need to perform a series of troubleshooting steps.
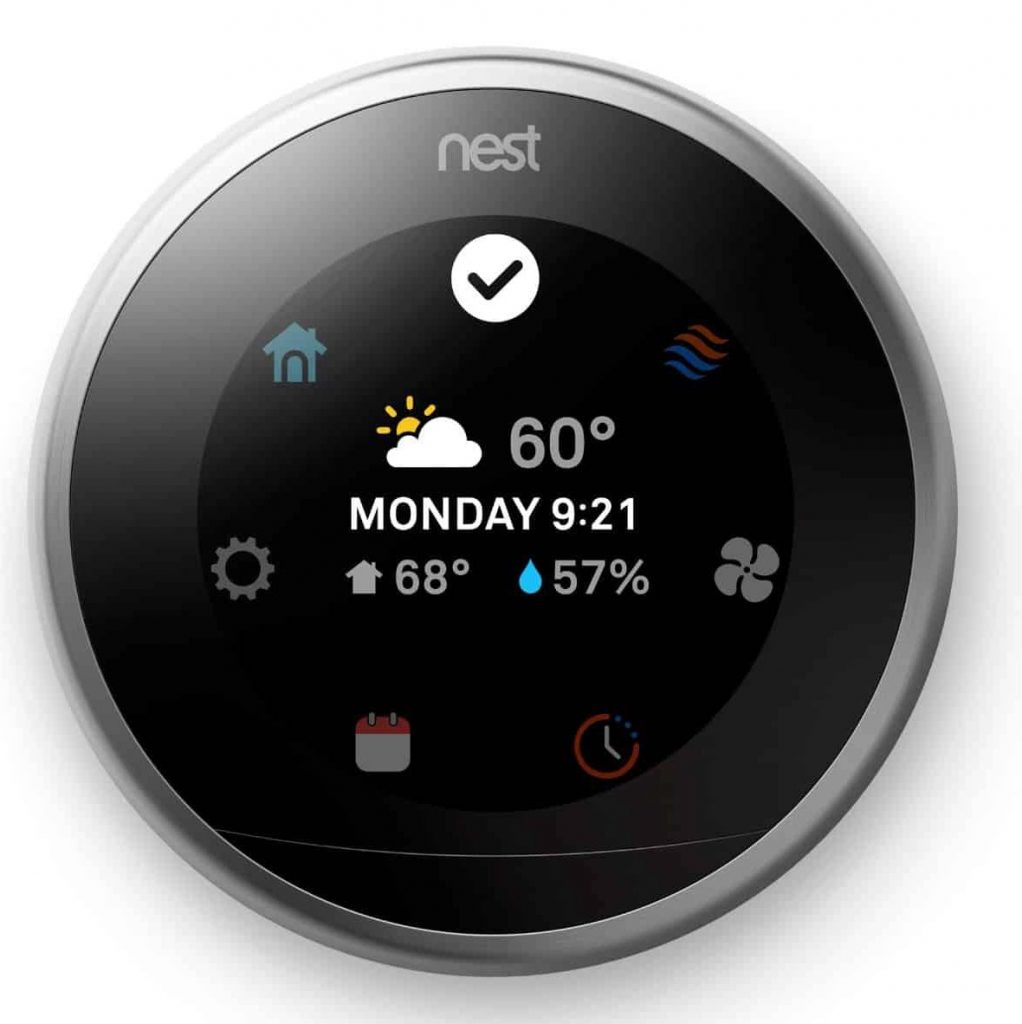
A Nest thermostat is basically a connected thermostat that you can control with a phone app. This device connects to your home’s HVAC system and allows you to control the temperature of the rooms in your home even when you are in a different location. It is also a self-learning Wi-Fi enabled device that can optimize heating and cooling which will translate to energy savings in the long run.
Fixing the Nest Learning Thermostat battery not charging problem
The Nest Thermostat gets its power from your HVAC system via the Rh and/or Rc wire while the common wire ( C Wire) is used to complete the circuit. The purpose of the battery is to provide backup power in case the HVAC system is down or if there is a power outage. This means that even if your HVAC system is not giving power the Wi-Fi, sensors, backlit display, and other features of the Nest thermostat will still work.
One issue that you might encounter with your Nest thermostat is when you keep on getting the low battery warning. This will not happen if its built in battery is being charged.
Some of the reasons why the battery won’t charge are as follows
- RC wire connection issue
- Rh wire connection issue
- C Wire adapter issue
- In built battery problem
- Software issue
Before proceeding with the troubleshooting of this low battery indicator problem let’s first discuss the meaning of some terms being used here.
HVAV system : This stands for heating, ventilation, and air conditioning. HVAC systems provide heating and cooling to residential and commercial buildings.
Rh wire: Refers to red heating and is usually colored red. This is the connection you need in order to power the heating system and uses 24 volts.
Rc wire: Refers to red cooling and is usually colored red. This is the connection you need in order to power the cooling system and uses 24 volts.
C wire: The common wire of your HVAC system which enables the continuous flow of 24 volts power to the thermostat.
Solution 1: Make sure the wires are properly connected
The first thing you will need to do in this case is to make sure that there are no loose connections that will cause this battery charge issue. Be sure to power down your HVAC unit from the breaker box before doing this.
Checking the wires from the Nest thermostat side![]()
Remove the Nest Thermostat from its wall base then check the wire connections. Make sure that the white C wire and red Rh or Rc wires are securely attached.
You can disconnect each wire by pushing down its connector tab and gently pulling out the wire. Straighten the wire end the strip the wire to expose ⅓” to ½” of copper. Seat the wire fully into the right connector.
If the wires are connected firmly then replace the Nest unit back to its wall mount.
To properly replace the Nest thermostat make sure that there aren’t any cables sticking out from the wall that might prevent the display from being fully seated. If there are, press them back into the wall.
Line up the display and base connectors and press the display straight onto the base until you hear it click into place.
Checking the wires from your HVAC system’s control panel
Locate your HVAC system’s control board. This is usually inside your furnace or HVAC equipment, so you’ll probably have to open or remove a panel to check inside.
Make sure not to touch any of the components inside the HVAC system.
Look for connectors that have labels that are the same as your thermostat. You should find wires attached to these connectors that are the same color as the wires that connect to your thermostat. Make sure that these wires are not disconnected or loose.
After checking the wires close the system panel and power on the HVAC system.
Solution 2: Manually charge the Nest thermostat battery
One temporary fix to the Nest thermostat low battery issue is to manually charge the internal battery using a USB cable. Your Nest thermostat will have a built-in USB charging port on the back which is primarily used for manually charging the internal battery.
Remove the Nest thermostat from its wall base.
Use a wall charger ( the one you use for your Android phone should work) and connect it to the mini USB port or micro USB port of the Nest learning thermostat.
Charge the Nest thermostat manually for around 2 -3 hours.
Once the charging is complete replace the Nest learning thermostat to its wall base.
From the menu settings of your Nest thermostat make sure to check if the power is 3.8 volts.
This should temporarily fix the problem.
If you need to repeat this procedure constantly then there’s a possibility that the battery is not getting the right voltage for it to be properly charged. You will need to have the voltage checked.
Solution 3: Use a C Wire adapter to provide constant power to your Nest thermostat
One of the common causes thermostat power issues such as battery draining quickly, battery not charging, or Wi-Fi constantly disconnecting is an unstable power source.
If your HVAC system does not have a C wire or if it does not provide a constant source of power on the C wire then you should consider using a C wire adapter.
Adding a c wire adapter or c wire transformer requires that you run additional wiring on your HVAC system. It might sound difficult but it really is simple. Just make sure to turn off the power of your HVAC unit from the breaker before proceeding.
A C wire transformer or c wire adapter has two output wires. One wire connects to the Rc terminal of the HVAC system and the other wire to C terminal of your thermostat. After connecting the wires plug the transformer or adapter to your AC outlet. The installation is complete now and the Nest thermostat will be powered when you turn on your HVAC system.
Solution 4: Factory reset the Nest thermostat
Sometimes this issue can be caused by a Nest thermostat software glitch which you can fix by performing a factory reset. Take note that all of your settings will be removed when you perform this action.
Go to Settings on your Nest thermostat then select factory reset. you will be asked to confirm your action before the reset will begin. After resetting to defaults, you’ll need to set it up from the Nest interface and add it to your home in the app again just like you did when you first installed it.
You can also consider restarting your Nest Thermostat. This will not erase any of your settings as it will just refresh the operating system of the device.
To manually restart the Nest thermostat press your thermostat ring and hold it down until the screen turns off then let go of the ring. Press and release the ring to turn it back on and complete the restart process. The Nest logo will appear when it begins to start up. The screen will turn on as it finishes.
Solution 5: Have the Nest thermostat replaced if it is under warranty
If your Nest thermostat is malfunctioning then you can have this replaced if it is still under warranty. A Nest thermostat having battery problems is covered by the warranty policy.
The warranty period for a brand new Nest thermostat is usually one year from the date of purchase.
The Warranty Period is extended for an additional two years if the Product is a Nest Thermostat E) or three years if the product is a Nest Learning Thermostat sold to you and installed by a Nest Pro who, enters a valid Nest Pro ID during setup.
Other reasons why your Nest thermostat battery is not charging
If your Nest thermostat doe not turn on doe to battery issues then here are the additional troubleshooting steps that you can perform.
Check that your HVAC system is receiving power
Try turning the breaker switch of the HVAC off then on. If you have a fuse box then make sure that the fuse controlling the system is not blown. If it is then you will need to replace this.
If your thermostat has blinking red light then the battery is charging and it will eventually turn on.
Check your system compatibility
Connecting a Nest thermostat to an incompatible system will deliver the power needed to charge your thermostat’s battery. It’s best to have a professional check your system.
Nest thermostat might be damaged
Your Nest thermostat can be damaged by a power surge from your system, connecting it to an incompatible system, or by touching exposed wires together if power to the system hasn’t been turned off during installation.
If you have an old thermostat available then try connecting this to your system. If it works then the problem is most likely caused by a damaged Nest thermostat.
Final thoughts
Having a Nest thermostat E and Nest learning thermostat battery problem is an uncommon occurrence.
Nest Thermostat E and Nest Learning Thermostat battery is not user replaceable
The internal battery of the thermostat is rechargeable and is not user replaceable. It is designed to constantly charge and discharge as needed. The battery life should work throughout the life of the thermostat.
When no power reaches the internal battery and the HVAC is off then the battery life should last at least one to two hours.
Nest Thermostat battery can be easily replaced
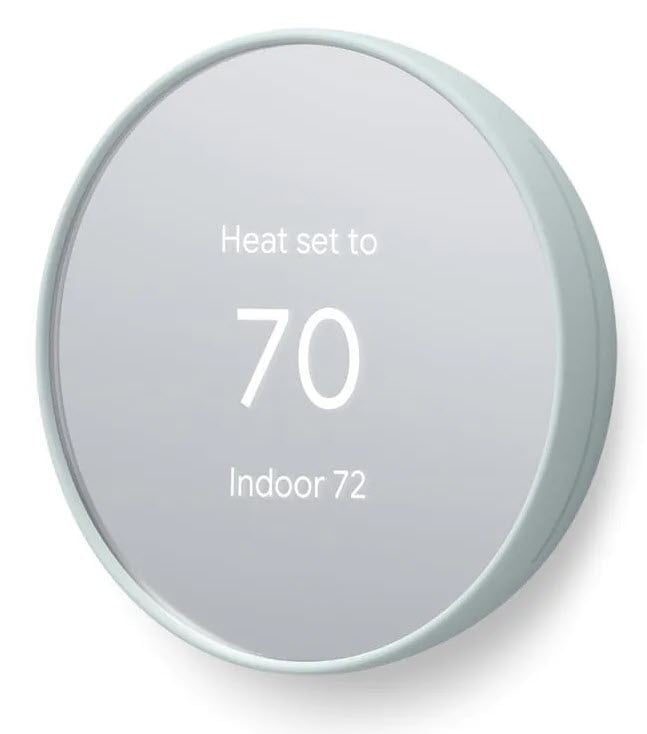
The Nest thermostat model on the other hand uses 2 standard 1.5 V AAA alkaline batteries that you’ll need to replace when they get low.
You will get notification on the thermostat and in the Home app when the battery level is low.
To replace the Nest thermostat battery:
Pull the thermostat display off the base.
Remove the old batteries from the back of the thermostat display.
Insert the 2 new AAA alkaline batteries.
Push the thermostat display back onto the base until it clicks into place.
I have recharged my battery with the cable for a few hours, updated software, reset to factory settings, and removed and reinstalled my app. If the battery is still low, the nest is connected to wifi and does everything EXCEPT connect to my app, then would this signify it is a battery issue and I don’t have to go through checking the wires on the nest and the heater as described above? (Scared of that!)
If it is the battery, do I need to buy and install a new nest if not under warranty?
Thanks!