How To Fix JBL Clip 3 Will Not Charge Problem
The JBL Clip 3 will not charge issue can be caused by several factors. It could be due to the speaker settings, defective charging port, defective charging cable, or a non-working charger. To fix this you will need to perform a series of troubleshooting steps on your speaker.
The JBL Clip 3 is one of the best portable Bluetooth speakers that you can easily carry around with you. It has a built-in carabiner that allows it to be easily attached to your back when you are out hiking. Some of its features include an IPX7 waterproof design, speakerphone function, and a 10 hour battery life on a single full charge just to name a few.
Technical specifications of JBL Clip 3:
- Bluetooth version: 4.1
- Support: A2DP V1.2, AVRCP V1.5, HFP V1.5, HSP V1.2
- Transducer: 1 x 40mm
- Output power: 3.3W RMS
- Frequency response: 120Hz – 20kHz (-6dB)
- Signal-to-noise ratio: >80dB
- Battery type: Lithium-ion polymer (3.7V/1000mAh)
- Battery charge time: 3 hour @ 5V, 0.6A
- Music playing time: up to 10 hours (varies by volume level and audio content)
- Bluetooth transmitter power: 0 – 9dBm
- Bluetooth transmitter frequency range: 2.402 – 2.480GHz
- Bluetooth transmitter modulation: GFSK, π/4 DQPSK, 8DPSK
- Dimensions: 137 x 97 x 46 (mm)
- Weight: 220g
What to do when your JBL Clip 3 battery doesn’t charge
One problem that you might encounter with your Clip 3 Bluetooth speaker is when it doesn’t charge . This can be an annoying issue especially if the speaker is running low on power as you won’t be able to use it. Here are the troubleshooting steps you need to do to fix the problem.
Method 1: Perform a factory reset on JBL Clip 3
The first troubleshooting step you will need to do to fix the problem is a factory reset or hard reset. This procedure removes any data stored in the Bluetooth speaker and brings it back to its default settings. This is a useful troubleshooting step to do when you are experiencing problems with the device.
Time needed: 2 minutes.
Reset the speaker
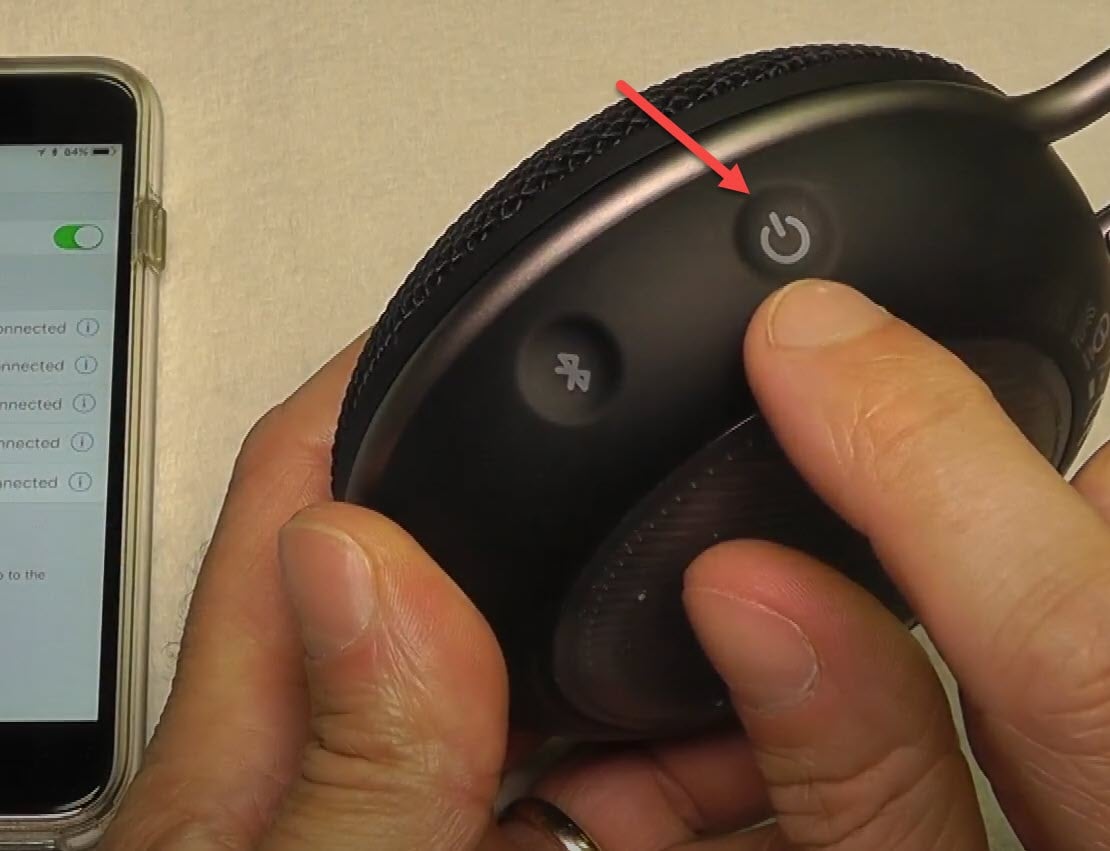
- Turn on the device.
You can do this by pressing on the power button.

- Press and hold the Volume up button and Play button.
Do this for around 10 seconds to reset the device.

- Turn on the device.
You can do this by pressing on the power button. The device should now be in pairing mode.


Try to check if the issue has been resolved.
Method 2: Dirt present in the charging port
When you bring this speaker outdoors there’s a possibility that dirt or debris will get into its charging port. If the port gets clogged with dirt then this will interfere with the charging process. Try to inspect the charging port of the Bluetooth speaker and if you find any dirt or debris then you can clean this off using a toothpick or you can try blowing into it until it gets removed. Once done, check if you can charge the Bluetooth speaker.
Method 3: Replace the charger to fix Clip 3 will not charge issue
If you are using a defective charger then chances are the battery of the speaker will not get charged. Some of the reasons why a charger won’t work is if its cord is damaged or if the adapter itself has a faulty circuit. Try using a different charging cord and wall charger to charge the speaker.
Method 4: Defective battery
One factor that can cause this problem is a damaged battery. If this is the cause of the problem then replacing the battery will fix this. It’s recommended that you have this done at a service center.
Some reasons as to why a battery will get damaged is repeated overcharging or constant exposure to heat such as when you leave the speaker under the sun.
Method 5: Defective circuit board
If this speaker gets wet and water gets inside it then it will cause damage to its internal components. If this is what’s causing the problem then you will need to have this fixed at a service center.
Having charging issues on your Bluetooth speaker can be a frustrating experience. Hopefully, this solution will help you fix the problem.
Visit our TheDroidGuy Youtube Channel for more troubleshooting videos.