How To Fix A Samsung Galaxy A51 That’s Not Charging
In this post, we will show you how to fix your Samsung Galaxy A51 that’s not charging and understand the reason why such an issue occurs. There are quite a few things you can check to make sure it’s not due to a physical or hardware issue. Continue reading to learn more.
Charging issues are not that common, however, you may encounter them from time to time. If your phone won’t charge for some reason, you should immediately do a physical inspection to know if there are signs of physical or liquid damage.
If it’s due to a physical damage, then it’s possible that its circuit board is messed up and you need to have a technician check the device for you. However, if the problem started after getting wet, then it’s probably due to a wet charging port, or worse, the liquid may have found its way into your phone and fried the circuits.
But assuming that your Galaxy A51 just stopped charging for no apparent reason or cause, then there might be something you can do to fix it. Here’s what you have to do about it:
Check the power adapter
When it comes to troubleshooting a smartphone that won’t charge is concerned, the first thing you have to look into is the power adapter or the charger itself. You have to make sure that it’s working properly.

Check to see if its prongs aren’t bent, broken or corroded. If they need cleaning, then do so using alcohol because it dries up quickly.
Aside from that, make sure it’s not burnt. Move it closer to your nose because if some components are burnt inside, then you can definitely smell it.
Lastly, check the port itself to see if there is some kind of lint, debris or dirt in it. You should clean it if necessary.
After doing all these things, plug the charger to a working wall outlet and try charging your Galaxy A51 to see if it works now.
You may also use a different charger should the problem continue.
Check the charging cable
Another thing you have to check if your phone is still not charging even after making sure the power adapter is doing fine is the cable. You have to check the connectors on both ends to make sure they’re not messed up or corroded.
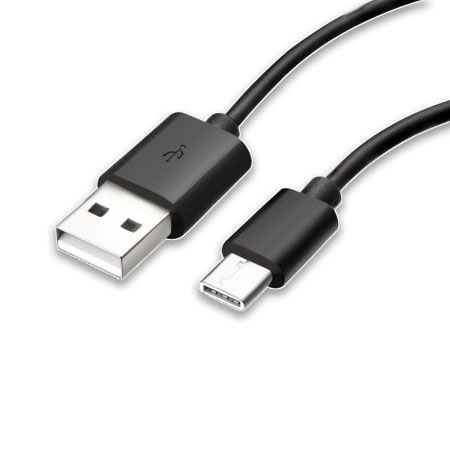
It’s actually easier to clean the cable using a small piece of clean cloth dipped in alcohol. Or you can use an old toothbrush to remove dirt. Just make sure to brush them off gently so as not to damage the connectors.
Check your phone’s charging port
After making sure that both the charging cable and the charger are fine, the next thing you have to look into is the charging port of your phone itself. You also have to make sure there are no foreign materials in it as they could obstruct the electric current.
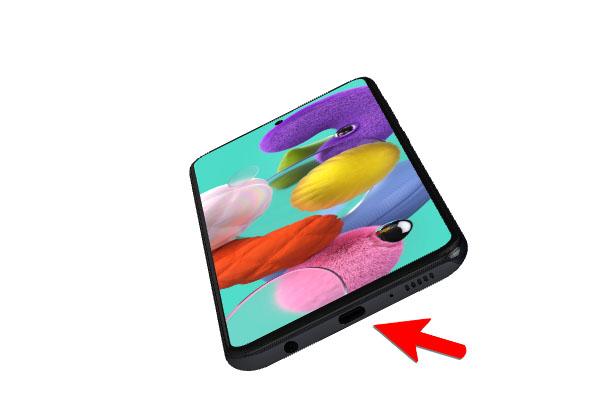
For debris and lint, you can fish them out using a pair of tweezers. For dirt, use a cotton bud dipped in alcohol to clean it out.
However, if for some reason you found a bent connector or two in the charging port, then you should have a technician check it up for you. You may attempt to straighten it out but there’s a possibility that it will break.
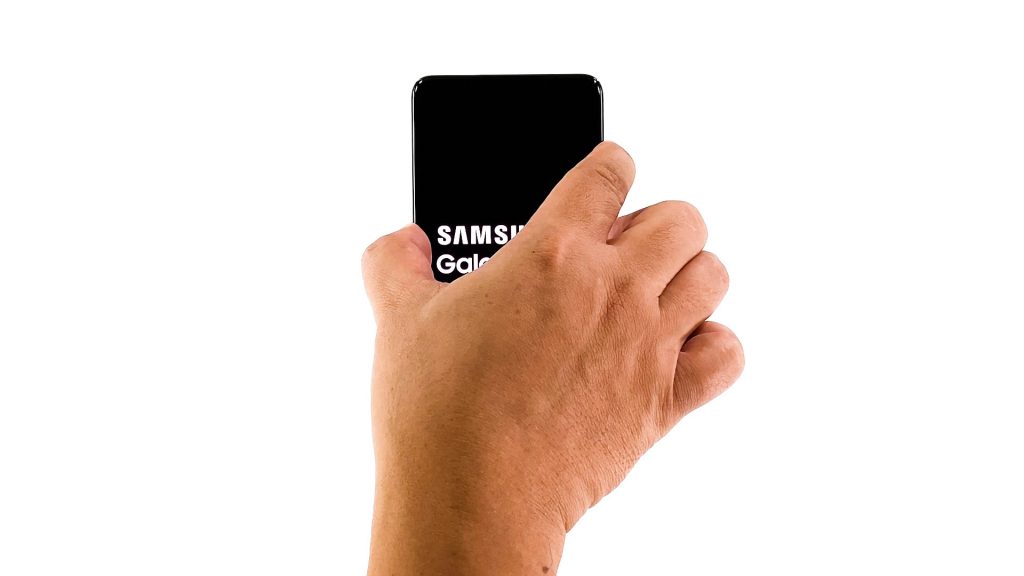
Force restart your phone
There is a possibility that such a problem is caused by a minor firmware-related issue. In fact, your phone’s overall all performance and responsiveness can be affected by an app that keeps crashing.
So after doing the previous procedures and your Galaxy A51 is still not charging, what you have to do next is to perform the Forced restart. It’s a simulated battery removal that will refresh your device’s memory and reload all apps and services.
- To do so, press and hold the Volume Down button and the Power key simultaneously for 8 seconds. This will trigger your phone to reboot.
- When the logo shows, release both keys and allow the phone to continue the boot process.
Once your phone has finished rebooting, try charging it to see if it works now.
If your Samsung Galaxy A51 is still not charging even after doing these procedures, then it’s time to bring it to the tech and have it fixed. The problem can be with the logic board or other components inside.
We hope that this troubleshooting guide can help you in any way.
Please support us by subscribing to our YouTube channel. Thanks for reading!
RELEVANT POSTS:
The reboot worked Thank You!!!!!!
Thank you!