How To Fix Galaxy Buds 2 Pro Pausing Randomly
Do you own a Galaxy Buds 2 Pro? Are you encountering issues, such as pausing randomly? If so, this article is for you .
Wired headphones are no longer in style. Wireless or Bluetooth earbuds are extremely popular now. Most of us choose wireless earphones since they allow users to move about freely without worrying about cables of any kind. Very convenient, I must say.
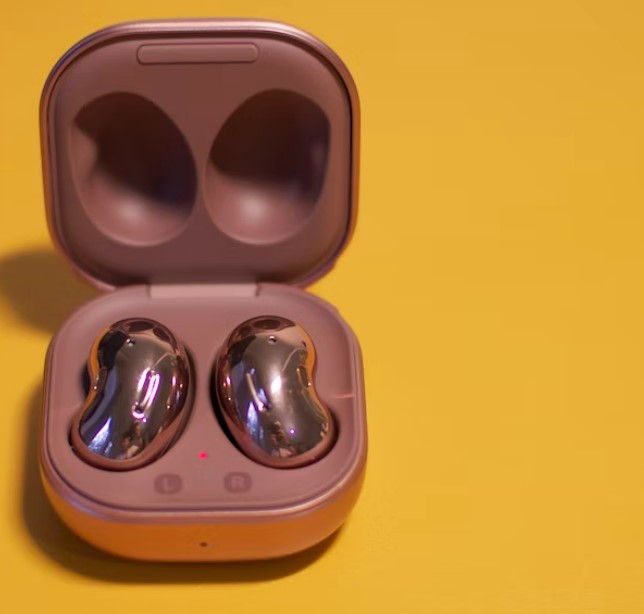
The Samsung Galaxy Earbuds are among the most well-known wireless headphones. Samsung’s Galaxy Buds line of wireless earphones has become quite popular in the market as a result of their high-end design, excellent audio output, and long-lasting batteries. This is a perfect earbuds especially for android users.
Now, if you own a Samsung Galaxy Buds 2 Pro, there are some instances that your Samsung earbuds will pause randomly, and that can really be frustrating.
Samsung Galaxy Buds 2 pro that pauses randomly affect both new and long-time users of these products. This post will guide you through a number of troubleshooting suggestions for Samsung Galaxy Buds 2 Pro. If you are interested to learn how to fix this problem, then scroll down and continue reading.
Galaxy Buds 2 Pro Pausing Randomly
You can fix this issue with a few easy actions if your Galaxy Earbuds keep pausing.
They might be pausing due to bugs, out-of-date software, the automatic pause feature, low battery, or the fact that your phone is linked to several devices when in sleep mode.
Reset Your Galaxy Buds
The issue is typically caused by errors and glitches in the software. You must thus reset your Galaxy Buds in order to get rid of them. Resetting your Galaxy Buds will fix bugs and improve the functionality of your device.
Here’s How It’s Done:
- Make sure that you have the Galaxy wearable app installed.
- Then, launch the Galaxy wearable app.
- Next, find and tap General.
- And then tap reset and confirm.
If the problem persists, you should hard reset your Galaxy buds.
Here’s How It’s Done:
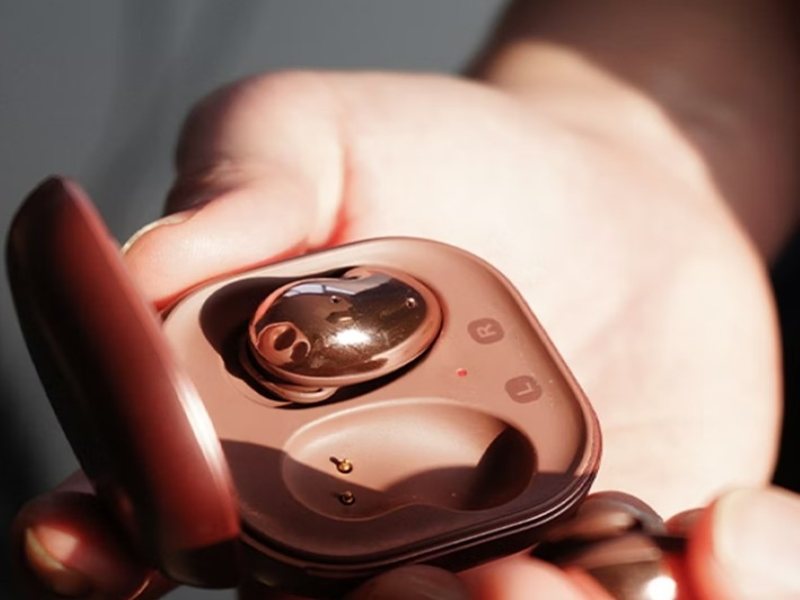
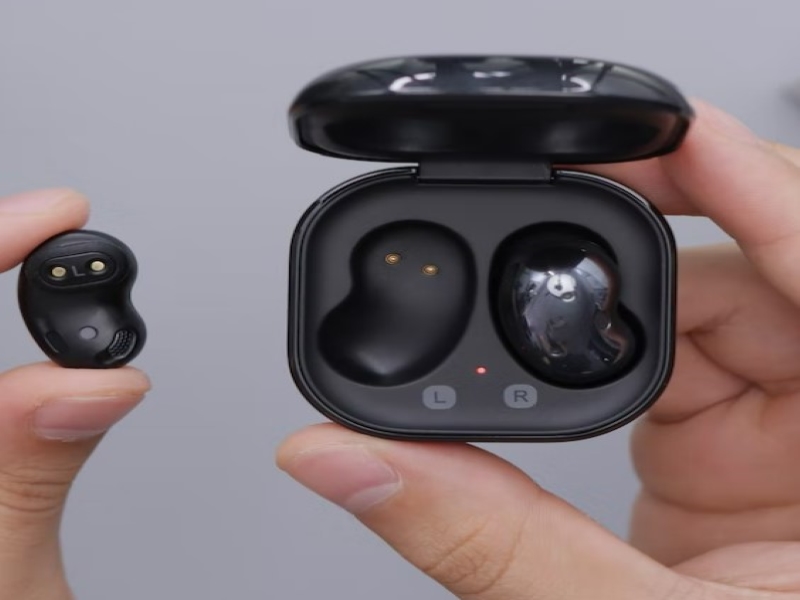
- Take out the two buds from the charging case.
- Tap and hold the sensors on each buds for 10 seconds.
- Next, put the buds back into the case. Wait for 30 to 60 seconds.
Check If There’s A New Update
Another potential factor is out-of-date firmware. Because the most recent firmware eliminates minor bugs and maintains the bud’s performance. You should thus make sure that the firmware is up to date on your Galaxy Buds 2 Pro. you have the option to check the Galaxy Wearable app on your android phone or tablet, or via PC.
Here’s How It’s Done:
- Make sure that you have installed the Galaxy wearable app.
- The app will let you know when a new update is ready.
- Launch the app and tap the notification tab. If the update is available, download it and finish it by following the on-screen instructions.
You also have the option to manually update the firmware. Follow the below steps.
- You need to fully charge the earbuds and charging case.
- Then, put the earbuds in the case and leave the lid open.
- Now, select the buds settings, and then the software update, then tap on download and install.
Auto Pause Feature
The audio will automatically pause when you pull the Galaxy Buds out of your ears and resume when you put them back in. This is due to the in-ear recognition feature of the Samsung Galaxy Buds.
When you run with earbuds in, they get slippery from perspiration, there are some instances that they may be push out from your ears, which causes them to assume you’re removing them out of your ear, and they pause the music.
The solution is to insert them inside your ears. But doing this again and over again can be very annoying. Clean your ears, apply foam ear tips, and use earwings to hold earbuds in your ears in order to permanently solve the issue.
Disable Other Devices
Sound problems can be caused by your Galaxy Buds or phone connection with numerous devices. Perhaps there is interference from your phone’s various linked gadgets. This can be one of the reasons why your Galaxy buds 2 pro pauses randomly.
So, you need to disconnect your phone from all other gadgets. Moreover, if your Galaxy Buds are linked to several devices, the sound may begin to pause.
Make sure your earbuds are linked to one device only.
Check The Earbuds’ Battery Life
Galaxy Buds are battery-powered, wireless earbuds. They pause, cut out, or switch off when their battery is low. Perhaps the battery in your earbuds is running low because they keep pausing.
Thus, you should completely charge them as this may solve the problem. Galaxy Buds often require an hour to charge up after a dead battery.
The Galaxy Wearable app allows you to view the battery level.
As an alternative, you can put the Galaxy Buds in the case to verify the battery level.
Bluetooth Connection Range
The Bluetooth range of the wireless Galaxy Buds is 30 feet. If there is a greater distance between your device and your Galaxy Buds 2 Pro, the sound will pause or stop. So, always keep your earbuds close to your device.
Moreover, if you are in a populated place or using earbuds close to wifi or microwaves, their music may pause. They interfere with buds’ transmissions because they share the same frequency signals. So, to avoid problems, use your Galaxy Buds away from these equipment.
Sleep Mode
The reason the earbuds keep pausing could be that your Galaxy Buds are functioning fine but your smartphone is in sleep mode.
Perhaps the sleeping apps section has the app you are using to play music.
Apps that are designated as sleeping won’t function when the phone is in sleep mode.
So, uninstall music apps from sleeping apps to resolve the music pause issue.
Here’s How It’s Done:
- On your mobile phone, tap settings.
- Next, access the device are and battery.
- Select More, and access Settings.
- Now, remove music apps from the list.
Contact Samsung Support
A service call is necessary if the issue continues. Call the Samsung support at 1-800-SAMSUNG to make a service request.
That’s it. I hope this simple troubleshooting guide has been able to help you one way or the other. Thanks for reading this post.