Fixing JBL Link 20 Not Charging Problem
The JBL Link 20 not charging issue can be due to different factors. It could be caused by a corrupted speaker software, a defective charging port, defective charging cable, or a defective charger. To fix this you will need to perform a series of troubleshooting steps on the device.
The JBL Link 20 Bluetooth speaker is the perfect companion to have in any room as it comes with a built-in Google Assistant. You can ask it any question even from across the room and this smart speaker is ready to help. Some of its features include a built-in Chromecast, high quality 24 bit/ 96 kHz audio, as well as Bluetooth and Wi-Fi support just to name a few.
Technical specifications of JBL Link 20:
- Output power: 2 x 10W
- Frequency response: 65Hz–20kHz
- Signal-to-noise ratio: >80dB
- Battery type: Lithium-ion Polymer (3.7V, 6000mAh)
- Battery charge time: 4.5 hours @5V 2.3A
- Music play time: up to 10 hours (varies by volume level and content)
- Wireless network: 802.11b/g/n/ac (2.4/5GHz)
- Bluetooth version: 4.2
- Supported audio formats: HE-AAC, LC-AAC, MP3, Vorbis, WAV (LPCM), FLAC, Opus
- Dimensions (Dia x H): 93mm x 210mm
- Weight: 950g
What to do when your JBL Link 20 won’t charge
One problem that you might encounter with your Link 20 Bluetooth speaker is when it doesn’t appear to be charging. This can be an annoying issue especially if the speaker is running low on power as you won’t be able to use it. Here are the troubleshooting steps you need to do to fix this.
Method 1: Perform a factory reset on JBL Link 20
The first troubleshooting step you should try is a factory reset or hard reset. This procedure removes any data on the Bluetooth speaker and brings it back to its default settings. This is a useful troubleshooting step to do when you are experiencing problems with the device.
Time needed: 2 minutes.
Reset the speaker
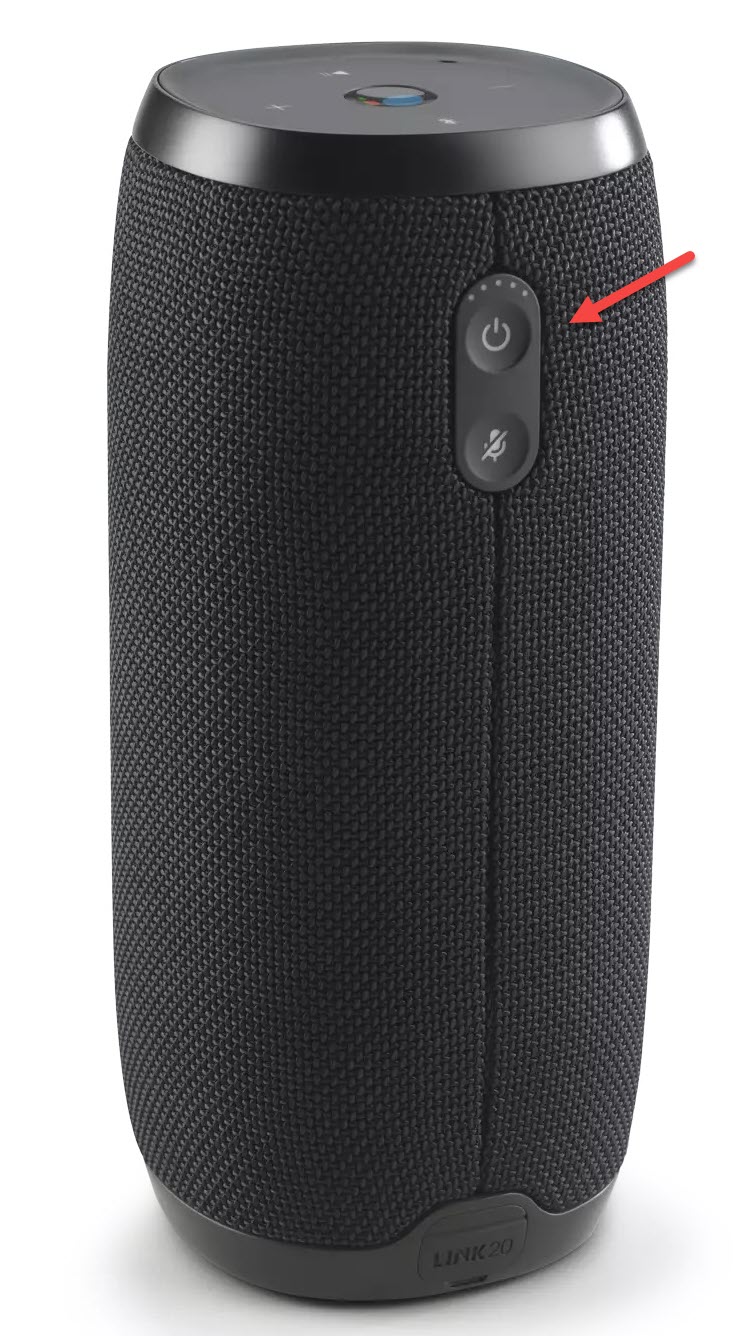
- Turn on the speaker.
You can do this by pressing on the power button.

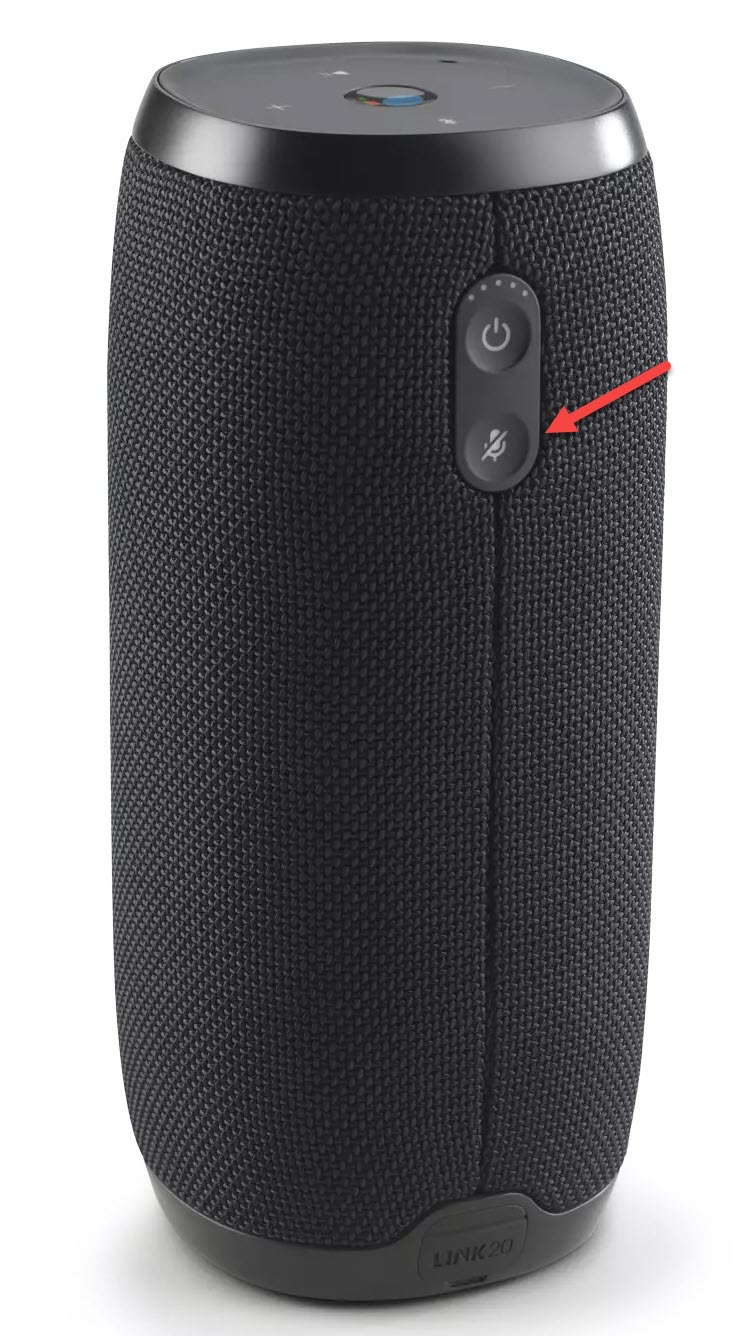
- Press and hold the Mute button.
Do this for around 15 seconds to reset the device.
- Turn on the speaker.
You can do this by pressing on the power button. The device should now be in pairing mode.

After performing these steps try to check if it will charge.
Method 2: Dirt present in the charging port of JBL Link 20
If you use this speaker outdoors and the rubber cover of the charging port is left open then there’s a possibility that dirt or debris will get stuck in this port. When this happens you won’t be able to charge the speaker. Try to inspect the charging port of the Bluetooth speaker, if you find any dirt or debris then you can clean this off using a toothpick or you can try blowing into it until it gets removed. Once done, check if you can charge the Bluetooth speaker.
Method 3: Replace the charger to fix not charging issue
There’s a possibility that the problem is caused by a defective charger or USB charging cord. Try using a different charging cord and wall charger to charge the speaker. If you have an Android phone with a micro USB charging port then you can try using its charger to charge the speaker.
Method 4: Defective battery
A faulty battery can prevent the speaker from being charged. Some reasons as to why a battery will get damaged is repeated overcharging or constant exposure to heat such as when you leave the speaker under the sun. If this is what’s causing the problem then replacing the battery will fix this. It’s recommended that you have this done at a service center.
Method 5: Defective circuit board
If water gets inside the speaker then it will damage its internal circuit. There’s also the possibility that the charging port of the speaker is damaged. If this is what’s causing the problem then you will need to have this fixed at a service center.
Having charging issues on your Bluetooth speaker can be a frustrating experience. Hopefully, this solution will help you fix the problem.
Visit our TheDroidGuy Youtube Channel for more troubleshooting videos.