How to Disable Windows Automatic Updates on Windows 10 Permanently
When an update is available on a Windows 10 PC, it will automatically download and install the new and latest update. Although updating is recommended to improve your PC’s performance and enhances security features, auto updates can sometimes interfere with what you are currently working on and even so can take much of your time especially if the update is huge and update process is taking too long to complete.
If you want to disable windows Automatic updates on Windows 10 permanently, we’ve got you covered. For today’s post, here are two easy and simple methods that you can do to permanently disable automatic updates on your Windows 10 PC.
Disable Windows Automatic Updates on Windows 10 Permanently

First Method:
- Right click on the start icon located at the lower left.
- Click Run to open RUN dialog box.
- At RUN dialog box, type “services.msc” and press enter or click on OK to open services window.
- On services window, scroll down on the list of applications and locate Windows Update
- Right click on Windows Update and click Properties from the drop down menu.
- At Properties section, click Start up type and select Disabled from the drop down menu.
- Click Apply to apply changes made.
- Click OK to exit Windows Properties Window.
Second Method: This method is a bit lengthy, make sure to go through each step accordingly.
- Press Windows key + R on your keyboard to open RUN dialog box.
- At RUN dialog box, type regedit and press Enter or click OK to open Registry Editor window. If prompt message appears, click on Yes to allow app to make changes.
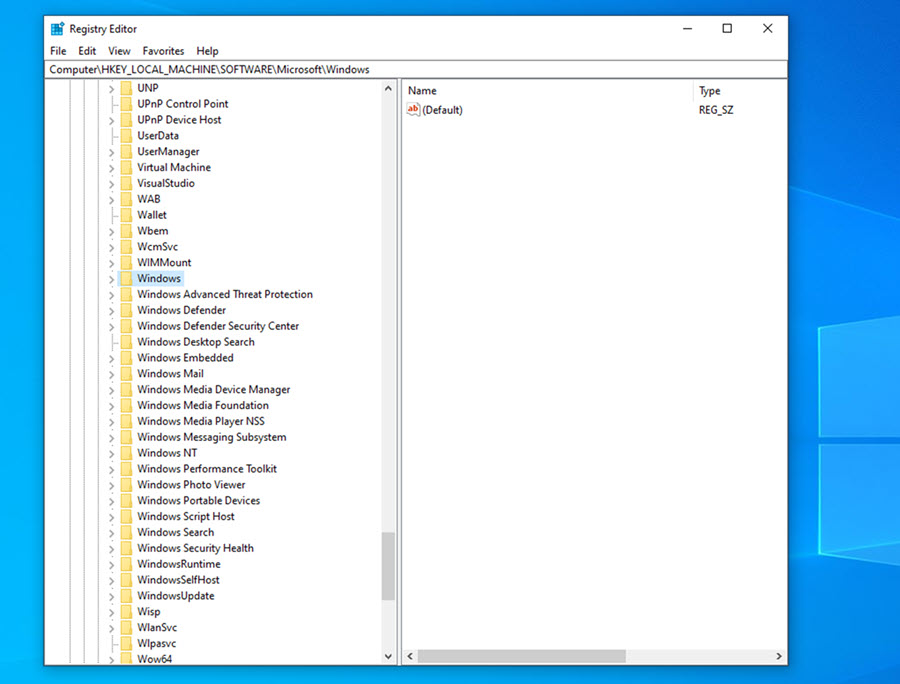
- In the Registry Editor window, navigate to the following path: HKEY_LOCAL_MACHINE\SOFTWARE\Policies\Microsoft\Windows
- Right click on Windows folder and then click New
- Click Key tab then rename New key folder to AU and then press Enter.
- Right click on AU folder and then click New tab.
- Click DWORD (32-bit) Value from the drop down menu.
- Rename value to NoAutoUpdate folder and press Enter.
- Double click on the new value and set value data to 1. This will permanently disable automatic updates.
- Click OK to apply changes made.
- Exit Registry Editor.
Conclusion:
The two methods to disable automatic updates on your Windows 10 PC mentioned involves making changes on the services section and on Registry Editor. Both methods are pretty straightforward and easy to follow.
Once automatic updates are disabled, updates on your Windows 10 PC can be manually done at this time.