How To Take A Screenshot on Galaxy S22
Taking a screenshot on a Samsung Galaxy S22 is actually pretty easy just like with the previous models. You will have a few options to choose from on what procedure to use.
There are a couple of procedures that are actually pretty easy but there are also a few that require you to enable some advanced features so that you can just capture the screen.
We are going to show you what those procedures are so continue reading as we may be able to help.
If you have a newer model, be sure to check out how to screenshot on a Galaxy S23 model.
Taking screenshots using physical buttons
The first and probably the easiest way to take a screenshot on your Galaxy S22 is to use the physical buttons. You can immediately use it out of the box and you don’t need to set up some features just to use it.
Here’s how to take a screenshot using the physical buttons:
Step 1: Go to the screen you want to take a screenshot of.
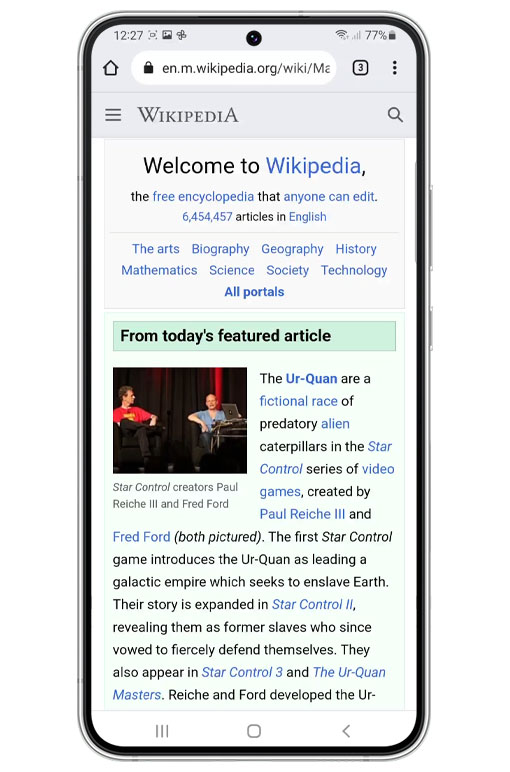
Step 2: Quickly press the Volume Down button and the Power key.
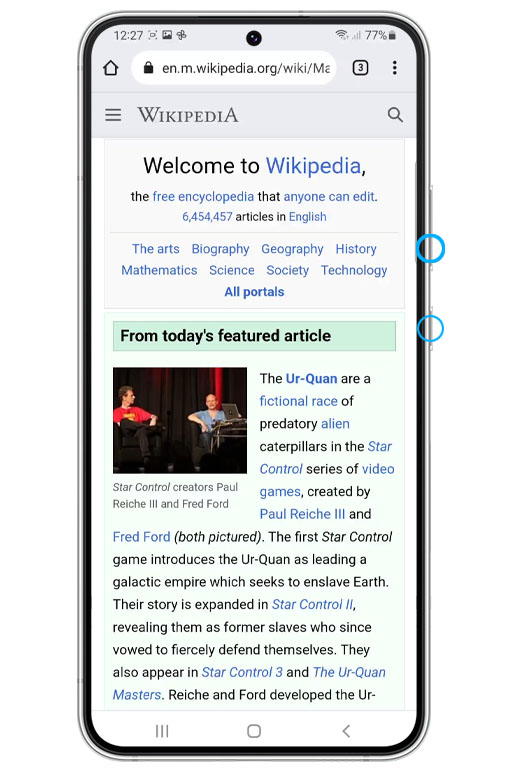
Doing so will immediately capture the screen you’re currently on. The screen will flash as a sign that it was successful and the screenshot toolbar will appear at the bottom of the screen.
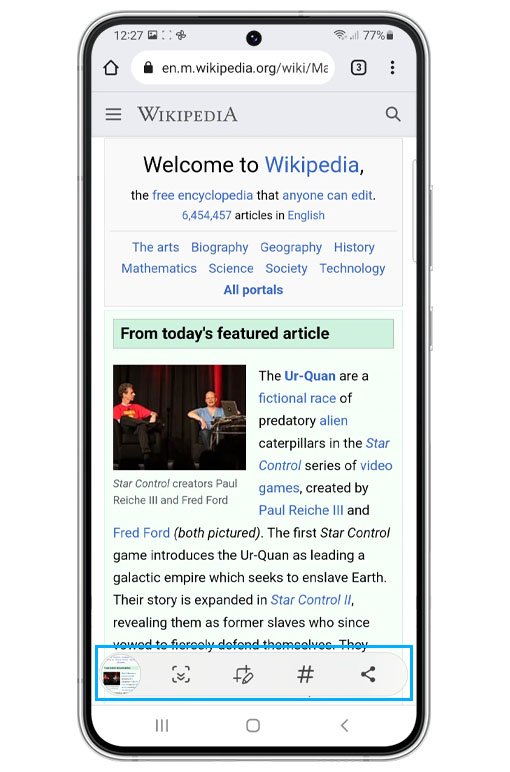
You may tap the image in the toolbar to view your screenshot. However, if you don’t interact with it, it will just disappear after a few seconds.
Where to find the screenshots?
You can easily find your screenshots if you use the Gallery app as a new section labelled “Screenshots” will automatically be created after taking your first screenshot.
From there you can open and view your screenshots and you’ll have the option to edit, share or delete them.
Aside from the Gallery app, you can also use Google’s Photos apps. However, unlike Gallery, the screenshots will not be properly segregated. Instead, they will be arranged according to date together with other photos and videos.
You can also find your screenshots by using the file browser on your phone, which is called “My Files.”
Step 1: Just tap on the Samsung folder and then tap My Files to open it.
Step 2: Once inside the app, tap Images and the files will be properly segregated just like in Gallery.
Of course, there are other files out there that can help you view your screenshots but these things are among the most commonly used apps to manager your pictures.
Taking screenshots using Palm Swipe Gesture
The Palm Swipe is also among the most commonly used methods in taking a screenshot on Samsung Galaxy phones.
However, unlike the previous method, you will have to enable Palm Swipe in the Settings app before you can use it.
Here’s how you do it:
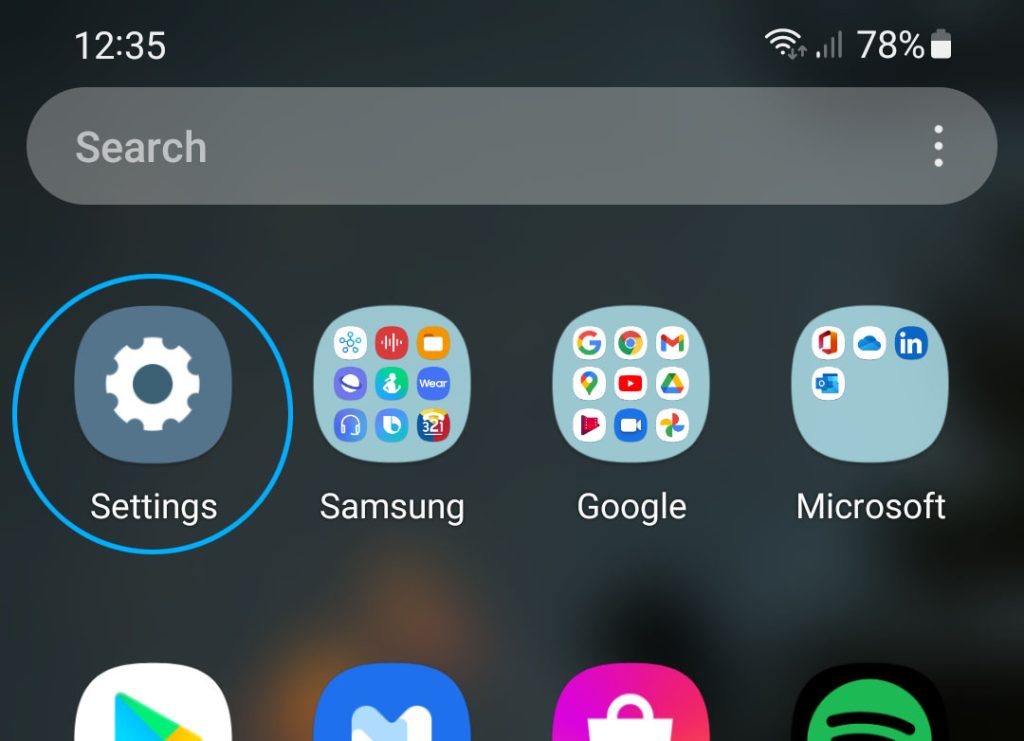
Step 1: Launch the Settings app.
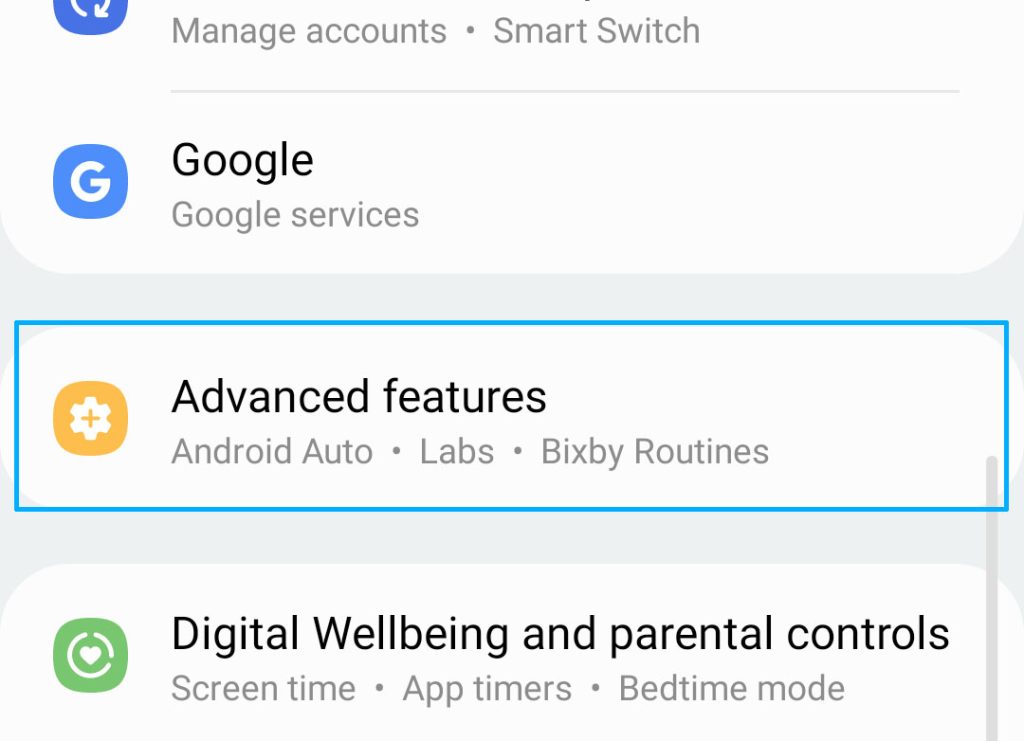
Step 2: Find and tap Advanced Features.
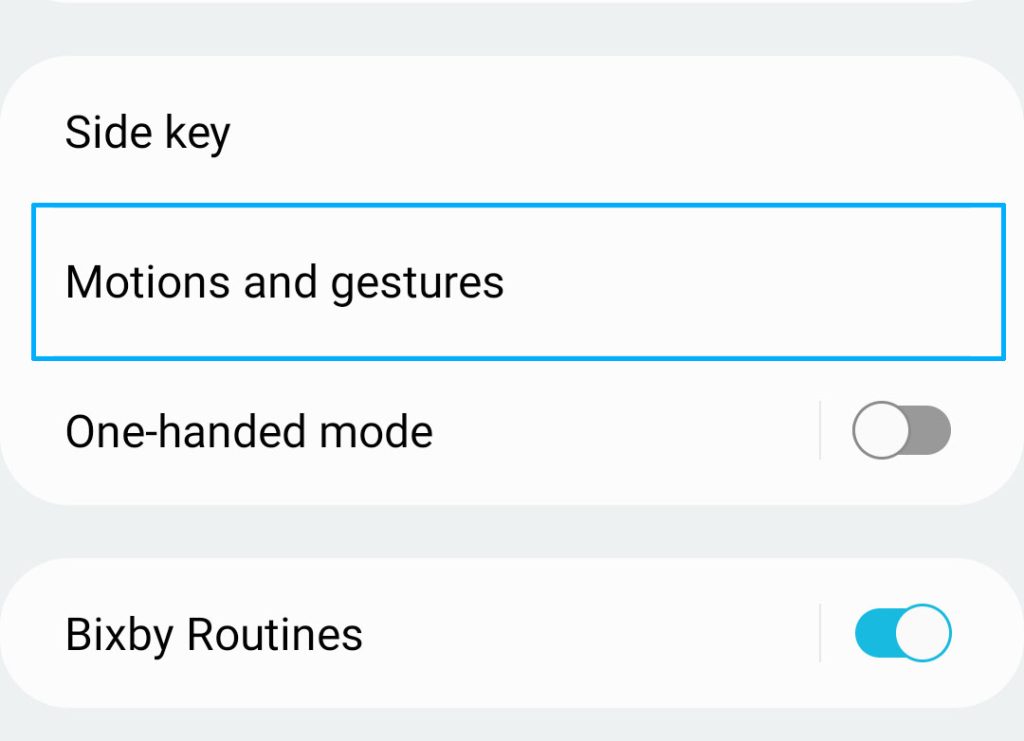
Step 3: Scroll down a bit and tap Motions and gestures.
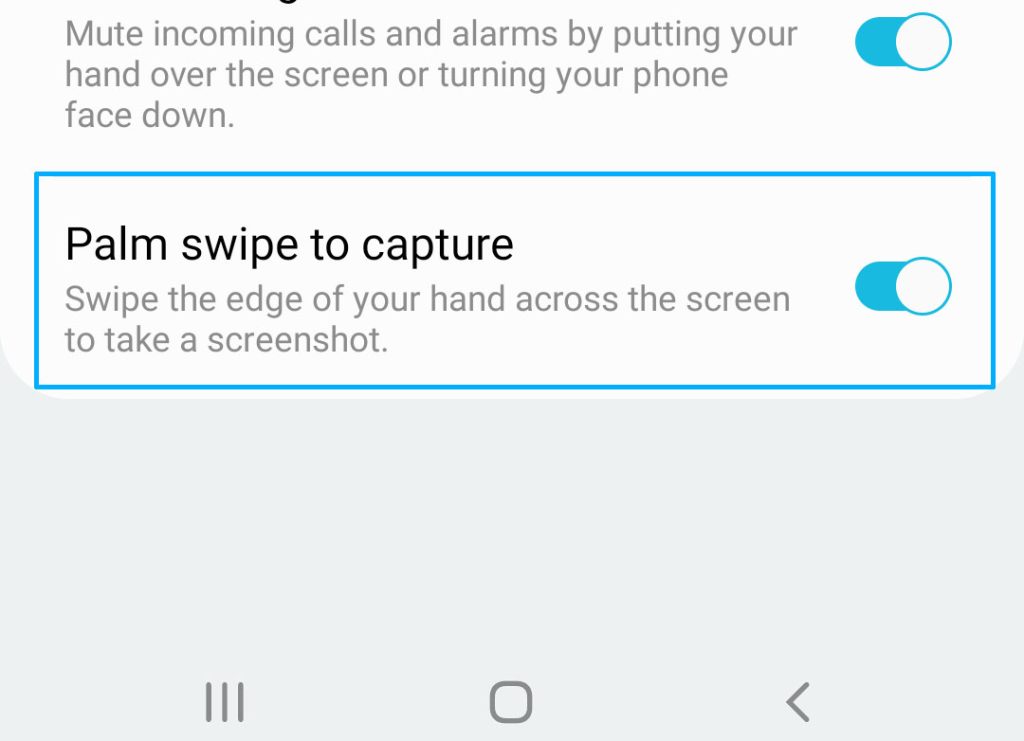
Step 4: At the bottom part of the screen, tap the switch next to Palm swipe to capture to enable it.
Bear in mind that such a feature has to be enabled to work as it’s disabled by default. So if you haven’t done that before, it’s probably still disabled.
However, if the switch is already blue, then it means it’s already enabled so leave it as it is.
Now, to take a screenshot using this method, swipe the side of your hand from either left or right across the screen. As a result of this, the screen will flash as a sign it’s captured successfully.
Taking long screenshots using screenshot toolbar
The first two methods are already enough to capture your phone screen. However, there are times when the page you want to capture is rather long that it won’t fit in just one screenshot.
The best example of this is an article that you want to capture into one long image without cuts. Fortunately, you can do that easily using the screenshot toolbar that appears at the bottom of the screen after taking a screenshot.
This is how you do it:
Step 1: Load the page you want to capture.
Step 2: Use the Palm Swipe or the physical buttons to take a screenshot.
Step 3: Once the toolbar appears, tap and hold on the Scroll capture button represented by arrows pointing down.
Keep holding it until the entire page is captured. Don’t worry, the screen will automatically scroll down as you continue holding down the scroll capture button.
Taking screenshots using Smart Select
Another method that will allow you to take a screenshot of your screen is Smart Select. For this to work, you have to enable some features.
So follow these steps to do so:
Step 1: Launch Settings.
Step 2: Tap Display.
Step 3: Scroll down and tap Edge Panels.
Step 4: Tap Panels and make sure Smart select is checked.
Step 5: After enabling it, close the window and load the screen you want to capture.
Step 6: Open the Edge Panel with a swipe until you get to Smart select.
Step 7: Choose Rectangle.
Step 8: Adjust or reposition the frame and tap Done to capture the screen.
Step 9: Tap the Save button represented by an arrow pointing down to save the picture to the Gallery.
With Smart Select, there’s actually a lot of things you can do. So try playing with it and see if there are things you can use the other options for.
The Smart select is only available on your Galaxy phone as well as the Edge screen or panel options.
Bonus method
If documenting your screen is all you need to do, we suggest you use the screen recorder. Unlike the previous methods, this one actually saves the images as videos and not pictures.
To do that, swipe down from the top of the screen with two fingers to access the Quick settings panel.
Look for the Screen recorder icon and tap on it to begin the recording.
The video will be saved in the Gallery as well and you can also view it using other video players.
We hope that these methods can help you take a screenshot of your screen.
Thanks for reading!