How To Fix Project Zomboid FPS Drop Issue
There are various factors that can cause the fps drops on 7 Day to Die. This could be due to a hardware limitation, setting issue, corrupted files, or outdated drivers. To fix this you will need to perform several troubleshooting steps.
Project Zomboid is an open world zombie survival video game which is available as an early access game over at Steam. Set in a post apocalyptic world, your main goal is to survive by looting houses, scavenging for supplies, building defenses, and most of all fighting zombies. You can play the game solo or via online multiplayer as well as 4 player split screen co-op.
How do I stop FPS drops in Project Zomboid?
One of the issues that you might experience when playing Project Zomboid is when you notice the frame rate dropping. The game will stutter or slow down especially during high action scenes when a lot of zombies are present. This can be an annoying experience as it will usually cause you to lose the game.
Here’s what you need to do to fix this problem.
Solution 1: Make sure your computer hardware can play Project Zomboid
The first thing you need to do is to make sure that your PC hardware is able to play the game. The good thing about Project Zomboid is that it does not require a powerful PC, you can even play it on an old desktop with decent specs.
System requirements:
OS: Windows 10, 64 Bit
64bit OS required
Processor: Intel 2.77GHz Quad-core
Memory: 8Gb Ram
Hard Disk Space: 5gig
Video Card: Dedicated graphics card with 2 GB of RAM minimum, OpenGL 2.1 and GLSL 1.2 support (generally 2012 or newer)
Sound: FMOD compatible sound card
Solution 2: Close other running background applications
When you are playing this game on your computer make sure that there are no other applications such as Chrome or Word running as this will reduce the amount of RAM, GPU, and CPU resources that the game can access which could lead to FPS drops. If you have other applications running then it’s best to close them.
Time needed: 2 minutes.
Quit all other running applications:
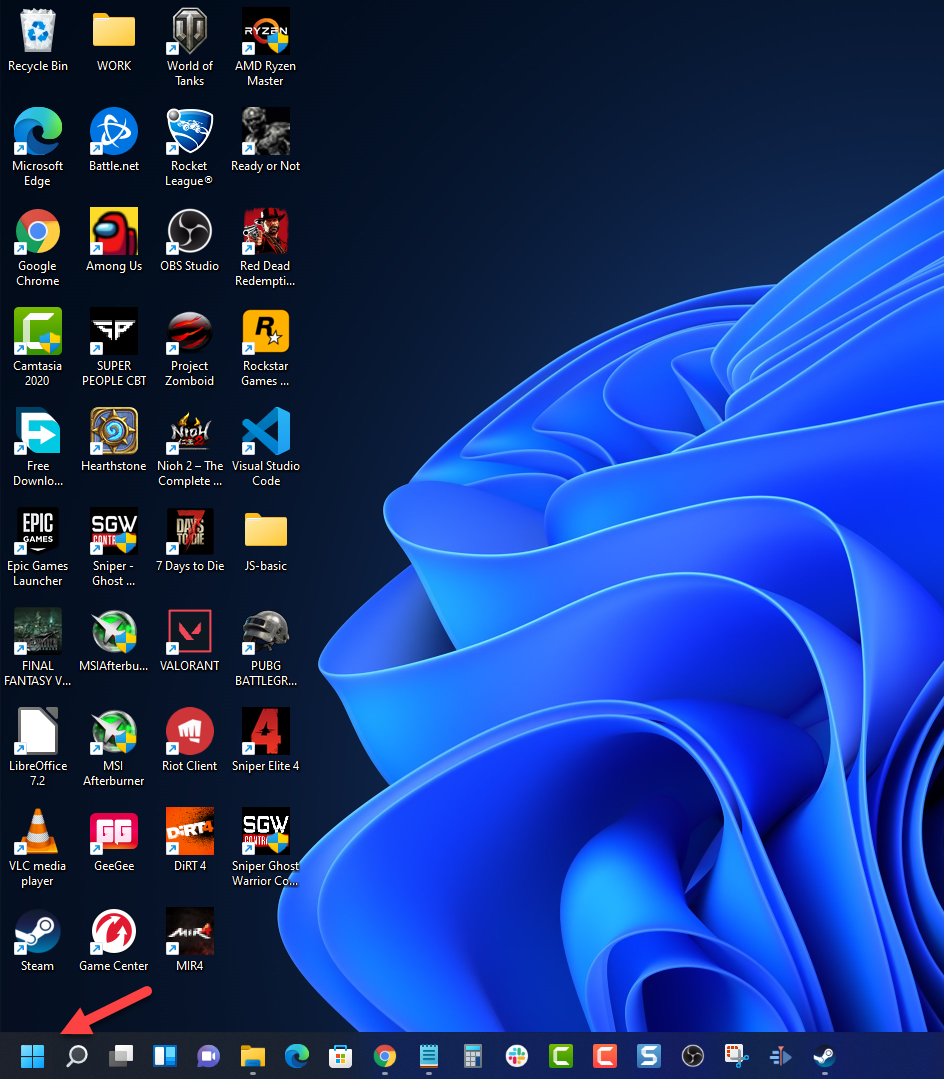
- Right click on the Start button.
This can be found on the lower left side of the desktop.

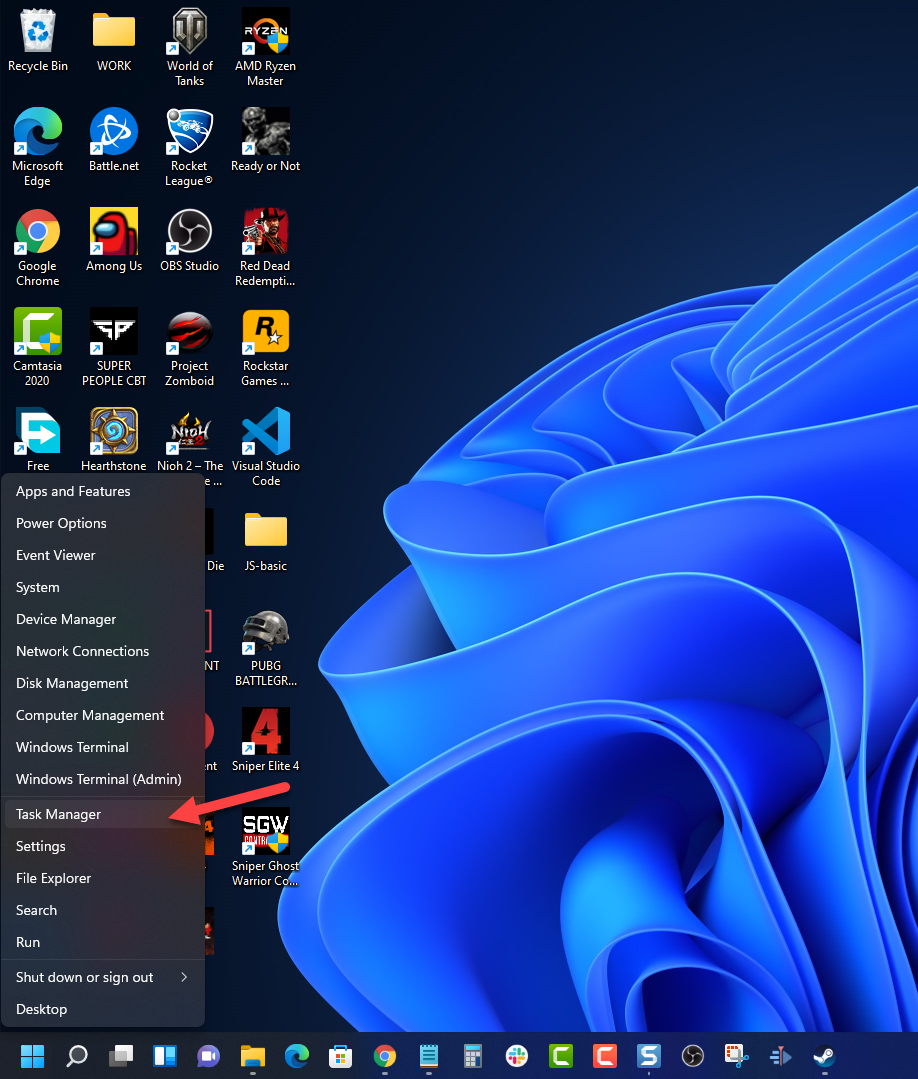
- Click on Task Manager.
This will open the Windows Task manager window.

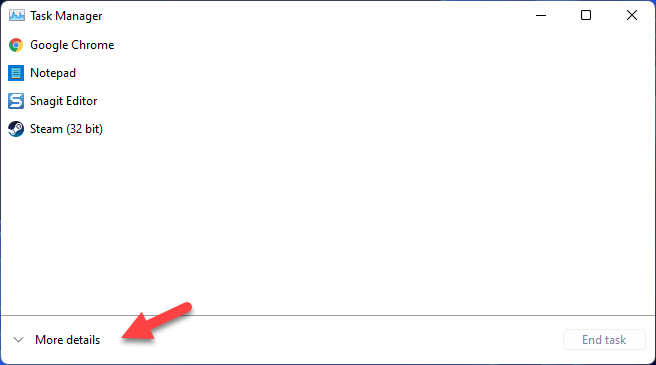
- Make sure to click on More details.
This can be found at the bottom left part of the window if it appears.

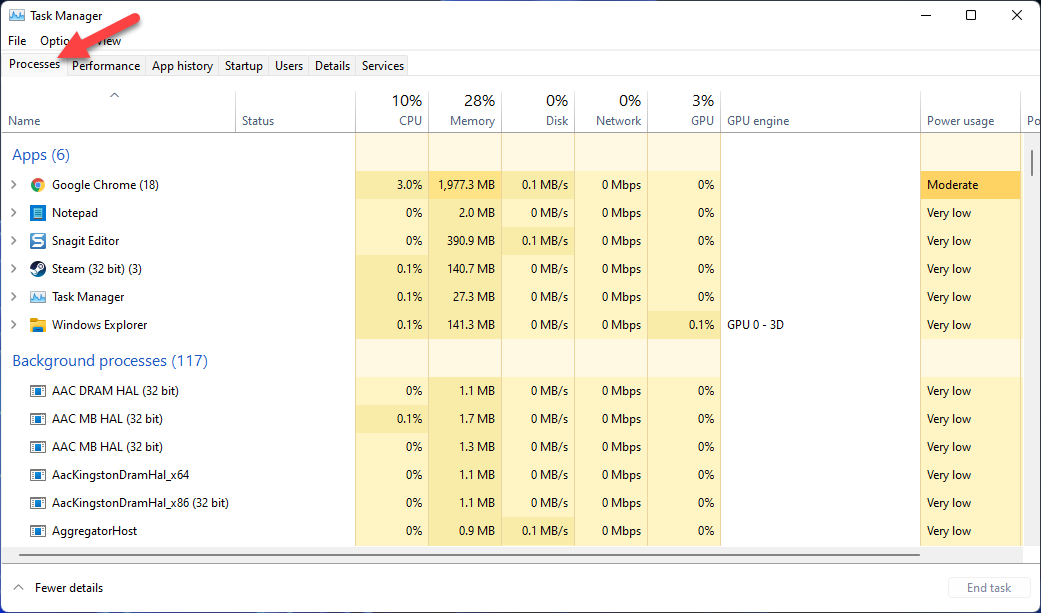
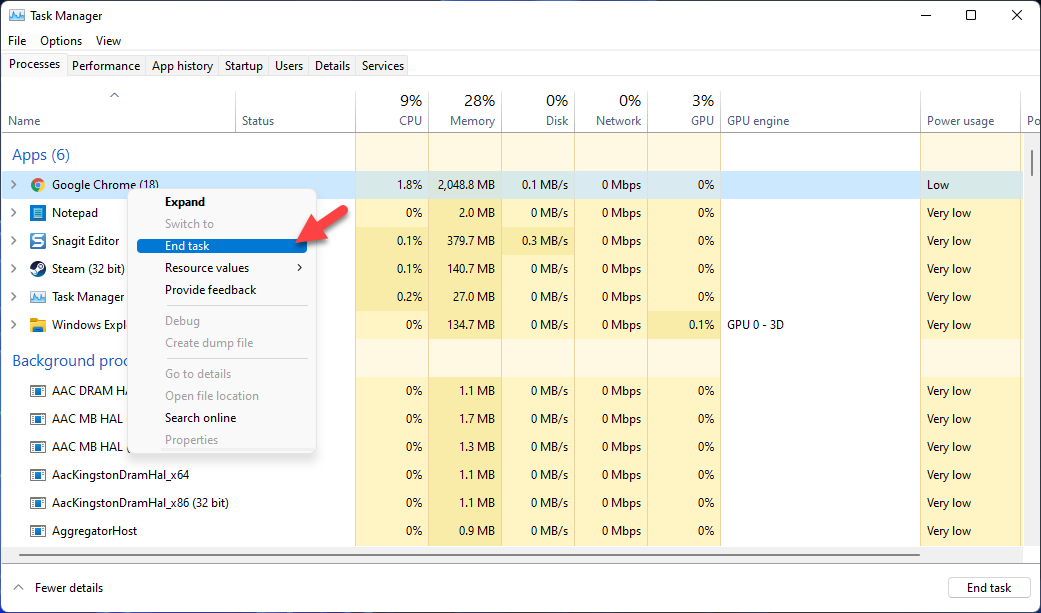
- Click on the Processes tab.
This will open a list of processes currently running.

- Right click on the apps running and select End task.
Do this for all apps except Project Zomboid and Steam.
Solution 3: Tweak your in game settings
One of the common causes of the frame rate issue you are experiencing is due to the graphics setting that you are using. If you don’t have a powerful graphics card or if your computer has only limited RAM then you should consider lowering the graphics settings.
If you are using mods to play the game then you should also try to disable these community developed mods as they can usually cause the game to slow down or stutter.
Change graphics display settings
Open Project Zomboid.
Click Options.
Click the Display tab.
Make sure to enable Multi-core.
Change Lighting quality to lowest.
Change Dynamic Skybox to medium.
Change water quality to low.
Change Puddle Quality to low.
Click Accept then Apply.
Disable Project Zomboid mods
Open Project Zomboid.
Click Mods.
Click Ok.
Disable any enabled mods.
Solution 4: Update your PC graphics drivers
One factor that can cause a game to experience a frame rate drop is if the graphics card driver is outdated. You need to make sure that the latest drivers are installed as this will have several improvements and bug fixes not found in the older version.
Change display settings
Right click on the Start button.
Click on Device Manager.
Click the arrow before Display adapters.
Right click on the selected graphics card then choose Update driver.
Select Search automatically for drivers.
You can also update the driver is by using the Nvidia GeForce Experience app if you have an Nvidia gpu or the Radeon Software if you are using a Radeon card.
Once the latest drivers are installed restart the computer then verify if the same issue still occurs.
Solution 5: Update your Windows operating system
You will experience stuttering issues in your games if your Windows operating system is not updated. These updates to your operating system are important as they introduce several improvements, security patches, and have bug fixes not found in the older version.
Check for Windows updates
Click the Start button.
Click Settings.
Click Windows Update found on the bottom left side of the new window that appears.
Click Check for updates.
If new updates are found then click on the Install now button.
Restart your PC after the updates have been installed then check if you still experience any performance issues while playing the game.
Solution 6: Verify the integrity of Project Zomboid game files
There’s a possibility that the game will experience frames dropping if it has corrupted or missing game files. You can fix this with the help of the Steam client as it will download a replacement to the missing or corrupted files from the server.
Verify integrity of Project Zomboid
Open the Steam client.
Click on Library.
Find Project Zomboid then right click it then click on Properties.
On the new window that appears click on Local Files.
Click Verify integrity of game files…
Solution 8: Reinstall Project Zomboid
If the above troubleshooting steps fails to fix the problem then you should consider uninstalling the game then install a fresh version.
Uninstalling the game
Open the Steam Client.
Go to the Library tab.
Right click on Project Zomboid then click on Manage then uninstall.
Click on Uninstall again to uninstall the game.
Installing the game
Open the Steam Client.
Go to the Library tab.
Right click on Project Zomboid then click on install.
Click next to proceed with the installation.
Try testing the newly installed game if you notice any improvement.
Feel free to visit our YouTube channel for additional troubleshooting guides on various devices.