How to Set Up Your SuperBox Remote to Control Your TV: Power, Input, and Volume
Setting up your SuperBox remote to control your TV is a simple process that allows you to manage power, volume, and input switching with just one device. This step-by-step guide will walk you through programming the four essential buttons, Power, Volume Up, Volume Down, and Input, to seamlessly integrate your SuperBox remote with your TV.
Step 1: Check Compatibility and Prepare the Remote
Ensure your SuperBox remote is compatible with your TV. The S6 Ultra remote, for example, uses a different chip and may not work with older models like the S4 Pro 13. Insert fresh batteries into the remote by sliding open the compartment at the back and aligning the polarity correctly.
Step 2: Enter Programming Mode
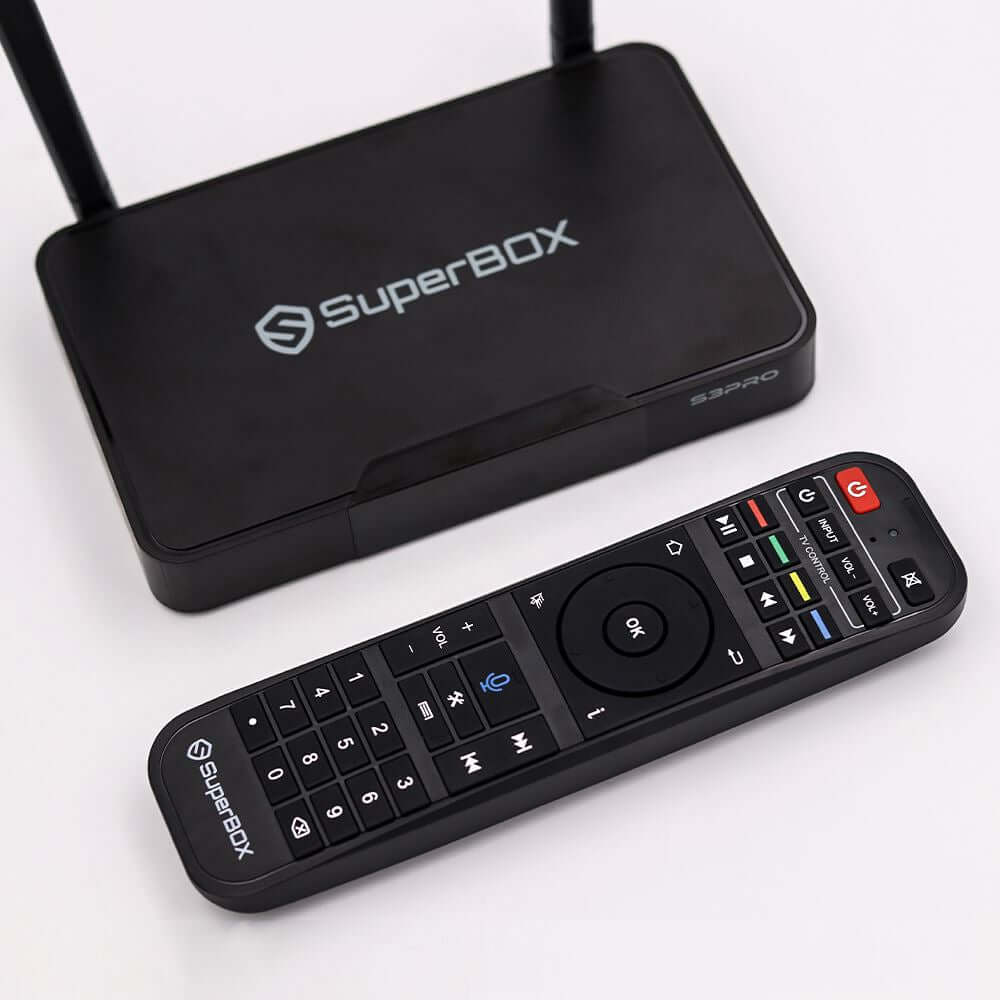
Locate the four buttons outlined in white at the top of the SuperBox remote (typically Power, Volume Up, Volume Down, and Input). To program these buttons:
- Hold the SuperBox remote’s Power button (in the white-outlined area) until the red indicator light blinks and then stays solid.
- Keep the SuperBox remote pointed toward your TV during the process.
Step 3: Program the Power Button
- Aim your TV remote at the SuperBox remote.
- Press and hold the Power button on your TV remote.
- While holding the TV remote’s Power button, press the Power button on the SuperBox remote.
- The red light on the SuperBox remote will flash three times and stay lit if successful. If it flashes five times, repeat the process.
Step 4: Program Volume and Input Buttons
Repeat the same method for Volume Up, Volume Down, and Input buttons:
- Hold the corresponding button on the SuperBox remote (e.g., Volume Up) until the red light blinks.
- Press and hold the matching button on your TV remote (e.g., Volume Up).
- While holding the TV remote’s button, press the same button on the SuperBox remote.
- Wait for the red light to flash three times to confirm programming.
Step 5: Exit Programming Mode
After programming all four buttons, press any button outside the white-outlined area (e.g., Home or Back). The red light will turn off, indicating you’ve exited programming mode.
Step 6: Test the Functions
- Power: Press the Power button to turn your TV on/off.
- Volume: Adjust the volume using the programmed buttons.
- Input Switching: Use the Input button to cycle through HDMI ports. Note: If your TV requires a specific sequence for input selection, ensure the SuperBox remote’s Input button is mapped correctly.
Troubleshooting Tips
- If the remote doesn’t respond, check battery polarity and replace batteries if needed.
- Re-pair the remote by holding the OK and Back/Return buttons for 8 seconds until the LED flashes.
- Ensure the SuperBox remote is within 10 feet of the TV and unobstructed.
Additional Notes
- Some SuperBox models (e.g., S6 Ultra) require Bluetooth pairing for voice commands, but this doesn’t affect basic TV control functions.
- If your TV’s Input button isn’t recognized, try programming an alternate button (e.g., “Source” or “AV”) using the same method.
By following these steps, you can consolidate control of your TV’s power, volume, and input selection directly through your SuperBox remote.
I will pay someone to program my superbox
Will not program the tv remote power button on the super box remote