Samsung Galaxy S9 No SIM Card Error: Solved! (9 Methods + More)
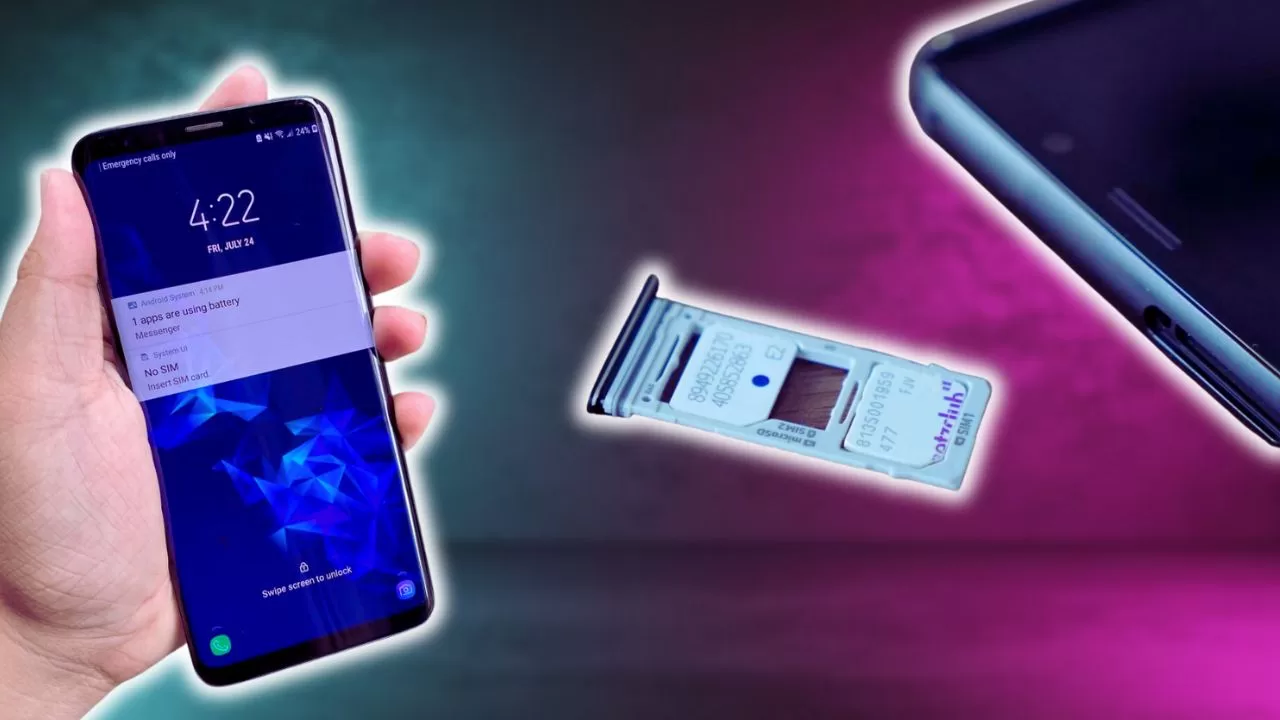
Seeing a “No SIM card detected” error on your Samsung Galaxy S9 can be incredibly frustrating. It prevents you from making calls, sending texts, or accessing data on your phone. Thankfully, this guide will provide you with several fixes to resolve the Samsung Galaxy S9 no sim card error issue.
1. Confirm the SIM Card is Enabled in Settings
Before digging into complex solutions, first check if your SIM card is simply disabled in the settings.
Here’s how to check and enable it:
- Open Settings and tap Connections > SIM card manager.
- Make sure the switch next to your SIM card is turned on. If not, tap on it to enable the SIM.
- You can also toggle Airplane mode off and on to refresh the network connection.
Enabling the SIM card is an easy first step that could instantly fix the “no SIM card detected” error on your Galaxy S9.
2. Remove and Reinsert the SIM Card
An improperly seated SIM card is a common reason behind the S9 not detecting it. Here are the steps to remove and reinsert your SIM card:
- Turn off your Galaxy S9 completely.
- Use the SIM eject tool to open the SIM card tray.
- Take the SIM card out and give it a visual inspection. Look for any signs of damage.
- Use a soft dry cloth to gently clean the SIM card and the tray.
- Correctly place the SIM card in the tray and slide it back into the SIM slot.
- Turn on your S9 and check if the error is resolved.
This simple fix reseats the SIM card properly and cleans out any dust or debris that could be interfering with the connection.
3. Test the SIM Card on Another Phone
To identify whether the S9 itself or the SIM card is the issue, insert your SIM into another phone.
If the SIM card works fine on the other device, your Galaxy S9 is likely the problem. But if it faces the same “no SIM detected” error on the other phone too, your SIM card may be damaged and need replacement.
4. Switch Network Mode to Auto
Having the network mode incorrectly set to an unavailable mode can prevent your S9 from detecting the SIM.
Here’s how to set it to Auto:
- Open Settings and tap Connections > Mobile networks.
- Tap Network mode.
- Select the Auto connect option to let your phone detect the optimal network mode.

With the mode set to Auto, your Galaxy S9 will automatically pick the right network type supported by your SIM card.
5. Reset APN Settings to Default
Corrupted or incorrect Access Point Name (APN) settings can also trigger the no SIM error on Galaxy devices.
Resetting the APN settings is straightforward:
- Go to Settings > Connections > Mobile networks > Access Point Names.
- Tap the 3-dot menu and choose Reset to default option.
Resetting APN settings reverts them back to default values optimized for your carrier and SIM card.
6. Clear SIM Toolkit Cache
Outdated cache data in the SIM toolkit app can prevent the Galaxy S9 from reading the SIM correctly. Here’s how to wipe its cache:
- Open Settings and go to Apps.
- Find and select the SIM Toolkit app.
- Tap Storage > Clear Cache to delete the dated cache data.
With the corrupt SIM toolkit cache cleared out, your S9 should be able to detect the SIM card normally again.
7. Reset Network Settings
Resetting all network settings is an effective solution if incorrect network configurations are causing the no SIM error.
Here are the steps:
- Go to Settings > General management > Reset > Reset network settings.
- Tap Reset settings and confirm.
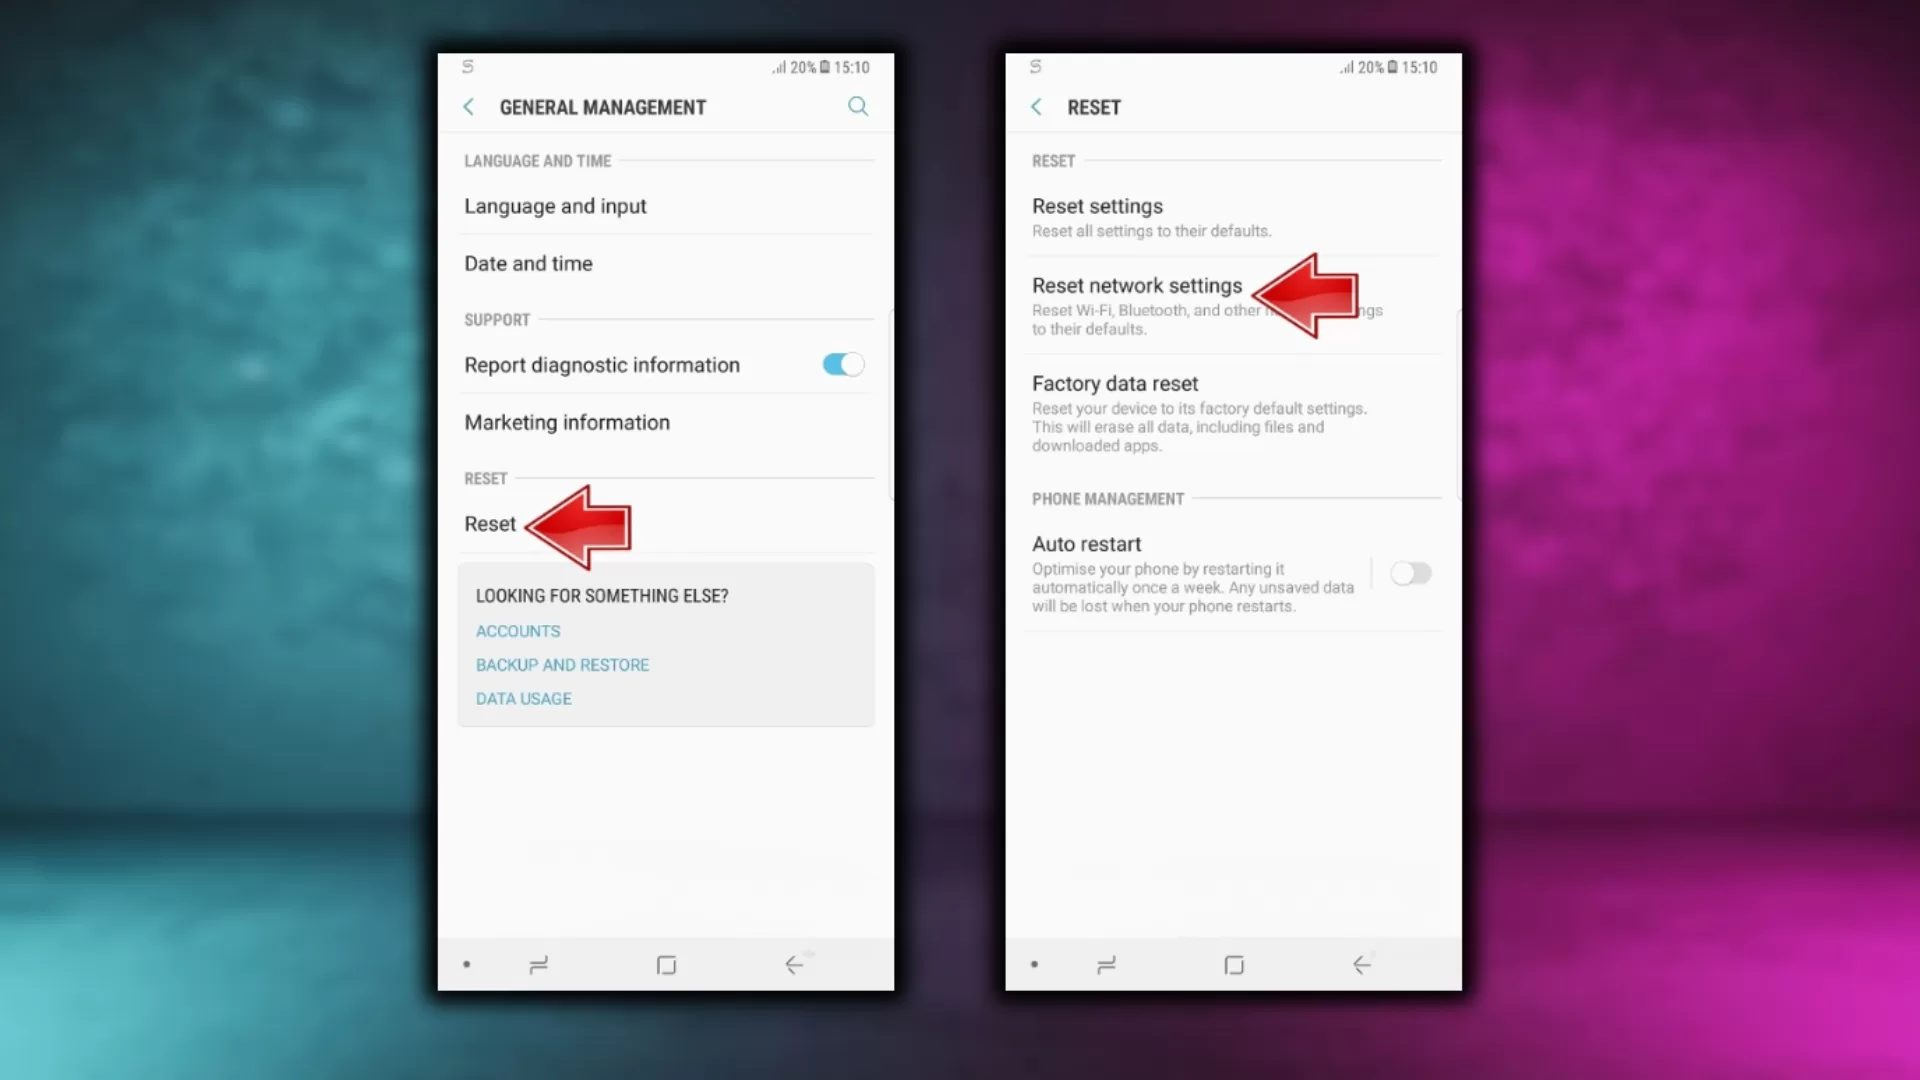
Resetting network settings restores them to default values optimized for your Galaxy S9. This should fix any incorrect configurations leading to the SIM issue.
8. Boot into Safe Mode
An incompatible or buggy third-party app could also be the culprit behind your Galaxy S9 not detecting the SIM card.
You can boot your S9 into Safe Mode to check for problematic apps:
- Press and hold the Power button > Tap and hold Power off.
- Tap OK to restart in Safe Mode.
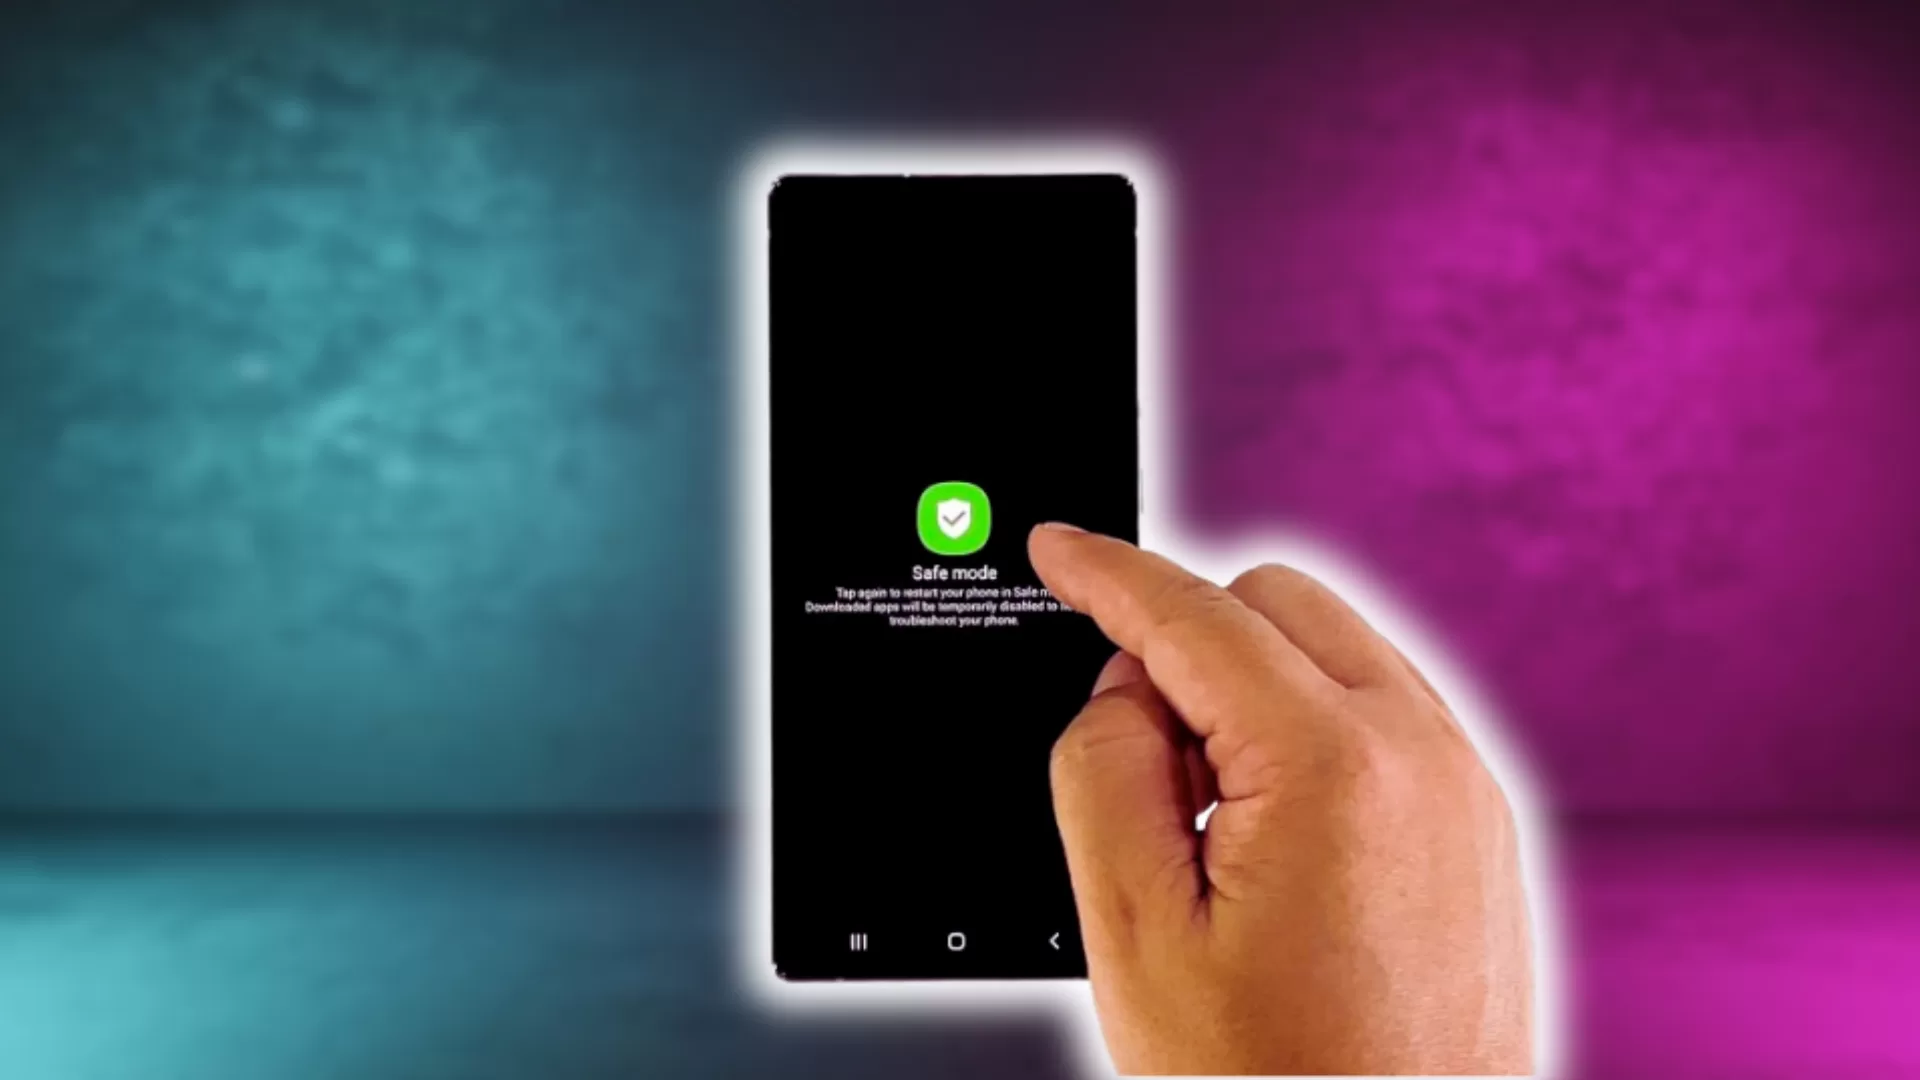
If the no SIM error disappears in Safe Mode, an installed app is likely causing it. Uninstall recently added apps one by one to isolate the problematic app.
9. Contact Your Carrier
If you still see the error after trying all the fixes, contact your carrier as a last resort. Let them know about the persistent “SIM not detected” error.
The carrier can check if there are any issues on their end, such as your number being deactivated or your SIM slot being disabled.
Alternatively, you can contact Samsung official support for additional troubleshooting steps to help fix this issue.
Frequently Asked Questions
- Why does my S9 say no SIM card when one is inserted?
This happens when your S9 is unable to read your SIM card information correctly, due to an improper insertion, damaged SIM, or software glitches after an update.
- Can I still use Wi-Fi without a SIM card?
Yes, you can connect to Wi-Fi networks and use internet over Wi-Fi even without inserting a SIM card into your Galaxy S9.
- How can I find my phone number if my S9 has no SIM?
Go to Settings > About phone to check your phone number, even if your Galaxy S9 currently has no SIM card inserted or detected.