How To Deactivate Your Viber Account
You can easily deactivate your Viber account from the settings of the app. This process will close your account and remove your data from the server. It won’t delete your messages backup if you have set one up, you will have to do this manually.
Viber is a call and messaging app that’s free to use and is available for the Android, iOS, Windows, Linux, and MacOS platforms. More than a billion registered users use this service worldwide which was first launched in 2010. One reason why it is popular is due to its end to end encryption feature which it uses for messages.
Deactivating Viber account using your Android phone
Deleting your Viber account is an easy task. This can be done from the app settings. Take note that once deleted your contacts on the app will not be able to send you messages or call you. Data from the account cannot be restored once the process is completed. Here’s what you need to do.
Prerequisite: The app must be installed in your phone to do this. If you have already uninstalled it then you should download it again from the Google Play Store.
Time needed: 2 minutes.
Permanently deleting Viber account
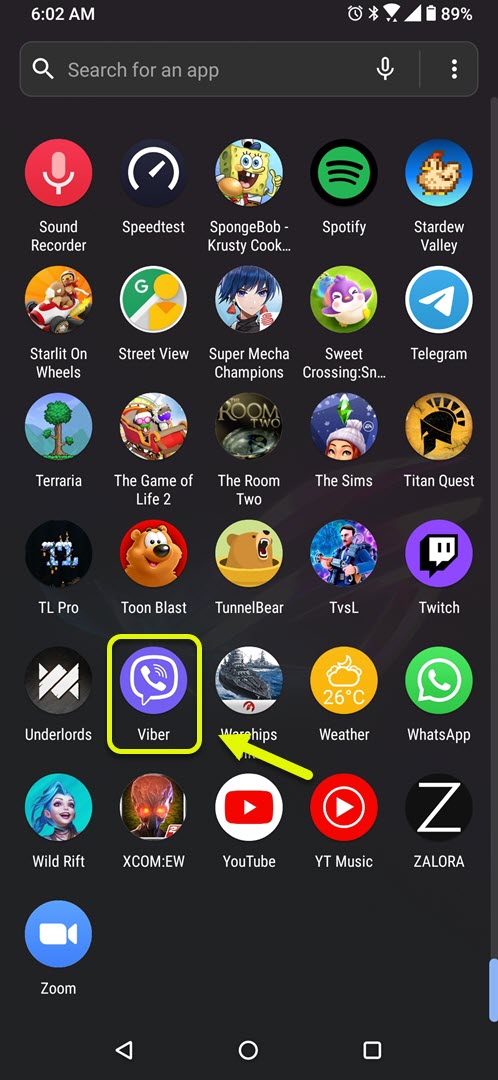
- Open Viber.
You can easily do this by swiping up from the home screen and tapping the app icon.

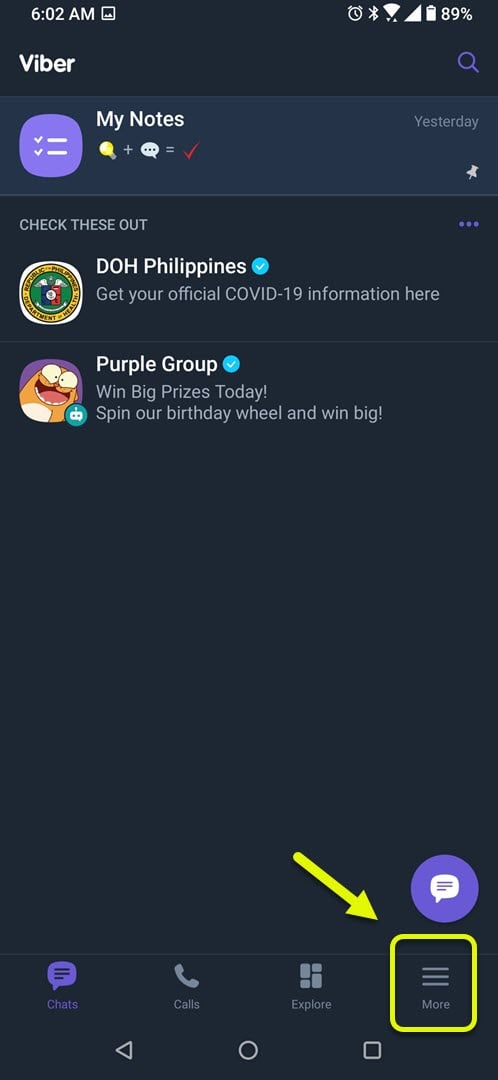
- Tap More.
This is the three horizontal lines found at the bottom right part of the screen.
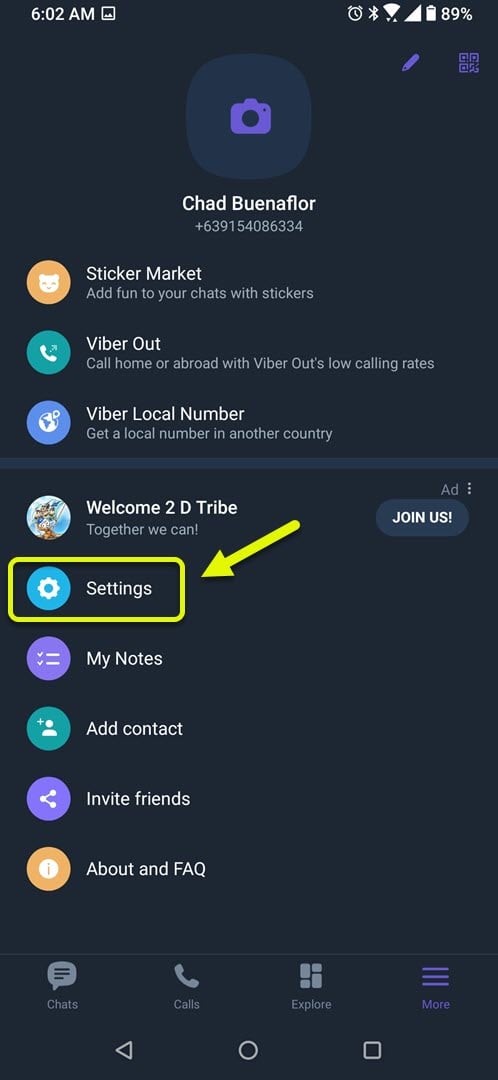
- Tap Settings.
This will allow you to manage the various app settings.
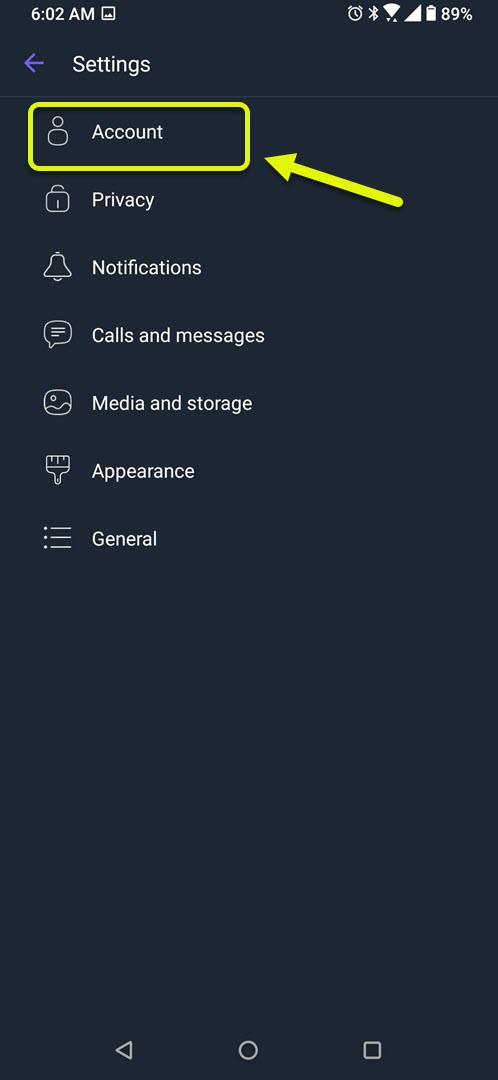
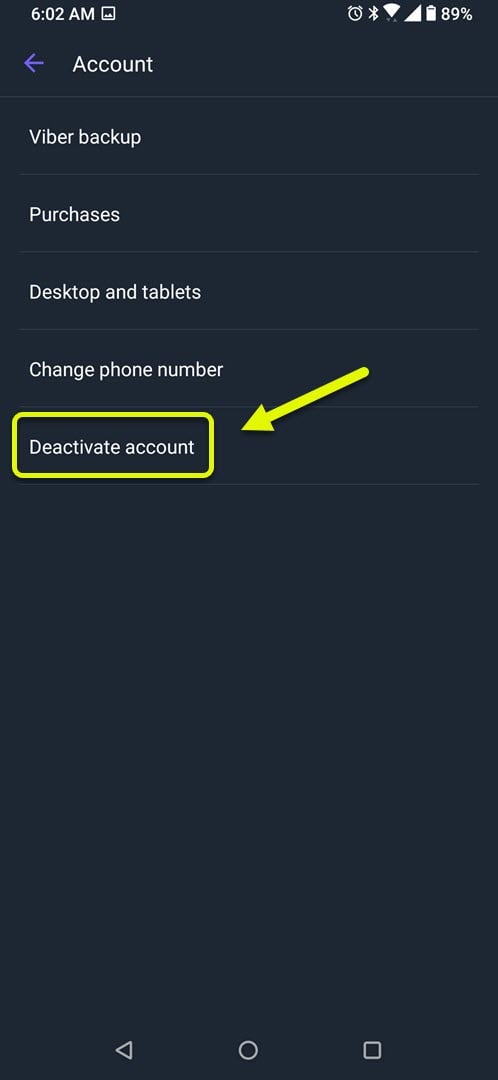
- Tap Account.
This will allow you to manage your account settings.
- Tap Deactivate account.
This will allow you to delete your Viber account.
- Enter your phone number then tap DEACTIVATE ACCOUNT.
This will permanently deactivate your Viber account.

After performing the steps listed above you will permanently deactivate your Viber account using your Android phone.
Visit our TheDroidGuy Youtube Channel for more troubleshooting videos.