How To Replace Or Change Your Steam Email Address | NEW in 2026!
Replacing a Steam email address has not changed over the years. The steps are basically the same even though some things have been moved around in the latest Steam client.
If you want to know how to change the email address on your Steam account, you can quickly do that by following this guide.
Reasons why you may want to change your Steam email
Like other online gaming platforms, Steam allows users to change the registered email on their accounts. The steps are simple and straightforward. All you need to do is to ensure that you have access to the email address so you can get the verification code (and enter it into Steam client later on).
Changing a Steam email address may be necessary for some if their registered email address is about to expire, or if they don’t plan on using it anymore in the future. Others may do so if they want to replace their email providers.
How to change Steam email address
That’s it!
Can’t change Steam email because no longer have access?
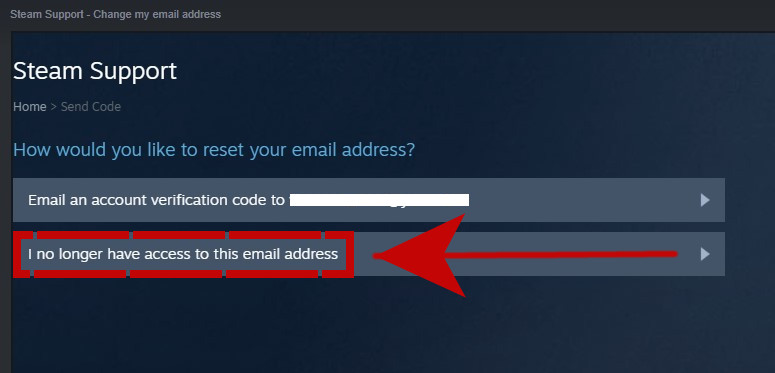
If you no longer have access to the registered Steam email address, you can select the I no longer have access to this email address option (instead of Step #5) you can still verify your identity by entering the Credit or Debit card details that you use when you made a purchase using this account.
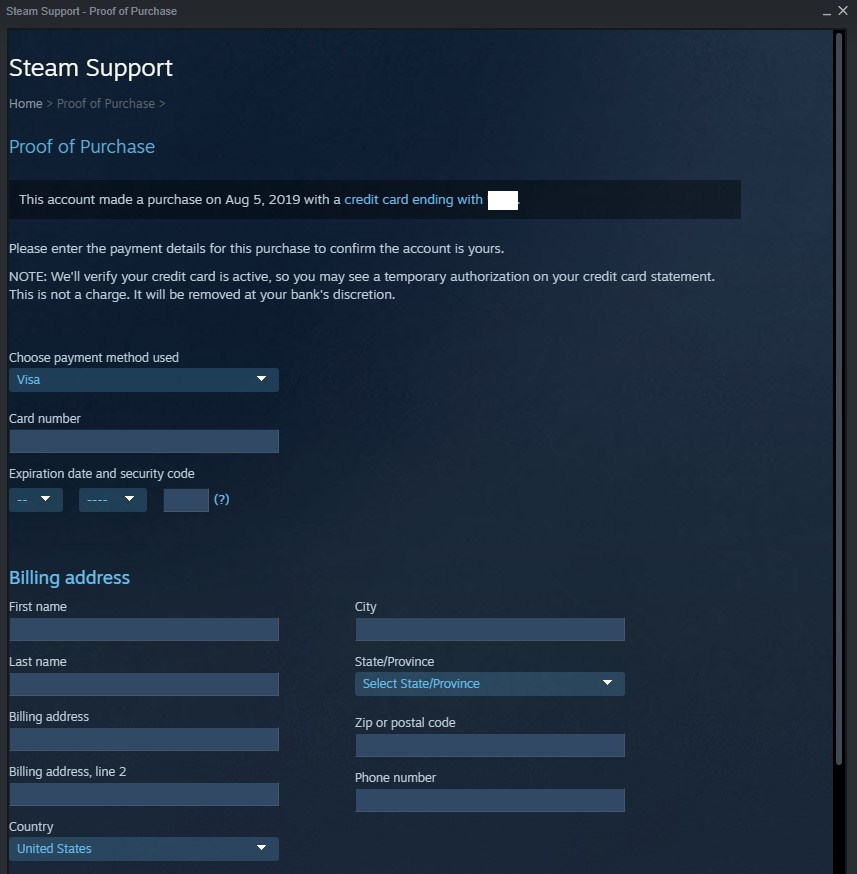
If you haven’t used a card for your Steam account before, try scrolling down to the bottom of the page and select the I no longer have access to this card anymore.
From here on, the steps will become more complicated as Steam will try to ensure that you are the rightful owner of the account. Enter the required details in the boxes and attach the necessary documents that you have to prove that you are the real account holder.
How to change Steam email if you haven’t confirmed your email yet?
When creating a new Steam account for the first time, the system will tell you that you must check your email inbox and get the verification code. You then need to enter that code into Steam to verify the email . If you haven’t done this yet, these are the steps to change your email address:
- Open Steam client.
- Log in to your account.
- Click on Settings at the upper left.
- Stay on Account tab and Click on CHANGE CONTACT EMAIL ADDRESS button.
- Enter your new email address and confirm this new address.
- Click the Next button .
- View the confirmation page and verify that all information is correct.
Suggested readings:
- How To Make Steam Download Faster | Fix Slow Internet | NEW 2020!
- Fix PS4 Connection Issues With Network Reset | NEW 2020!
- Easy Steps to Get Or Find Steam ID | QUICK & NEW 2020!
- How To Fix Fortnite Lag On Nintendo Switch | NEW 2020!
Visit our TheDroidGuy Youtube Channel for more troubleshooting videos.