How To Change Clock Face On Fitbit Sense
You can easily choose a different clock face on your Fitbit Sense using the Fitbit app on the connected smartphone. There are hundreds of clock faces to choose from which means you are bound to find one of your liking.
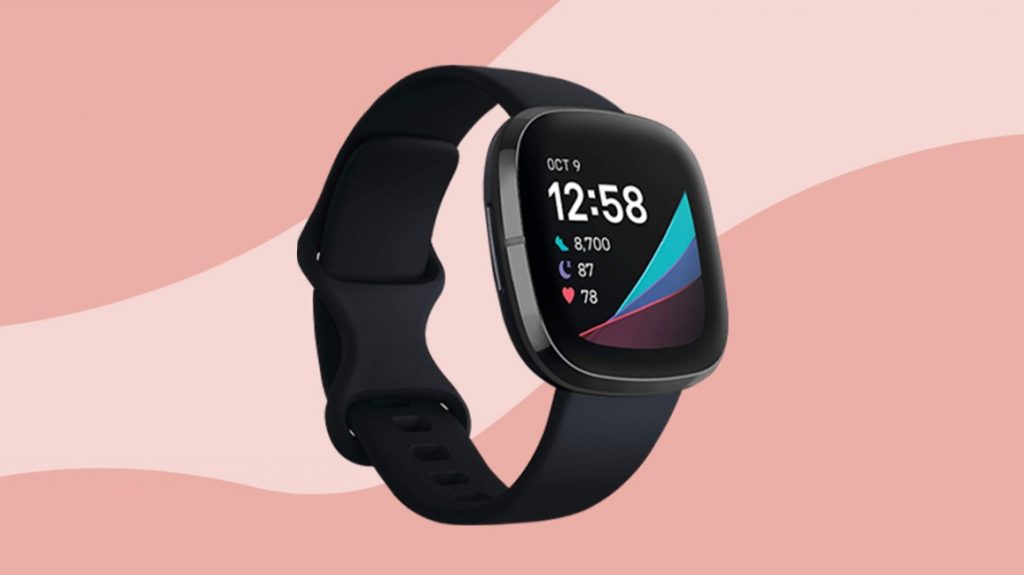
The Fitbit Sense is a premium smartwatch that offers a lot of interesting health and fitness features. It comes with a built-in GPS, can monitor stress through an electrodermal (EDA) scan, and the first model to offer electrocardiogram (ECG) heart rate monitoring. Some of the features of this device include a color AMOLED touch screen, Bluetooth, WiFi, GPS, and up to 6 days of battery charge.
- Screen: 1.58in OLED
- Case size: 40.5mm
- Case thickness: 12.35mm
- Weight: 45.9g
- Operating system: Fitbit OS 5.1
- Water resistance: IP68, 50 meters (5ATM)
- Sensors: gyro, HR sensor, ECG, EDA, blood oxygen, light, GPS+GLONASS, altimeter, skin temperature
- Connectivity: Bluetooth 5, WiFi n, NFC, speaker, mic
Changing a clock face on Fitbit Sense
To personalize your Fitbit device you can easily change the saved clock face to a different one. This can be done using the Fitbit app on a connected smartphone. If you don’t have this app installed yet then you should get it from the Google Play Store.
Changing the current clock face will allow you to interact better with the watch. There are different designs to choose from ranging from digital clock faces, analog clock faces, or even a bitmoji clock face.
Take note that in order to update the Fitbit clock face you should have no more than 38 apps installed in the watch.
Choose a different clock face
Here’s how you can choose a different clock face on your Fitbit Sense.
Launch the Fitbit app on the connected smartphone.
Tap the Today tab.
Tap your Profile Picture.
Select your Fitbit from the account pane. Make sure to choose your Fitbit Sense.
Tap Clock Faces.
Tap All Clocks.
Browse the available clock faces.
Tap the clock face you want and tap Select to install it.
If your clock face needs special permissions you’ll be asked to review and approve them. Tap Install.
Customizing the clock face
Some clock faces will allow you to customize its appearance by changing the color or background image. Here’s how you can adjust the clock face settings.
Launch the Fitbit app on the connected smartphone.
Tap the Today tab.
Tap your Profile Picture.
Select your Fitbit from the account pane. Make sure to choose your Fitbit Sense.
Tap Clock Faces.
Tap My Clock
Tap Settings.
Adjust any settings your clock face has available. This will not be the same across different clock faces.
Uninstalling a clock face
There are instances when the clock face might look good when viewed from the Fitbit app but looks different on the watch. Here’s what you need to do to remove the clock face once you have synced it to your watch.
Select the clock face you want to uninstall from the Fitbit app.
Scroll down until you see the button Remove Clock Face.
Tap Remove Clock Face.
The clock face will be deleted from your Fitbit device on the next sync.
Troubleshooting Fitbit Sense clock face not changing
If you are experiencing certain issues regarding the changing of clock faces then here’s what you need do.
Restart the Fitbit Sense and connected smartphone
The first thing you should consider doing is a soft reset. To perform this procedure all you need to do is to restart the watch. This will refresh its software and remove any temporary corrupt data stored in its memory. Your saved data will not be erased.
Restart Fitbit Sense
Press and hold the button solid state button for 10 seconds until you see the Fitbit logo on the screen, and then release the button.
Restart smartphone
Just follow the instructions on how to restart your particular phone model. Sometimes this is done by long pressing the power button then tapping on the restart option that appears on the screen.
Update the Fitbit app on the connected smartphone
Make sure that you have the latest Fitbit app installed in your smartphone. To get the latest update you can simply uninstall it and install the latest version from the Google Play Store or App Store.
Update your Fitbit Sense software
You need to make sure that the watch is running on the latest software update as this will have several improvements and bug fixes over the previous version.
Updating Fitbit Sense using the Fitbit app
With your charged Fitbit device nearby, open the Fitbit app.
Tap the Today tab.
Tap your profile picture.
Tap your device image.
Tap the pink Update button. This option only appears if an update is available.
Follow the on-screen instructions and keep the device close to your phone, tablet, or computer during the update. After you start the update, a progress bar appears on your device and in the Fitbit app until the update is complete. This may take an hour or more to complete the updates.
Updating Fitbit Sense using the Fitbit.com dashboard
Confirm you have the latest version of Fitbit Connect.
Click the Fitbit Connect icon located near the date and time on your computer.
Click Open Main Menu.
Click Troubleshooting.
Below the Fitbit Connect number, click Check for updates.
Go back to the main menu and click Check for device update.
When prompted, log in to your Fitbit account.
If an update is available, follow the on-screen instructions and keep your device close to your computer during the update. A progress bar appears on your device and in Fitbit Connect until the update is complete.
Perform a factory reset on the Fitbit Sense
In case the issue still persists then you should consider doing a factory reset. This will delete all the data stored in the watch and bring it back to its default factory settings.
Factory reset Sense
On your Fitbit device, open the Settings app then About then Factory Reset.
Feel free to visit our YouTube channel for additional troubleshooting guides on various devices.