How To Screenshot Only One Monitor On Your PC
The best way you can increase your productivity on your computer is by using a multi monitor setup. This allows you to open several apps at once and view them easily. You can edit documents or spreadsheets on one monitor while checking data on another.
Sometimes, you will also want take a screenshot of only one monitor. However, when pressing the print screen key on your keyboard it will take a screenshot of all of the active monitor setup.
So, how to screenshot only one monitor? We will be showing you how this is done.
How to Screenshot Only One Monitor in a Multi-Monitor Setup
If you are a new user to the dual monitor setup then chances are you might be wondering how to screenshot only one monitor. If your computer is running on Windows 10 or Windows 11 then the best way to do this is by using the Windows Snipping Tool. This is a tool included in the operating system that allows the taking of screenshots of either the hole multi monitor setup or just one monitor. You can even specify a specific portion of the screen to take a screenshot.
Solution 1: Use the Snipping Tool to take a screenshot only one monitor
The fastest and easiest way you can screenshot one monitor is by using the Snipping Tool. This tool allows you to take a snapshot of words or images from all or parts of your primary monitor or secondary display.
You can even specify what type of snip to make such as a freeform clip, rectangle clip, window snip, or a full screen snip.
Once you have made a snip it will immediately be copied to the Snipping tool window from which you can edit it.
This so fart is the easiest way to take a screenshot on a dual screen setup.
Time needed: 2 minutes.
Using Snipping tool for single monitor screenshot
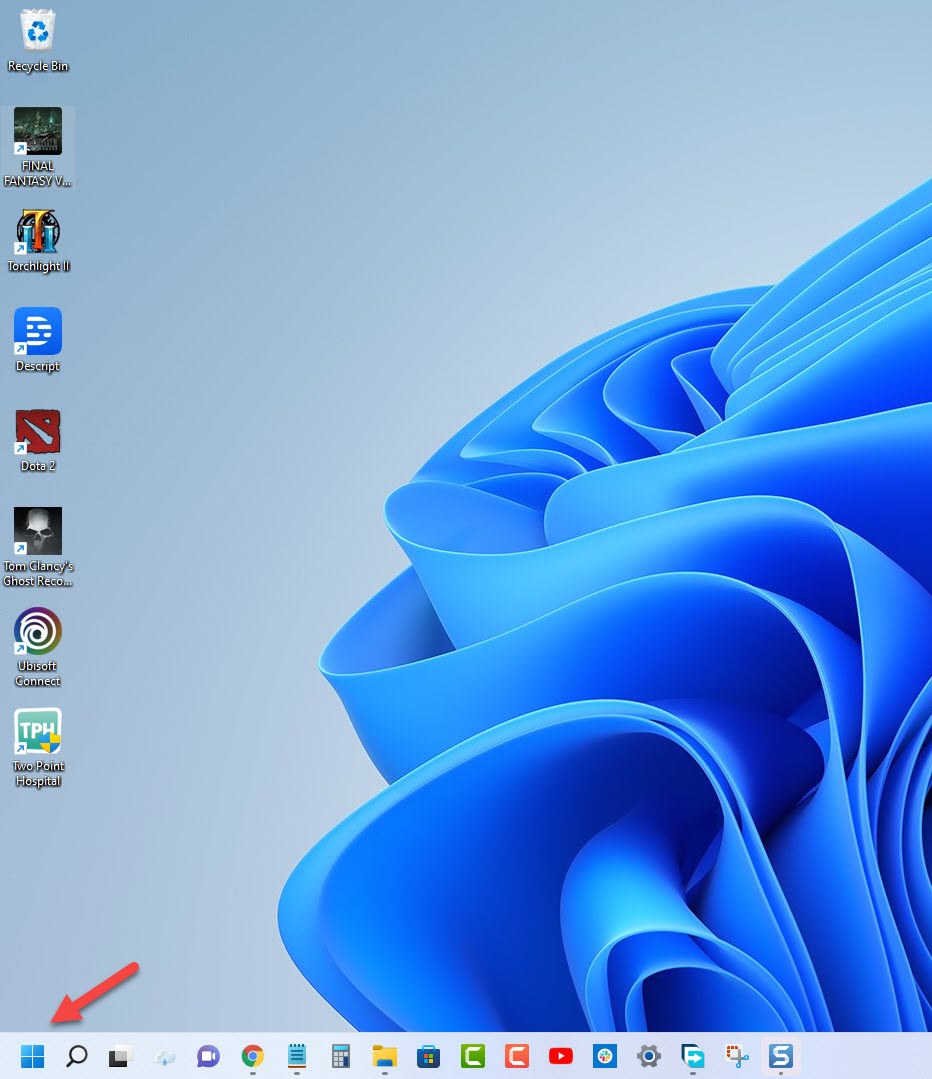
- Select the Start button.
This can be found at the bottom left corner of the screen.

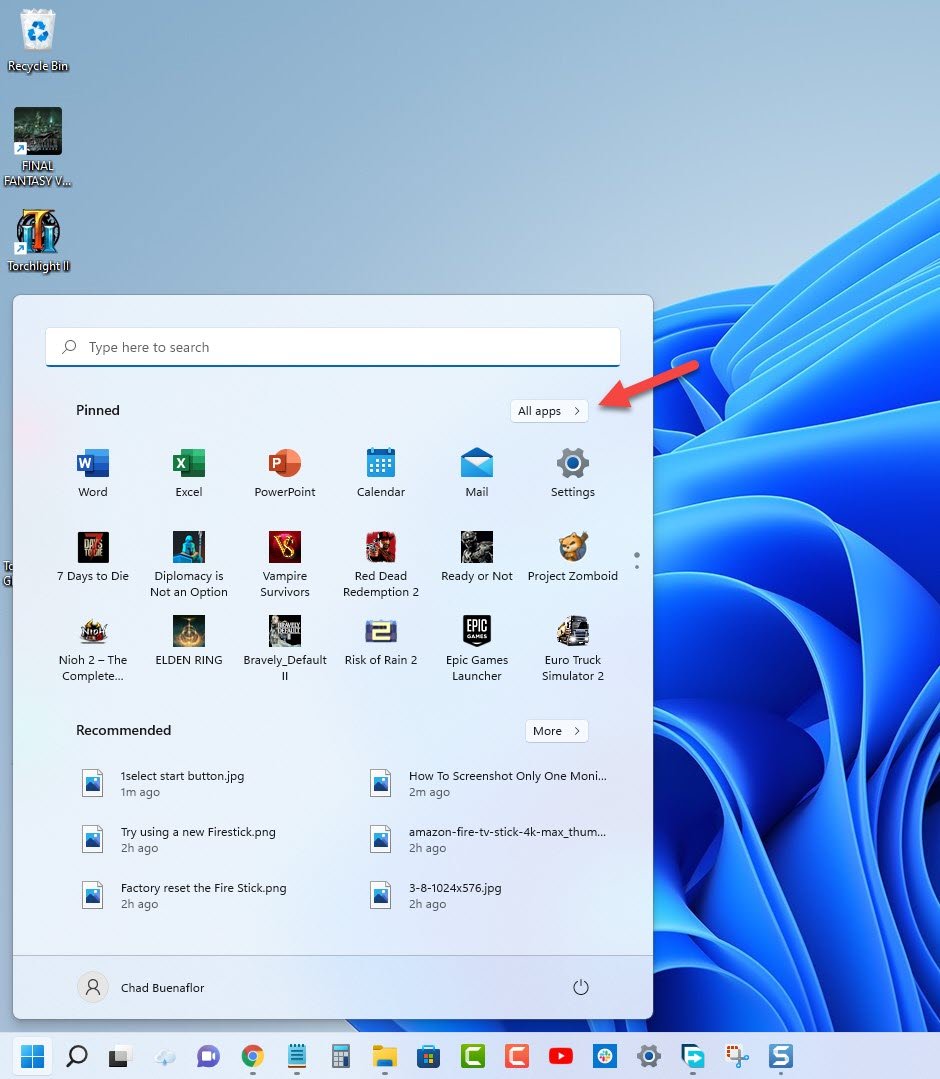
- Click All Apps.
This will show you all the apps installed in your computer.

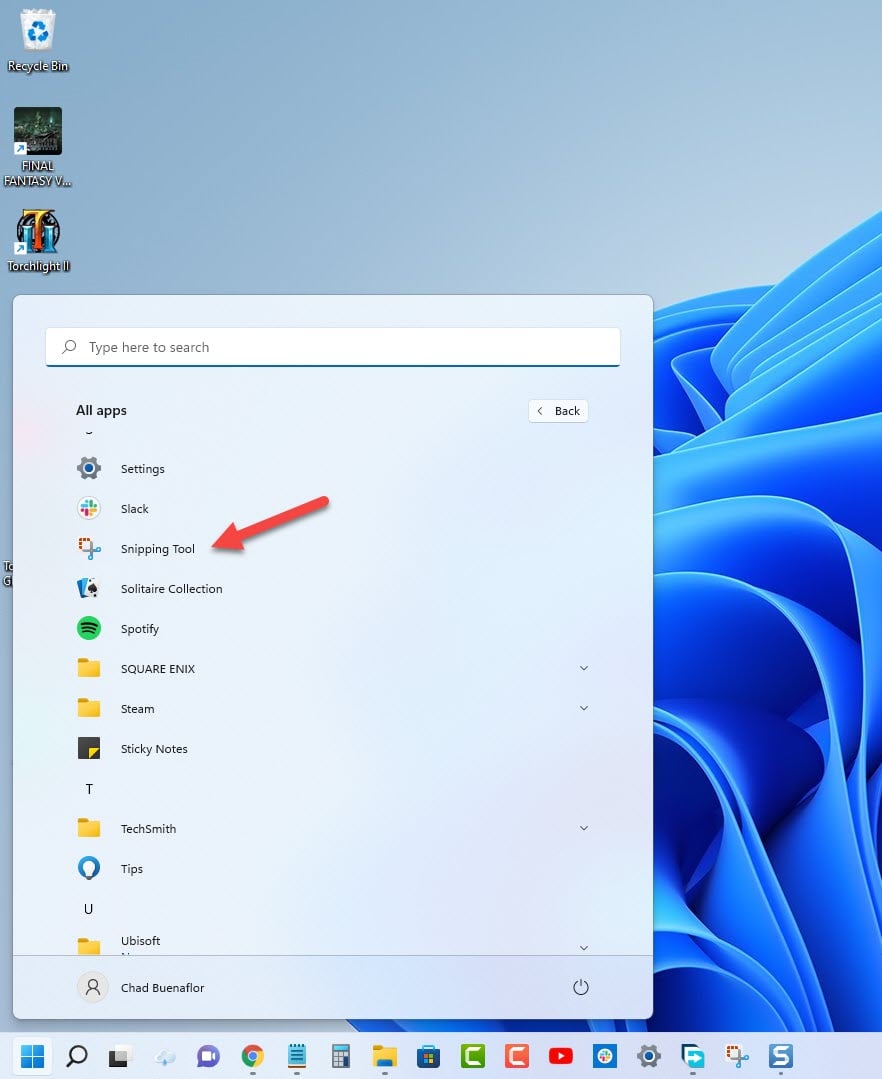
- Click Snipping Tool.
This will open the screenshot app.

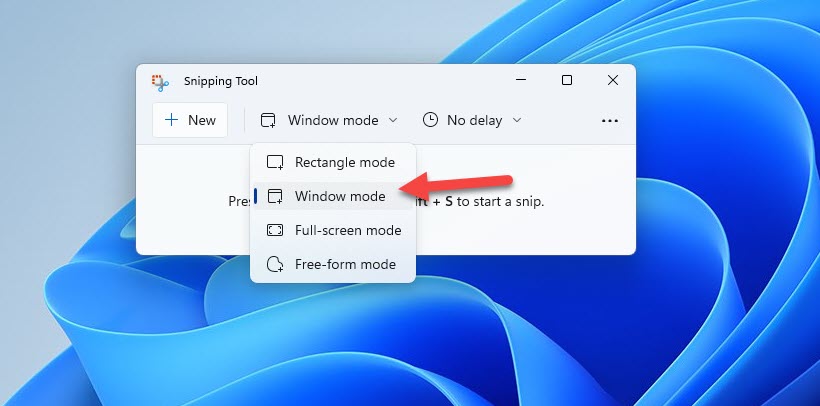
- On the Mode tab choose Window mode.
This will allow you to take of the active monitor.

- Click New.
This allows you to take a screenshot.

- Click anywhere on the computer screen with the mouse cursor.
This is the monitor you want to take a screenshot.


Once the screenshot has been taken you can edit it or save it immediately by clicking on the floppy disk icon.
Solution 2: Using third party software
Another way to take a screenshot of only one screen is by using third party applications. There are several free and open source software available for Windows that will allow you to screen shot your primary display only, your second monitor, or even multiple monitors at once.
Greenshot
Greenshot is a lightweight screenshot tool designed for Windows that has several great features.
- You can create screenshots of a selected region, window or fullscreen.
- You can annotate, highlight or hide parts of the screenshot.
- Able to export the screenshot to file, send to printer, copy to clipboard, attach to e-mail, send Office programs or upload to photo sites like Flickr or Picasa, and others.
Lightshot
Lightshot is an easy to use application which you can download for free and use on your Windows or Mac computer. You can take a screenshot of one monitor or your secondary monitor only. After taking a screenshot you can edit it using its powerful image editing tool.
- Share screenshots via Internet.
- Screenshot History.
- Copy a screenshot to clipboard.
- Edit screenshot immediately after it’s taken.
- Save screenshots to your PC.
Snagit
Snagit is a premium screenshot and recoding tool that comes with several excellent features. There are several options available for you to take a print screen such as specifying only one monitor, full screen, capturing dual monitors display, then sending the output image to file, email, or even FTP just to name a few.
- Capture your entire desktop, a region, a window, or a scrolling screen.
- Take a full-page, scrolling screenshot.
- Extract the text from a screen capture or file and quickly paste it into another document for edits.
- Create From Templates.
- Create Video From Images.
Screenrec
Screenrec is a free print screen tool that is available for Windows, MacOS, and Linux. It is a user friendly application that does more than taking a screenshot of your monitor. It can even record your screen with sounds and create a shareable link.
- Get started in a minute.
- Record computer audio
- Record your voice.
- Record your webcam
- No watermarks or time limits.
- Lightweight screen recorder (no lag)
- Cloud Recording technology.
ShareX
ShareX is a free screen recording app that’s only available for the Windows platform.
- Over 14 years of active development.
- Supports over 80 destinations.
- Customizable workflows.
- Lightweight.
- Open source.
Awesome Screenshot
If you mainly use Google Chrome as your browser then you should consider using Awesome Screenshot which is a browser extension that allows you to screenshot one monitor or two screens.
- Record both screen and camera.
- Instant sharing.
- Connect directly with your familiar tools.
- 1-Click to take a Screenshot.
- Annotate a screenshot with various editing options
- Share a Screenshot to multiple destinations.
Conclusion
Taking screenshots of only one monitor when you have dual monitors is actually quite easy. Microsoft has already included one of the best tools available to get the job done which is the Snipping Tool.
For power users, the features of the Snipping tool might not be enough so you should consider using a third party application. There are a lot of applications available that can take not only a print screen but even record your screen with matching audio sounds. While you can choose to use some of the free versions, the paid or premium versions will usually have more features which is often suited for businesses.
If you are looking for a screenshot solution for personal use only or for your school projects then you should definitely consider using the free and opensource third party software. If you are a business that’s connected to the cloud then consider getting the premium versions that best suits your needs.
Feel free to visit our YouTube channel for additional support and troubleshooting guides on various devices