How to Send Emails on iPhone Using the Built-In Mail App Effectively and Efficiently
Your iPhone arrives with the Mail app pre-installed. While it may not boast the same flashy features as some third-party email clients, it remains one of the most reliable and user-friendly ways to manage your inbox. From adding accounts and scheduling messages to attaching files and editing signatures, Mail for iOS covers everything the average user needs. If you’re just getting started with your iPhone or simply want to make better use of the Mail app, here’s a complete walkthrough.
Adding an Email Account
Before you can send or receive emails, your account must be connected to the Mail app.
- Open the Settings app on your iPhone.
- Scroll down and tap Mail.
- Select Accounts, then Add Account.
- Choose your provider (iCloud, Gmail, Yahoo, Outlook, etc.). If it’s not listed, tap Other.
- Enter your email address and password, then follow the prompts to complete setup.
If you have multiple accounts, you can repeat these steps to add each one. Mail will conveniently keep them all organized.
Configuring Fetch and Push
By default, Mail checks for new messages either by Fetch (manual intervals) or Push (immediate delivery).
- Go to Settings > Mail > Accounts > Fetch New Data.
- Select your email provider.
- Decide whether you want to use Push or Fetch.
Keep in mind that Push can drain more battery, while Fetch lets you set intervals like every 15 minutes or every hour.
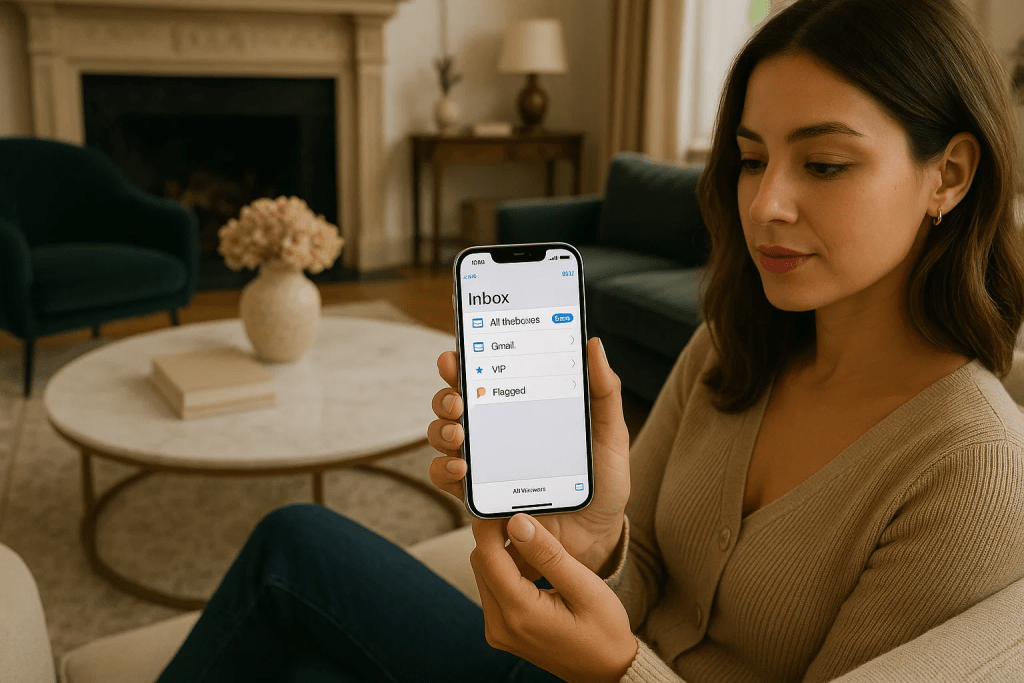
Exploring Mailboxes
Open the Mail app, and you’ll see all your connected accounts. Each one contains standard folders like Inbox, Sent, and Trash. You’ll also find an “All Inboxes” view if you prefer to see every account together.
Tap Edit at the top right to customize which folders appear. For example, enabling Attachments gives you a quick view of all messages with files.
Writing and Formatting Emails
Composing a message is simple:
- Tap the Compose button (a pen in a square) in the bottom corner.
- Add a subject, then type your message in the body area.
- Tap the arrow above the keyboard to reveal formatting tools. You can bold, italicize, change colors, or add bullet points.
If you prefer dictation, tap the Microphone icon on your keyboard and speak your message.
Adding Attachments
Mail supports several types of attachments:
- Photos: Insert images from your camera roll.
- Camera: Snap and add photos instantly.
- Document: Add files directly from the Files app.
- Document Scan: Use the camera to scan paper documents.
- Text Scan: Pull text from printed pages.
Just position the cursor where you want the file to appear and select the desired option.
Inserting and Editing Links
Rather than pasting long URLs, you can create clean hyperlinks:
- Copy the link to your clipboard.
- Highlight the text you want to turn into a link.
- Tap Paste.
If you want to change the text or link later, tap the highlighted text and select Edit Link.
Adding Recipients
Type an email address into the To field, or start typing a saved contact’s name. Mail will suggest entries from your Contacts app. To add multiple recipients, just keep typing.
Tap CC/BCC to copy others or send blind copies. If you have several accounts, you can also change which account you’re sending from by tapping the From field.
Sending and Scheduling Emails
When your message is ready, tap Send. Mail holds the message for 10 seconds in case you change your mind—you’ll see an Undo Send option briefly at the bottom of the screen.
You can also schedule messages:
- Long-press the Send button.
- Select Send Later.
- Pick your preferred date and time.
This is ideal for business messages or timed personal emails.
Saving Drafts
Not ready to send? Tap Cancel and choose Save Draft. You’ll find it later in the Drafts folder or in the unified Drafts view if enabled.
Customizing Your Signature
By default, iPhone emails end with “Sent from my iPhone.” To change this:
- Go to Settings > Mail > Signature.
- Edit the text or create different signatures for each account.
This helps maintain a professional image for work emails while keeping personal notes casual.
Adjusting Send Delay
If 10 seconds isn’t enough to catch a mistake, you can extend the undo window:
- Go to Settings > Mail > Undo Send Delay.
- Choose 20 or 30 seconds.
This gives you extra breathing room before the email leaves your outbox.
Reading and Managing Incoming Mail
Notifications alert you to new messages, but you can also open Mail and check All Inboxes or individual accounts. Adding an Unread mailbox to your list helps you filter messages you haven’t seen yet.
Swiping on an email reveals quick actions like Mark as Read, Flag, Archive, or Trash. Long-pressing opens a preview and extra options.
Replying to Messages
Open a message and tap the Reply icon at the bottom. The recipient field fills automatically, and the original message appears below your reply. This keeps conversations organized and easy to follow.
Mastering the Mail App
The more you use Mail, the more tricks you’ll uncover. Swipe gestures save time, scheduled sends help you stay organized, and multiple signatures keep personal and professional worlds separate. If you dive into Settings > Mail, you’ll find even more adjustments—like controlling conversation threads, preview lines, and delete confirmations.
With just a bit of setup, Mail for iOS transforms from a basic inbox into a powerful productivity tool that can handle the demands of both work and personal life. Whether you’re managing multiple accounts or just trying to stay on top of a busy inbox, the built-in Mail app has you covered.