How To Play PSP Games On Windows 10
The best way to play PSP games on Windows 10 is by using an emulator. We highly recommend using PPSSPP which is a free and open source software that allows you to play your favorite PSP games on your computer in full HD resolution.
The PSP or PlayStation Portable is a handheld gaming console first released by Sony in 2004. It allows games that are stored in an optical disc format to be played anywhere. More than 80 million units of this device have been sold with the last hardware shipment ending in 2014.
Run any PSP game in your computer using PPSSPP
If you miss playing your favorite PSP games such as Lumines, Metal Gear Solid: Peace Walker, or Final Fantasy: Crisis Core then don’t worry as you can still enjoy these games using your computer. All you need to do is to download the PPSSPP emulator on your PC.
You should make sure that your computer meets the necessary system requirements needed.
- CPU: Any modern CPU
- GPU: Any GPU that can handle OpenGL 2.0.
You will also need to copy your PSP game file to your computer.
- Insert the UMD disk to your PSP that’s running on a custom firmware.
- Connect your PSP to your computer using a USB cable.
- At the PSP main menu, press Select. In the menu that pops up choose to UMD as USB Device.
- Choose USB Connection in the Settings menu.
- On your PC, a folder will pop up, containing a virtual ISO file. To copy the game to your PC, simply drag this to your harddrive and the copy will start.
Installing PPSSPP to Windows 10 to play PSP games
It’s easy to install this emulator to your computer as all you need to do is to download it from the official website then run it.
Time needed: 10 minutes.
Download and install PPSSPP
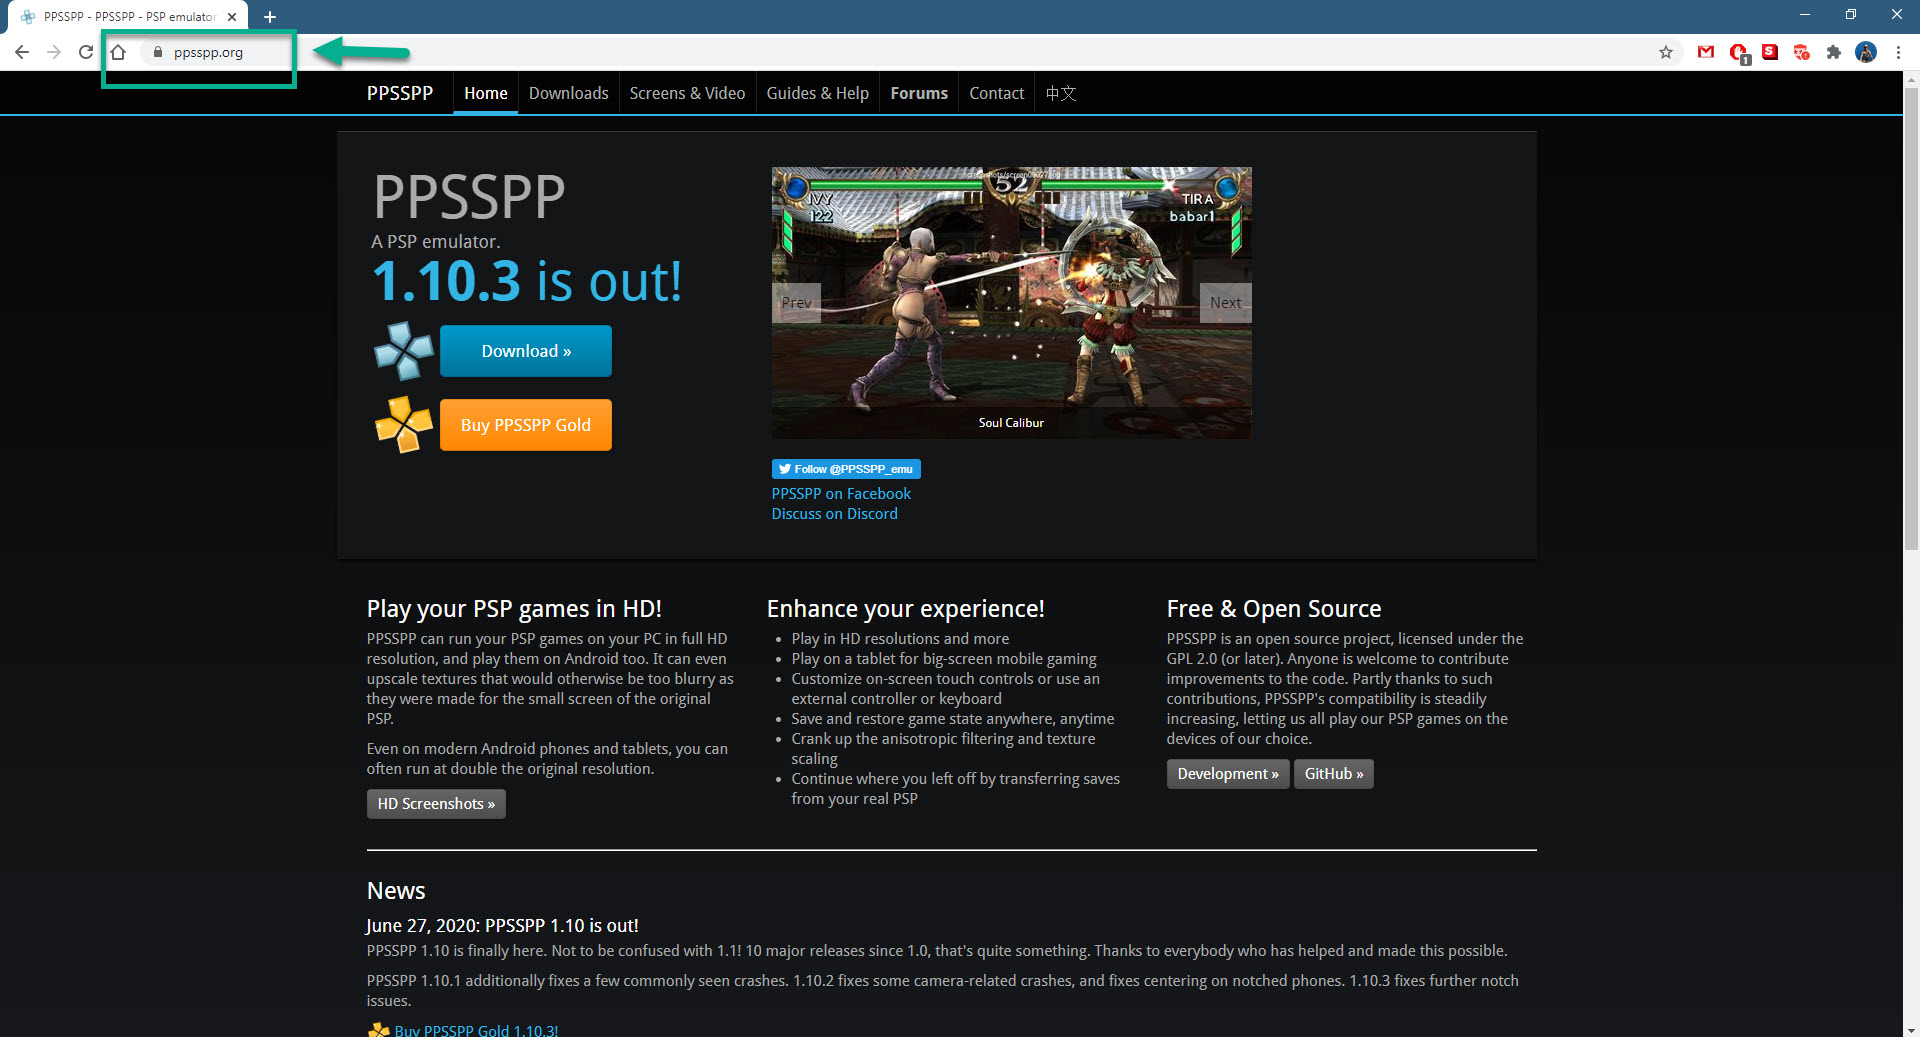
- Go to the PPSSPP official website.
Visit https://www.ppsspp.org/ using your browser.

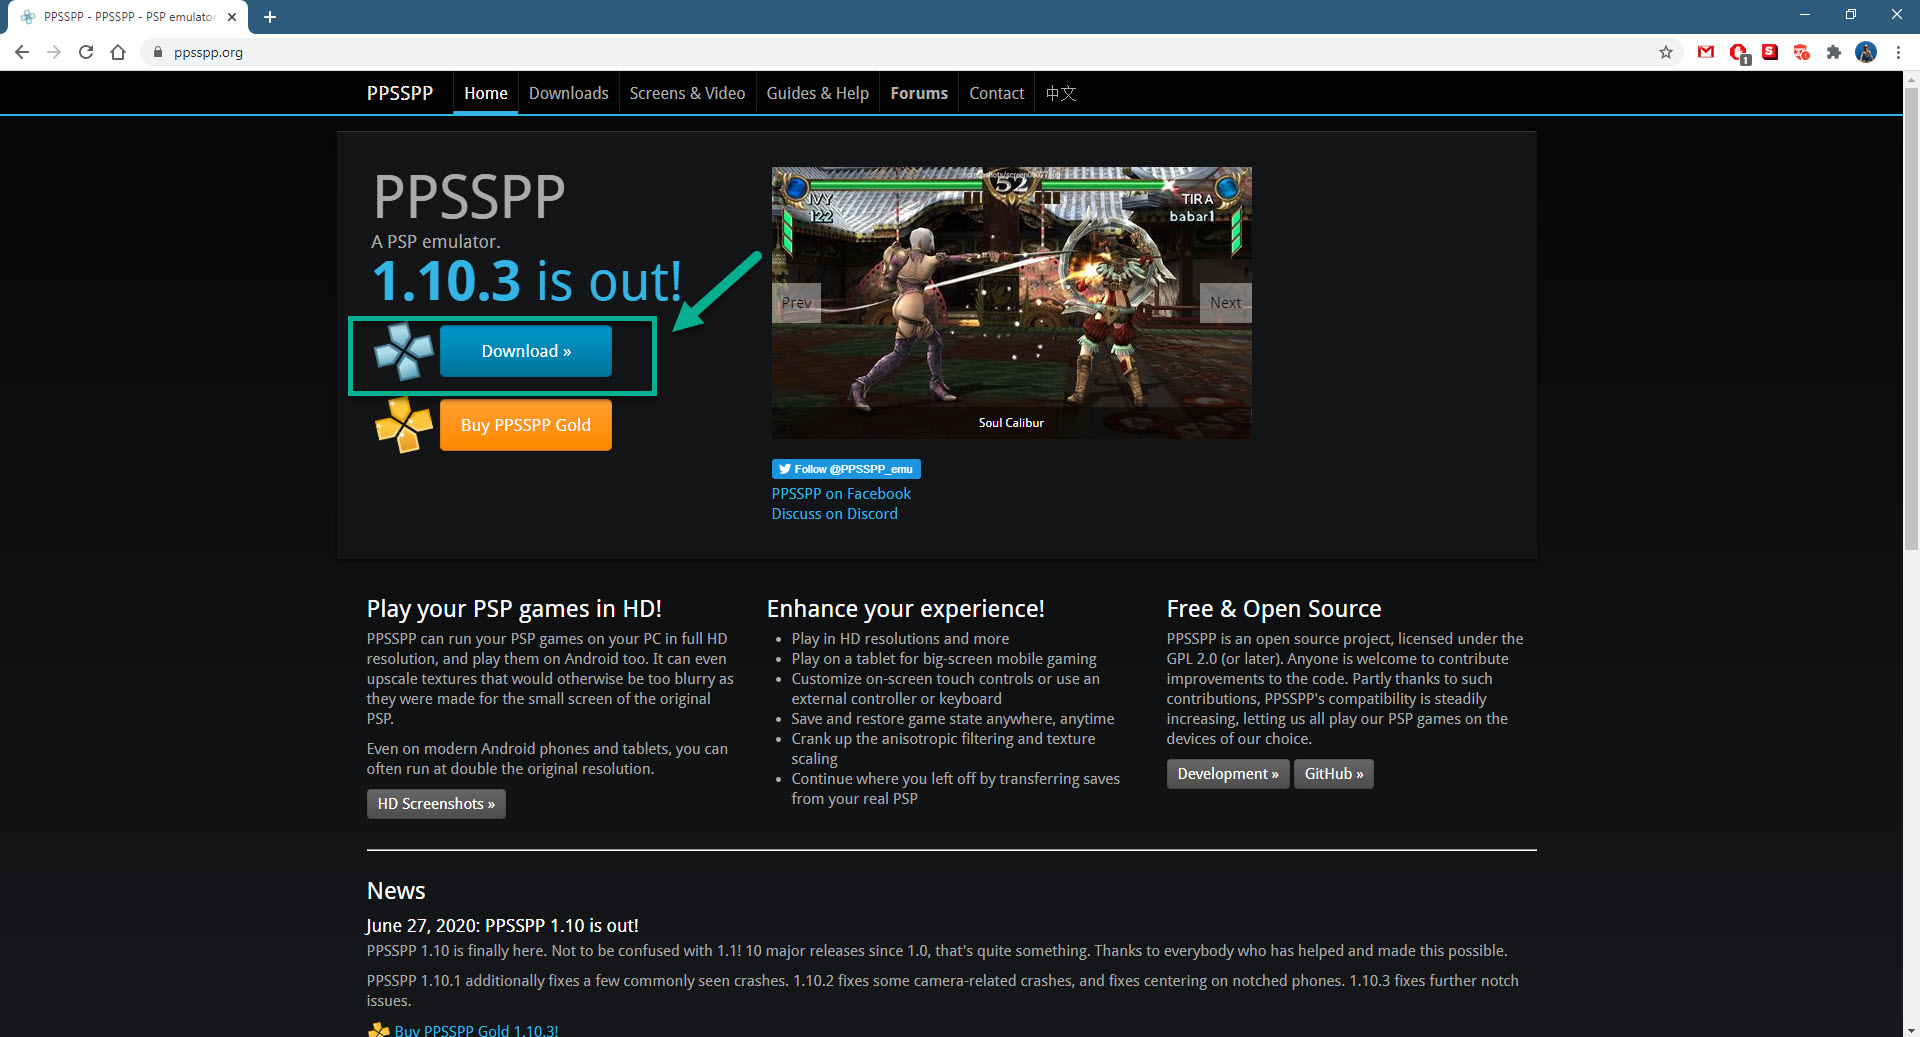
- Click the Download link.
This will open the page where you will find the download link for various platforms.
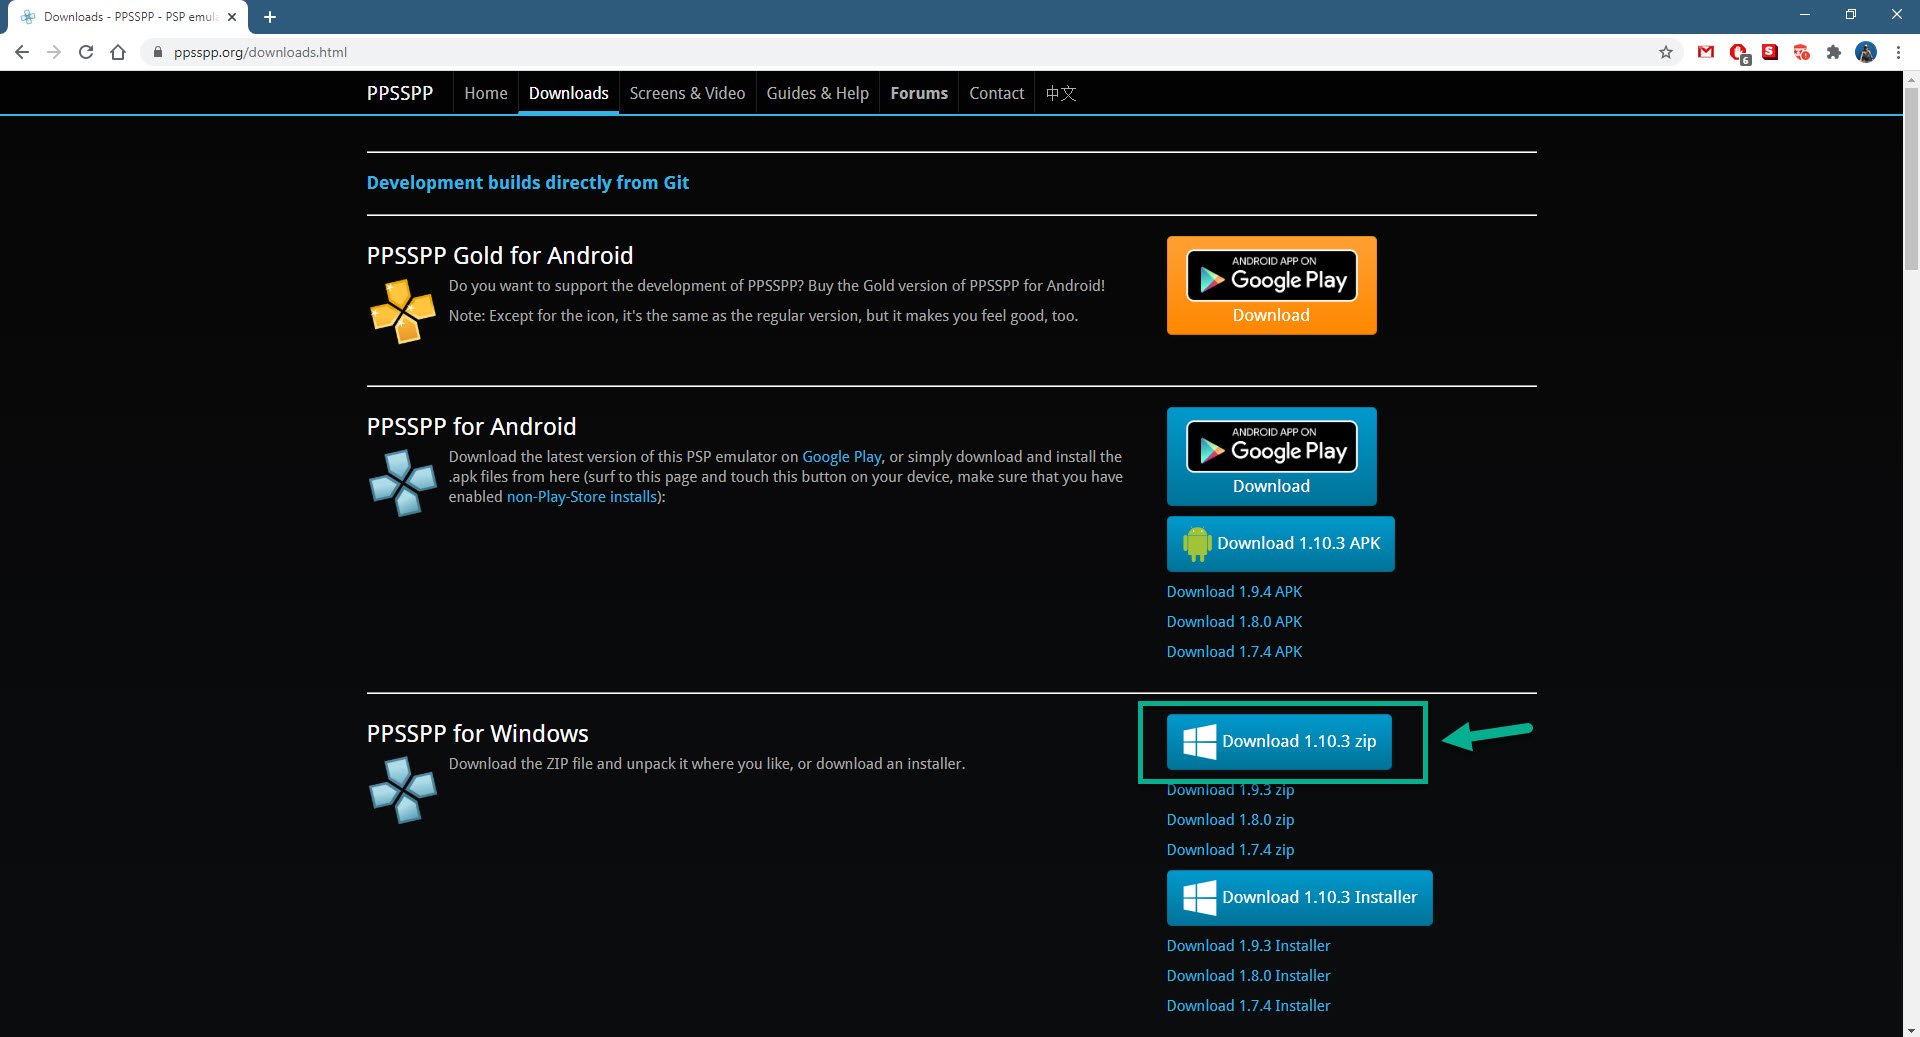
- Click the latest zip file version for Windows to start the download.
This can be found on the PPSSPP for Windows section.
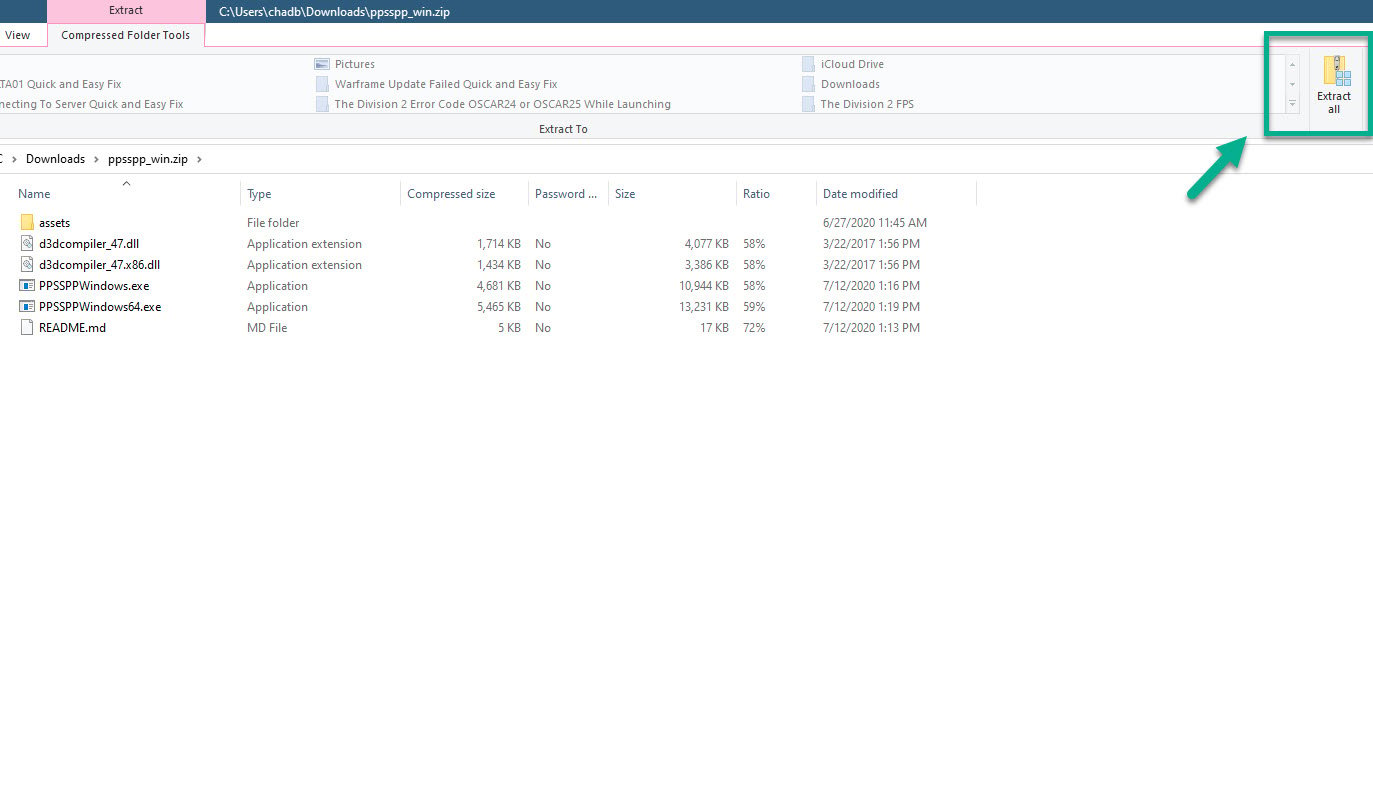
- Open the downloaded zip file and extract it.
This will extract all the files in the zipped file.

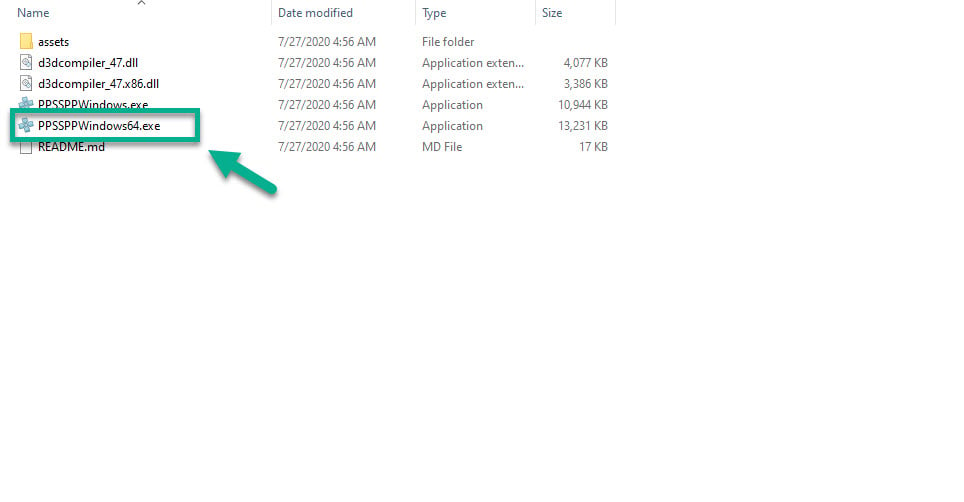
- Click on the PPSSPPWindows executable file.
This will open the emulator.

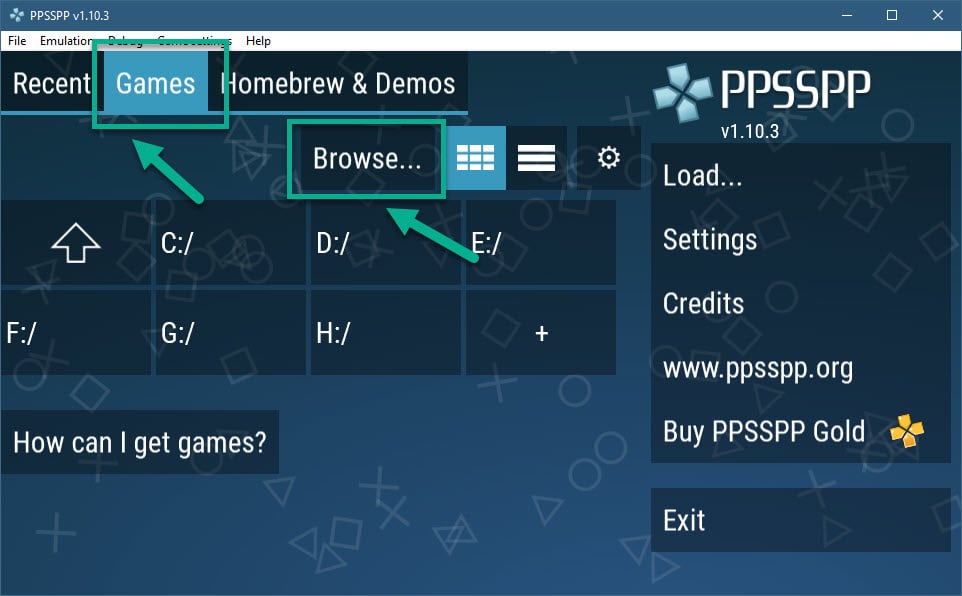
- Load your games.
You can do this by clicking on the Games tab then browse. You then just need to choose the folder where the games are saved.

Running PSP games in Windows 10
To run your favorite PSP games all you need to do is to click on its title that can be seen on the emulator. Take note that you must have previously loaded this first. If you will be playing the game using your keyboard then you need to configure the controls. This can be done by clicking on Settings – Controls – Control Mapping.
After performing the steps listed above you will successfully play PSP games on Windows 10.
Visit our TheDroidGuy Youtube Channel for more troubleshooting videos.