Quick Fixes for iPhone 15 Stuck on Apple Logo [Troubleshooting Guide]
Occasionally, your iPhone 15 might become unresponsive during startup, displaying a persistent Apple logo. This can be caused by various factors, ranging from minor software glitches to corrupted updates or even hardware issues.
Fortunately, there’s an arsenal of solutions you can explore to potentially revive your device.
Common Reasons Why an iPhone might get Stuck on the Apple logo
- Transient Software Issues: In some cases, temporary glitches within the iPhone’s software can disrupt the boot process, causing it to freeze on the logo.
- iOS Update Complications: Incomplete or corrupted updates to the iOS operating system can introduce errors that prevent the iPhone from loading successfully.
- Data Corruption: Data corruption, either within the iPhone’s storage or arising during a restore attempt, can render the data unreadable and hinder a proper boot sequence.
- Jailbreak-Induced Conflicts: Jailbreaking an iPhone modifies the operating system’s core functionality. Incompatibility issues or unforeseen conflicts introduced during this process can lead to boot loops.
- Hardware Malfunction: Physical damage sustained from drops or liquid exposure can compromise critical internal components essential for the iPhone’s startup process.
Quick Ways to Revive your Stuck/Unresponsive iPhone
Here are the things that you can do on your end whenever your iPhone 15 gets stuck on the Apple logo.
1. Force Restart
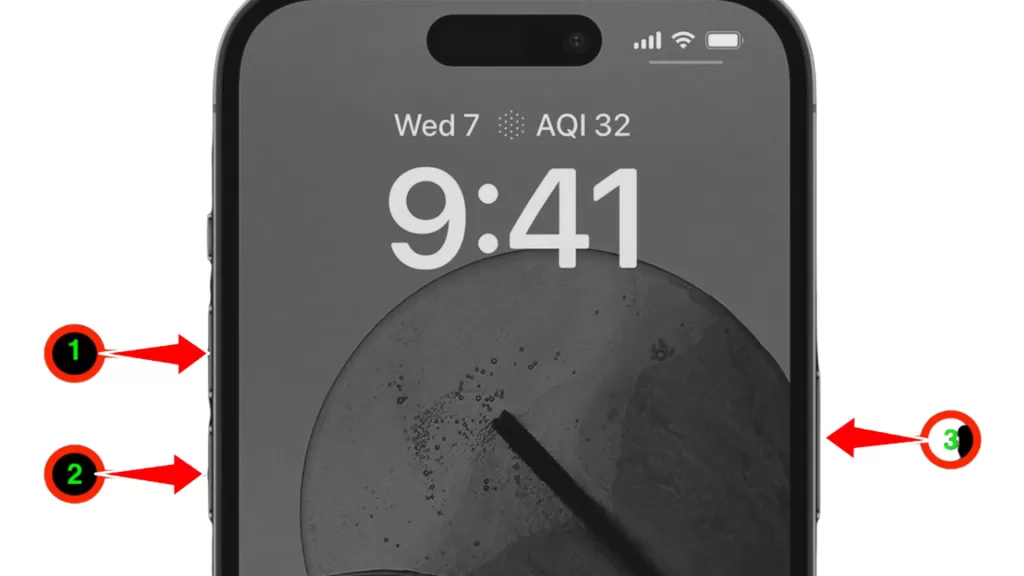
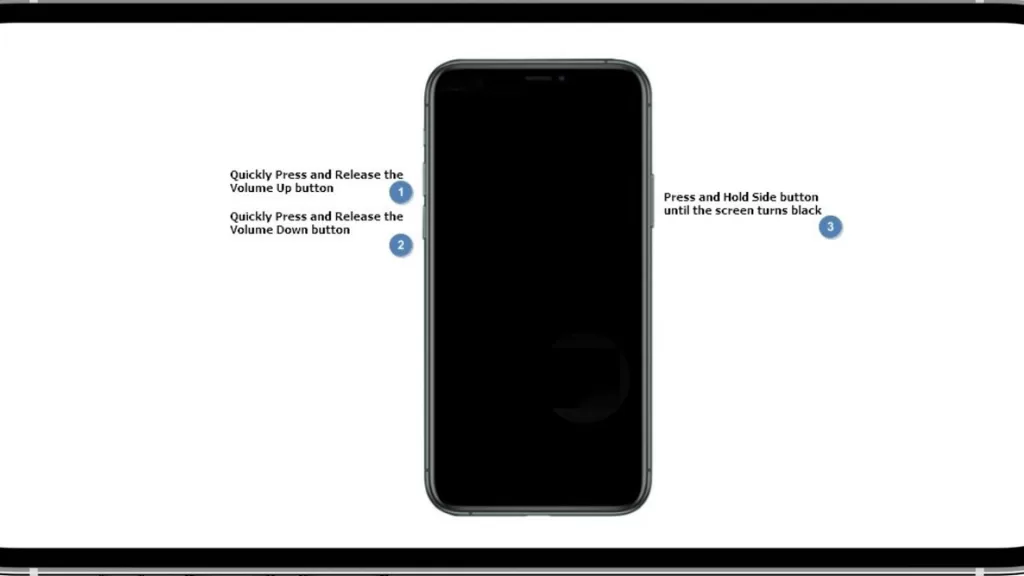
A force restart can sometimes jolt your iPhone out of a software hiccup. Here’s how to do it:
- Quickly press and release the volume up button.
- Quickly press and release the volume down button.
- Press and hold the side button until the Apple logo reappears.
2. Ensure Adequate Charge
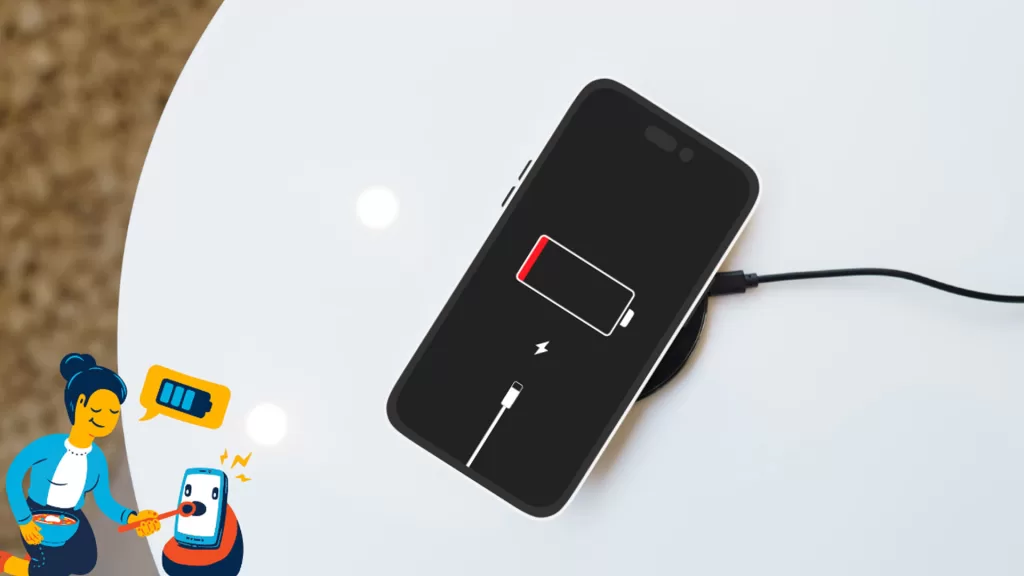
A drained battery can hinder your iPhone’s ability to boot properly. To address this:
- Connect your iPhone 15 to a reliable power source using a quality cable and adapter.
- Leave it charging for at least an hour, even if the logo flickers momentarily.
3. Restore with iTunes/Finder (Data Loss Likely)
This option reinstalls iOS, potentially resolving software problems causing the boot loop. Crucially, this erases all data. Proceed with caution:
- Connect your iPhone 15 to your computer with iTunes open.
- If prompted, enter your passcode or grant “Trust” access to this computer.
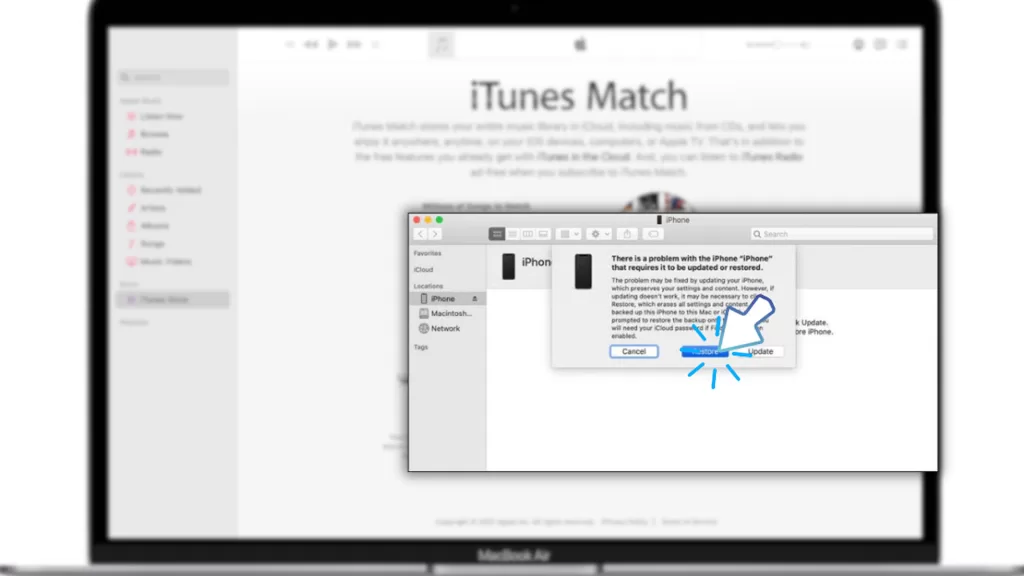
- In iTunes, select your iPhone and click “Restore.”
- Follow the on-screen instructions to reinstall iOS.
For macOS Catalina or Later: Restore with Finder
The process is similar to iTunes restore, but on Macs running macOS Catalina or later:
- Connect your iPhone 15 to your Mac.
- Open a Finder window and select your iPhone.
- Click “Restore” and follow the on-screen prompts to reinstall iOS.
4. Recovery Mode and Restore (Data Loss Likely)
If the standard restore fails, a deeper restore method exists using Recovery Mode. Again, this erases all data so proceed at your own risk.
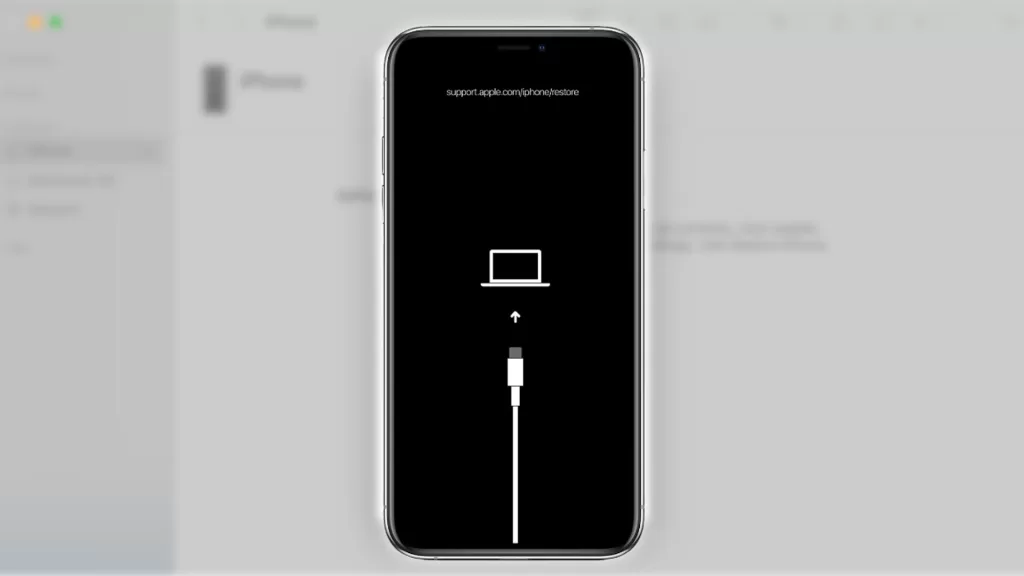
- Using a genuine Apple cable, connect your iPhone 15 to your computer.
- Depending on your Mac’s operating system, open either iTunes (macOS Mojave or earlier) or Finder (macOS Catalina or later).
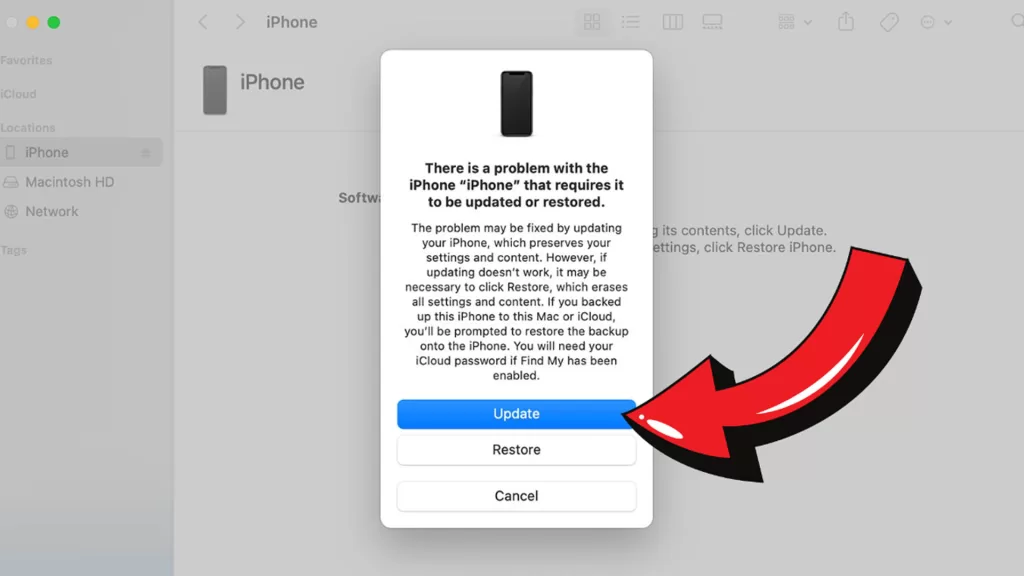
- Wait for iTunes/Finder to detect your iPhone in Recovery Mode. You might see an alert on your computer screen requesting confirmation to perform a restore.
- In iTunes, locate the “Restore” button associated with your connected iPhone. In Finder, a similar “Restore” button will be available.
- Follow the on-screen prompts carefully. Confirm the restore process to begin the data erasure and iOS reinstallation. iTunes/Finder will download the latest iOS version and install it on your iPhone.
- The restoration process might take some time depending on your internet speed. Ensure your iPhone remains connected to your computer throughout this stage. Once complete, your iPhone should automatically restart.
Following the restart, your iPhone will be in its factory settings state. You can choose to set it up as a new device or restore from a backup you created beforehand.
5. Check for Software Updates (if Applicable)
An outdated iOS version might be the culprit. If your iPhone is recognized by iTunes/Finder, try updating it. Here’s how:
- Check for software updates.
- Update to the latest version if available.
6. DFU Restore (Data Loss Certain, Last Resort)
This is the most extreme software restore option, reinstalling iOS at the most basic level.
- It’s a more comprehensive restore method than Recovery Mode, involving a deeper-level firmware update and device erasure.
- Employ it only when other troubleshooting efforts fail, as it erases all data.
1. Connect Your iPhone
- Use a genuine Apple lightning cable to connect your iPhone to a computer.
- Open iTunes (macOS Mojave or earlier) or Finder (macOS Catalina or later) on your computer.
2. Follow These Key Commands
- iPhone 8 and later (including iPhone 15):
- Quickly press and release the Volume Up button.
- Quickly press and release the Volume Down button.
- Press and hold the Side button until the screen goes black.
- While continuing to hold the Side button, press and hold the Volume Down button for 5 seconds.
- Release the Side button while continuing to hold the Volume Down button for another 10 seconds. (If the Apple logo appears, you held for too long and need to start over.)
If successful, your iPhone’s screen will remain black, indicating DFU mode activation.
- By then, iTunes/Finder should automatically detect your iPhone in DFU mode.
- Locate the “Restore” button associated with your iPhone in iTunes or Finder and follow the rest of the onscreen instructions to restore your device.

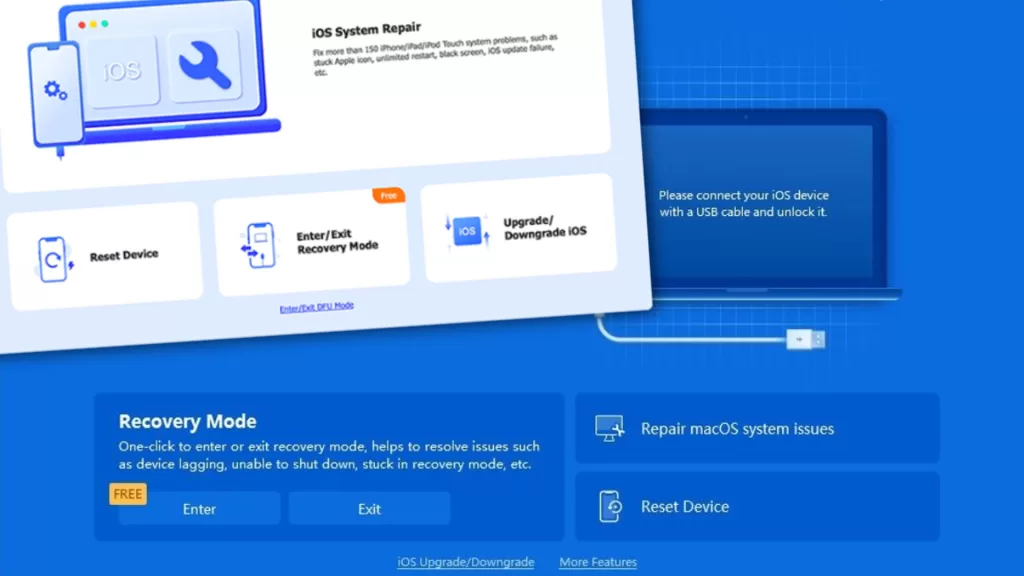
7. Third-Party iOS Repair Software (Use with Extreme Caution)
While third-party options might offer alternative solutions, proceed with utmost caution:
- Research reputable iOS repair software and follow their specific instructions meticulously.
- Be wary of untrusted software that could further damage your iPhone.
8. Hardware Damage Assessment (Consider Professional Repair)
If your iPhone has been dropped or exposed to water, hardware issues are more likely. Consider seeking help from:
- Apple Support.
- A certified repair service.
When to Contact Apple Support for Further Assistance
If none of the above solutions work, Apple Support can provide further assistance.

They can offer more personalized troubleshooting steps or potential repair options to fix the problem.